According to a research carried out by Marketing Charts, email marketing is considered the most effective marketing tactics for sustainable lead generation. The report also revealed that email marketing is pretty difficult, and this is one of the reasons a lot of people tend to shy away completely from email marketing.
There is a myth that has gone viral for more than a decade, which tries to play down or completely kill off email marketing in response to the emergence of social media marketing.
However, analytical data from eMarketer seem to have burst that myth. It uncovered the fact that emails still got the highest click-through rate compared to social media. While emails received a click-through rate of 3.57%, Facebook got a meager 0.07%. Data like these show that email marketing is not dead and remains the best marketing approach for online businesses.
Now, it is safe to say that email marketing as a strategy for generating leads is not the problem, the challenge is finding how to make email marketing work and maximize result.
Solving Lead Generation Problem
One of the biggest complaints that comes from email marketers is the inability to generate targeted leads. This is a painful outcome which results in frustration for many, but this can be fixed using the right set of lead generation tools to maximize results and get the best ROI.
MailOptin is a WordPress plugin that attempts to address most of the limitations being faced by email marketers and I am sure you will be impressed by the outcome.
In its own right, it is built with features that eases the process of initiating and sustaining a successful email marketing journey in your business.
Getting Started
Immediately you install and activate the plugin, several menu of the plugin will become available for you to interact with. There, you can start configuring the plugin to suit your preference.
The plugin offers plenty of optin form types that will cater for your needs. In total, the plugin has five optin form types and they are:
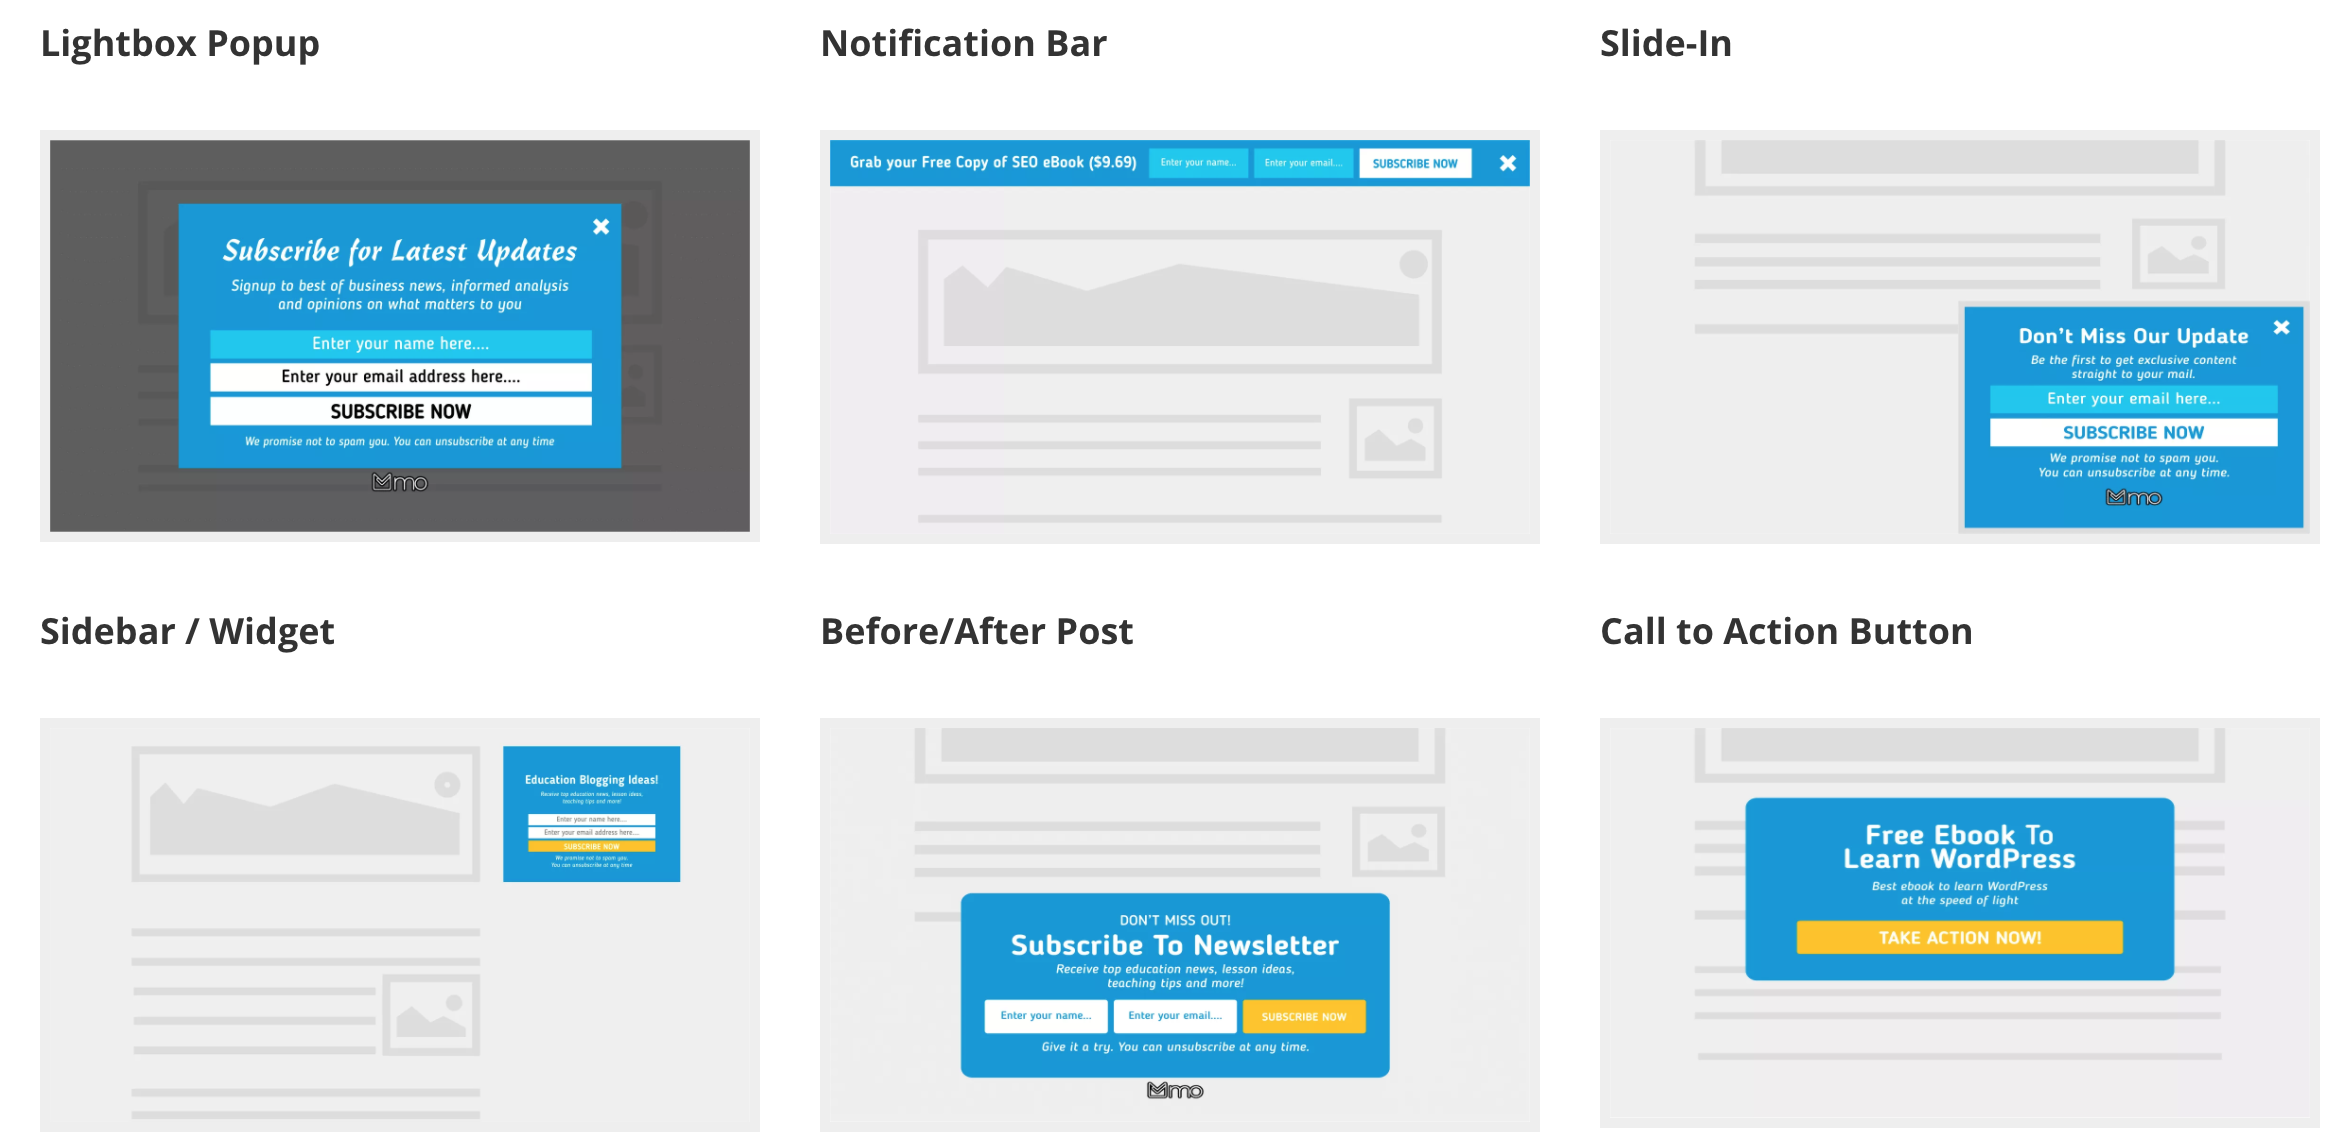
- Lightbox: Also called popup. It overlays your content, grabbing visitor’s attention.
- In-Post Opt-in: Simply display you opt-in forms at the top or bottom of your post.
- Notification Bar: Anchor an optin form on the top of your screen.
- Slide-in: Slides an optin from at the bottom corner of your site.
- Sidebar/Widget: Activate Sidebar optin form from the widge area of your WordPress template.
How to Generate Leads
Assuming you have decided to commit yourself into building a list, the next thing on your mind would be to start it off and not kill the vibes.
Here, we are going to create our first Lightbox opt-in form and start collecting leads. Basically, you will need to have an email marketing service and there are a lot floating in the wild.
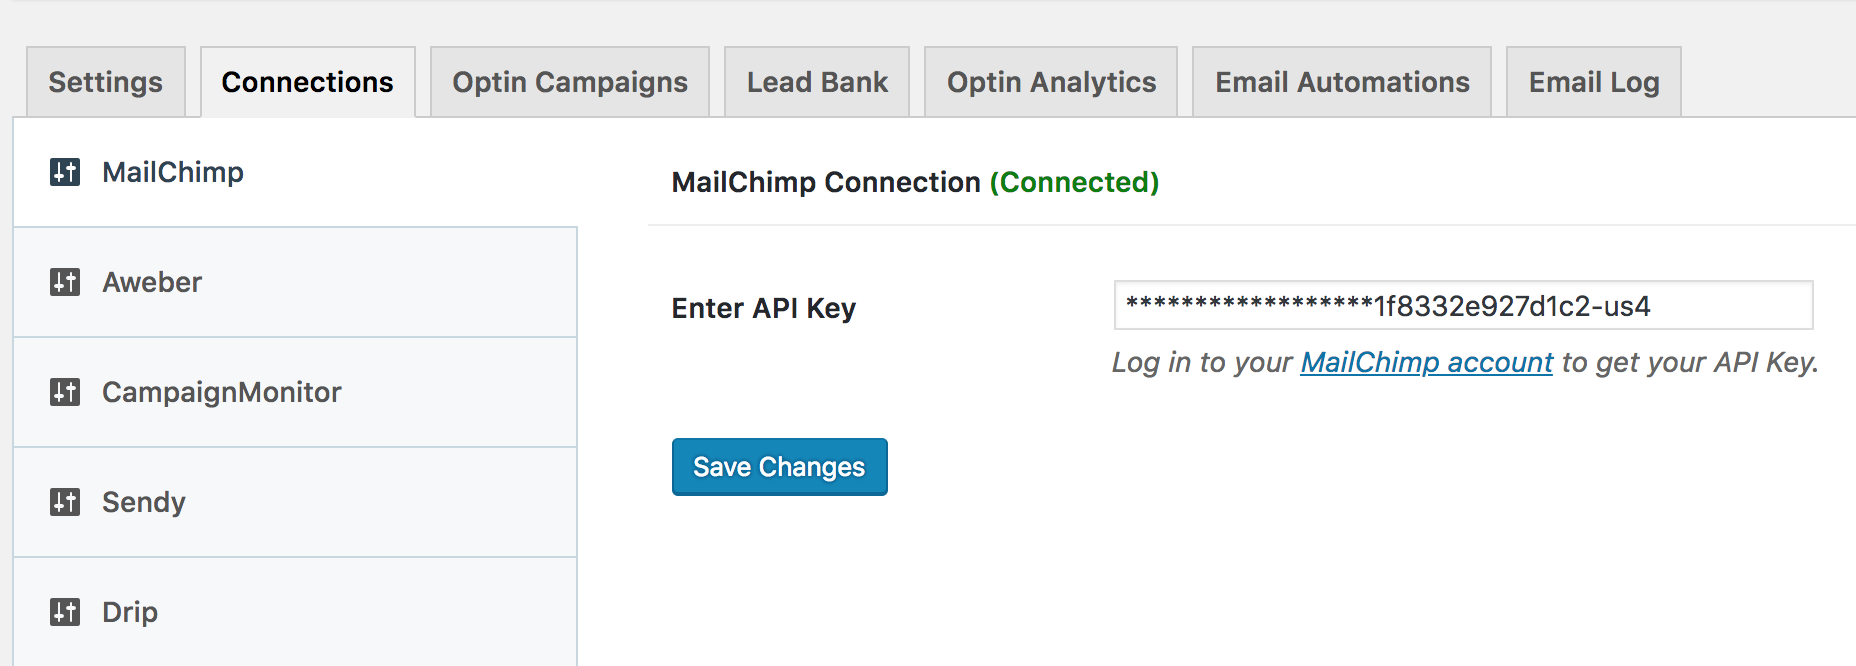
MailOptin has support for all the popular email marketing services including: MailChimp, AWeber, Constant Contact, Campaign Monitor, Drip, ActiveCampaign, GetResponse, ConvertKit, Klaviyo, MailerLite, Sendy, SendinBlue.
In this guide, I have opted for MailChimp and this is all due to my personal preference. You have the liberty to integrate the plugin with any of the leading email marketing services in the market.
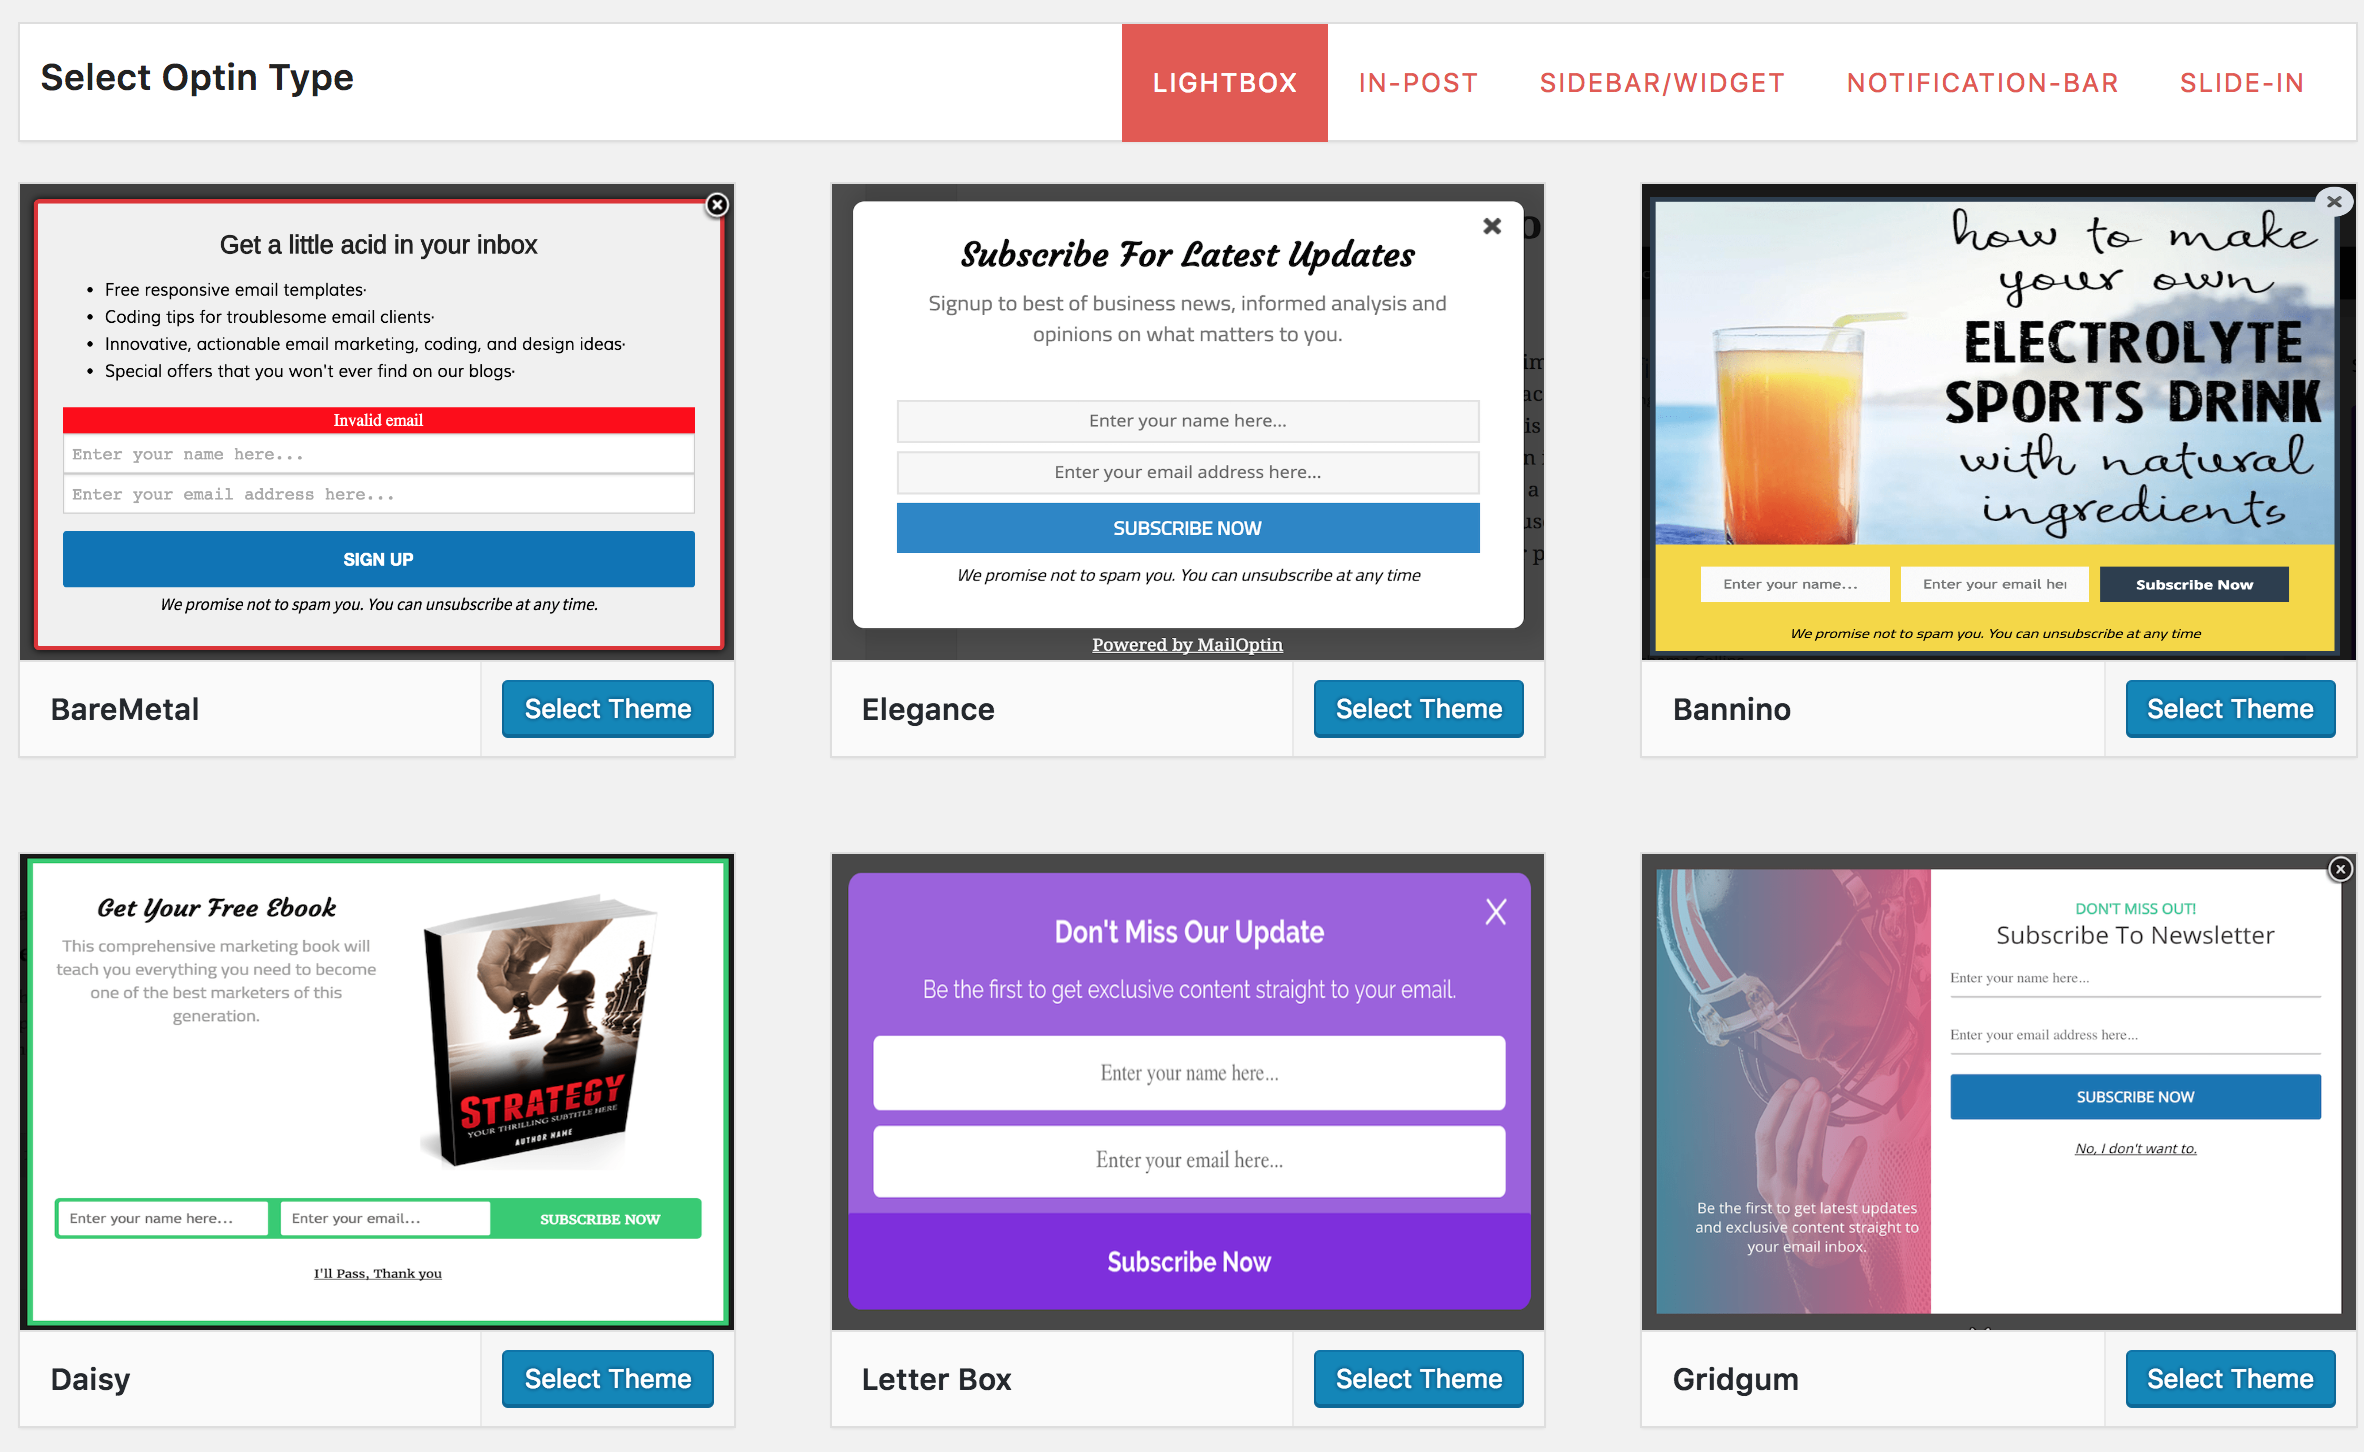
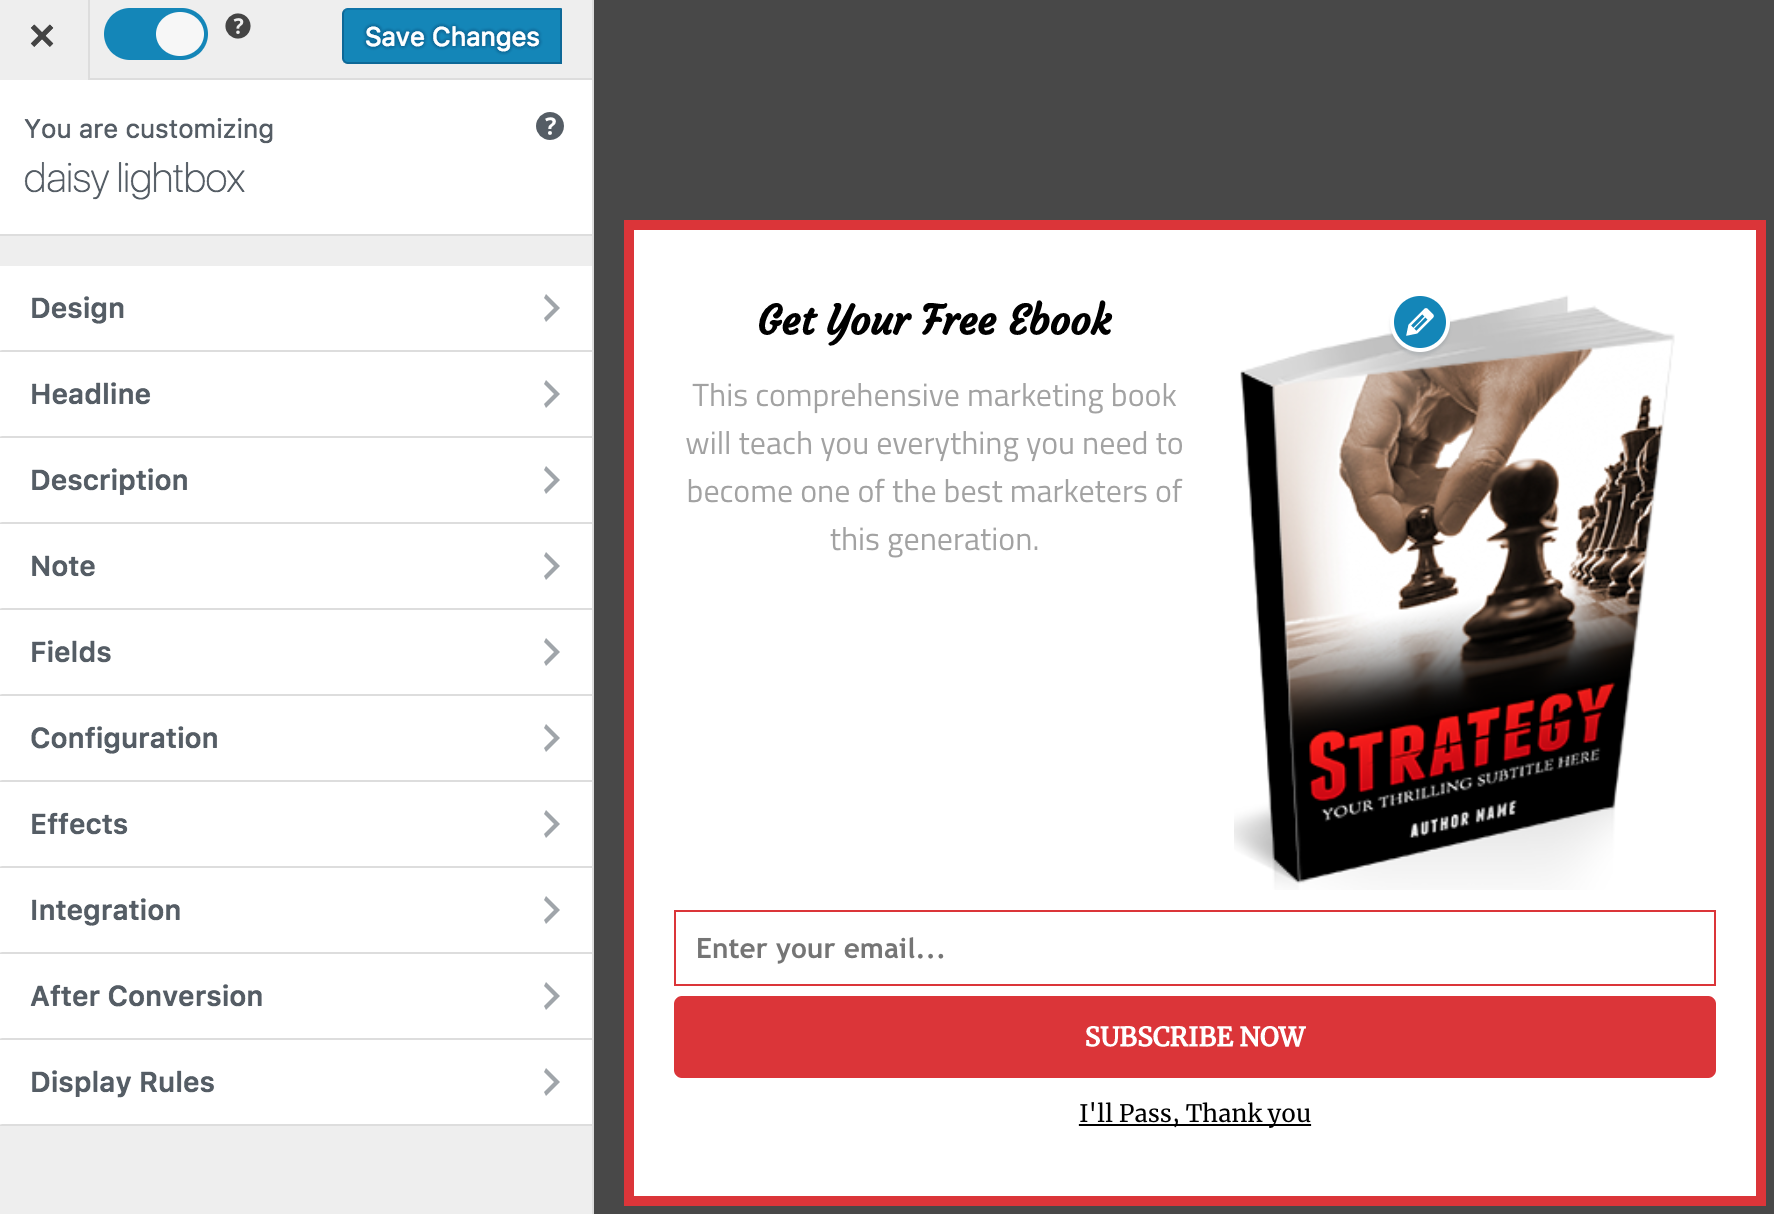
The next step is to create an optin campaign; navigate to “Optin Campaign” > “Add New” on the plugin. Multiple stylish templates will be revealed, all of them can be customized easily using its live visual editor.
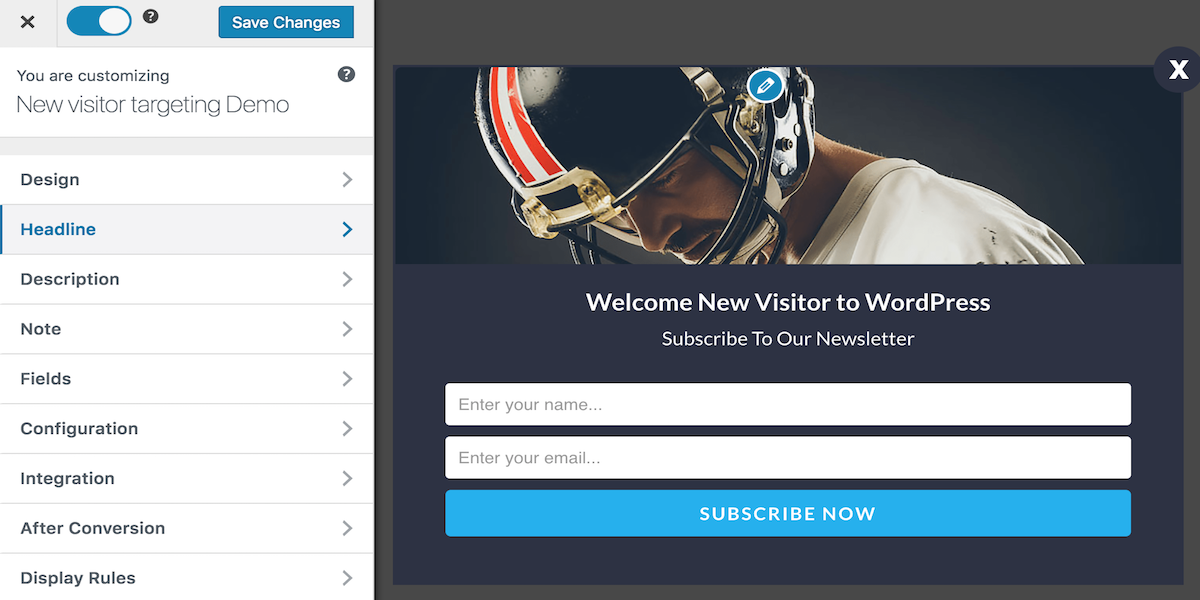
Customization
Using the live editor, you can customize every element of the optin form. You can alter things like the message, the image, borders, effect, colors, name it.
Settings and Triggers
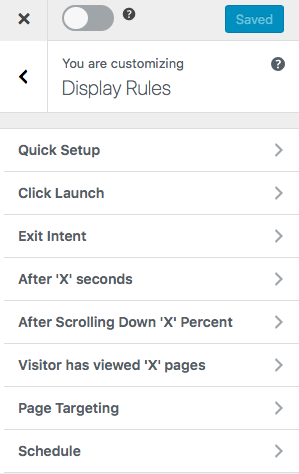
Once customization is complete, you can start setting up your trigger options. There are a lot of trigger options called “display rules” you can configure; the outcome will depend greatly on the responses of your visitors.
The Lightbox optin form type has several trigger options available, you could trigger your optin form instantly, allow it delay for a specific time or force display only at certain point of your content. It is also possible to trigger your optin form after a visitor has scrolled down a fixed percentage of the page.
You can use any of the trigger options, your Lightbox optin form would be displayed once the trigger option is activated by a visitor.
There are some other features you may want to consider before completing the creation of your first optin form;
Exit Intent
It is capable of detecting when a visitor is about leaving your site so you can trigger a popup or any campaign at that precise moment.

Popups are generally intrusive and it greatly affects user experience. The exit intent feature on the plugin tries to solve this problem by making popup optins less intrusive while maximizing conversion. To activate this feature, go to “Display rules” > “Exit Intent” and turn it on.
Targeting Optin Forms
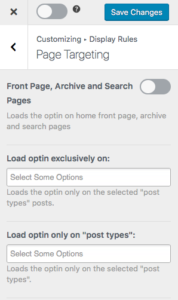
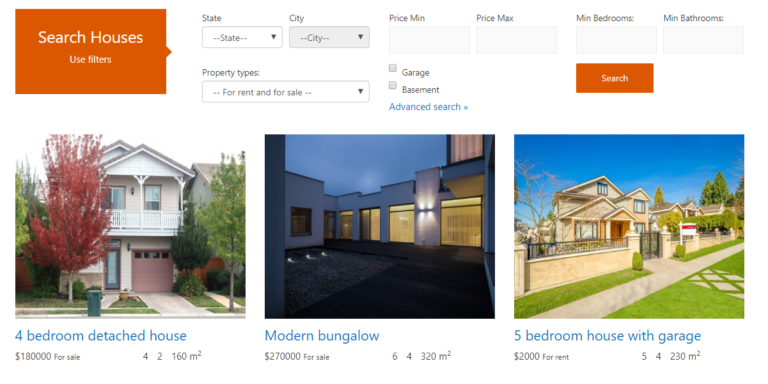
The best lead generation comes from targeted optins and it is equally possible to create a segmented or targeted email list using the plugin.
If you want to generate targeted email leads, navigate to “Display Rules” > “Page Targeting.” Here, you can determine the exact pages you want your optin form to appear on. This means, you can create a system where relevant emails can be sent to your target audience which in turn improves click-through-rate.
Enable Your Optin Campaign
Let’s deploy your newly created Lightbox optin form and start collecting emails.
Firstly, head back to the “Optin Campaign” tab and select your recently created optin. Toggle the activated button so it changes from grey to blue, confirming that the optin form is active and deployed in your live site.

Lightbox optin has been deployed. Your email list building journey has just started, but it’s not going to end like that, you will need to apply several tactics to get the best result.
You could offer incentives to your visitors, luring them to subscribe to your mailing list. Tweaking your optin form design, and other elements can also increase conversion. The bottom line is to keep trying several methods to grab the attention of your visitors.
While you are making several changes and tweaking your configuration, you will work smarter using A/B split testing, which the plugin has built-in.
Creating an A/B Split Test
To activate the split test engine on the plugin, navigate to “Optin Campaigns” and select the optin form you want to carry out split test on. Thereafter, click the “More Options” and create an A/B Split Test.
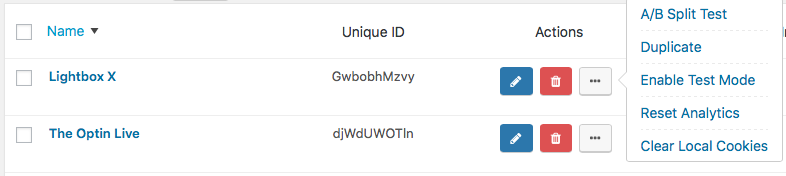
A modal form will be displayed where you can give the split test a name and write notes about the changes you made.
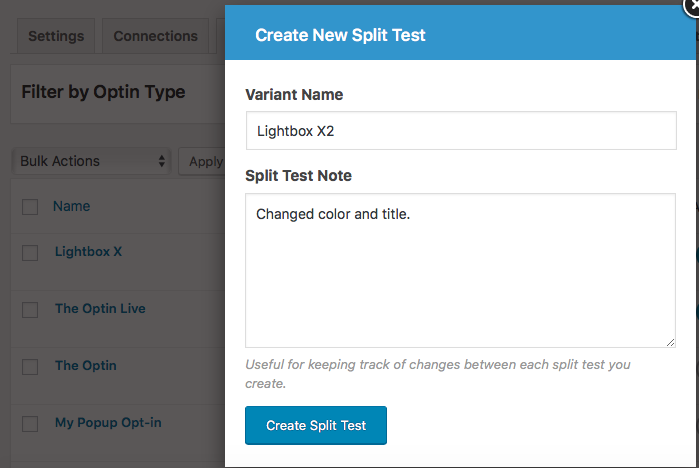
On clicking the “Create Split Test” button, you will be redirected to the optin form live editor where you can make changes for the second variation. Thereafter, you can pick a winner or create additional variation.
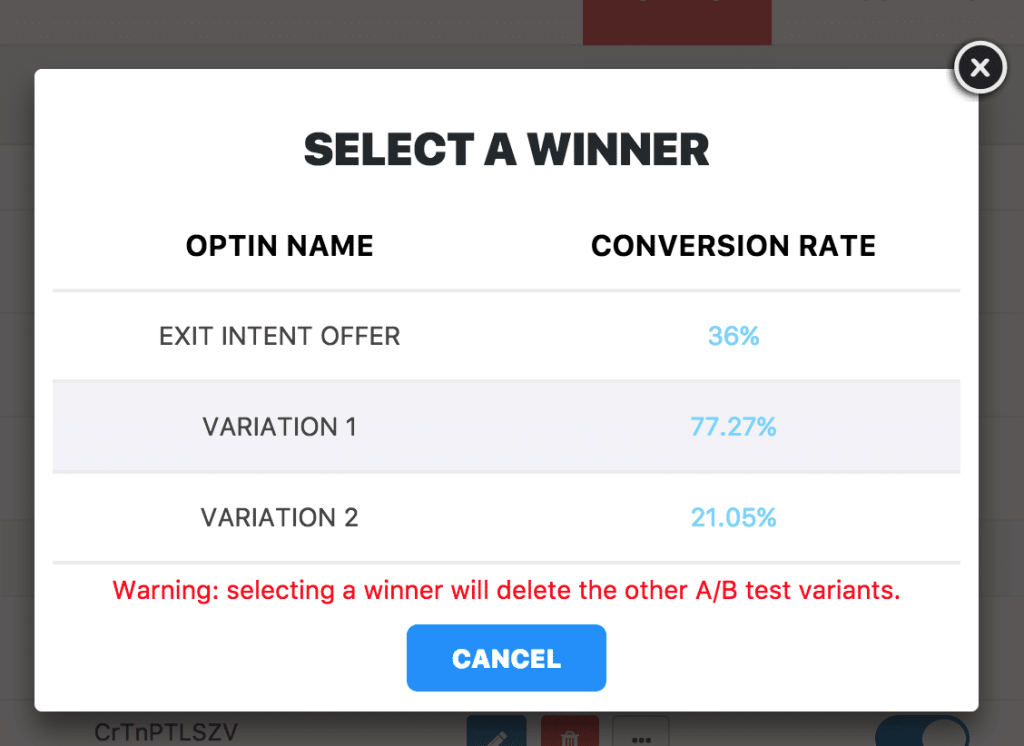
The built-in split test engine eliminates assumptions, which means you are able to using your website’s data to determine the best performing opting.
Outside the A/B split test feature on the plugin, you can also get information via its analytics. Data like number of impression and conversion rate can be viewed in the plugin’s analytical reporting page.
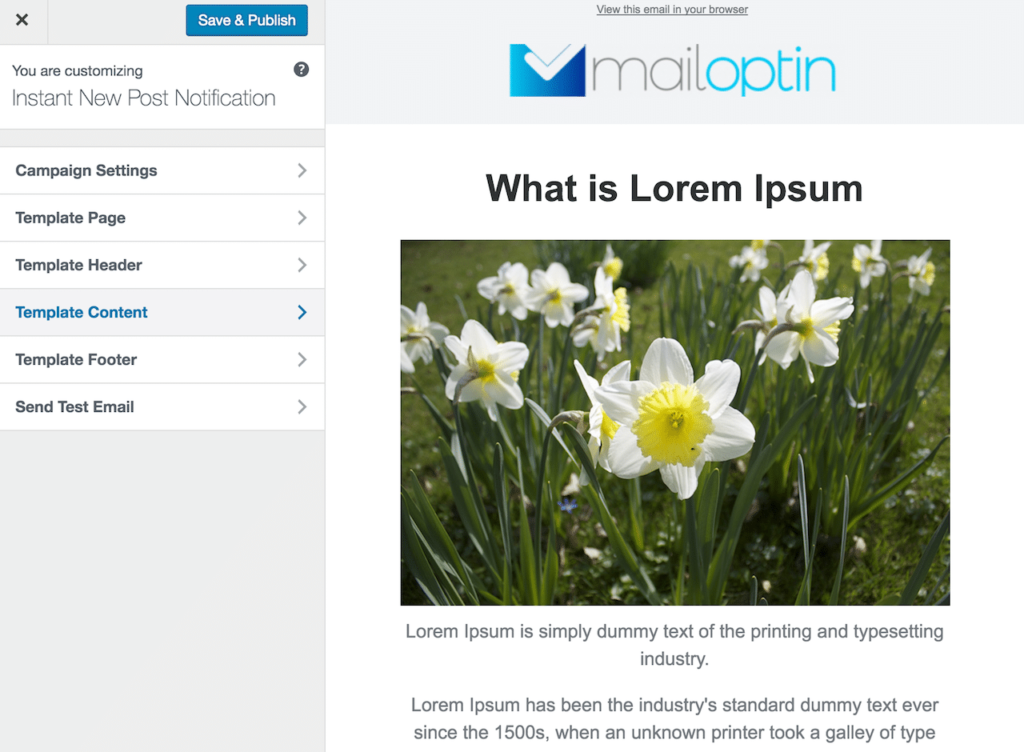
Automated Newsletters
Unlike other alternatives, MailOptin goes a step further to ensure your email list subscribers, readers or customers are nurtured and constantly engaged using its suite of event-triggered and automated emails such as new post notification and email digest with lots of other automation constantly being added.
What Other Things Can This Plugin Do?
Here’s a summary of other useful features available in the plugin:
- After Conversion – When someone subscribes to your mailing list, what happens next? This feature will let you redirect users to a URL, display a success message, close the optin form automatically, autoresponder and many others.
- Email Automations – If you just published a new post on your blog, it can automatically send out newsletters to your mailing list on your behalf using the API of your email marketing service.
- Schedule – Control the time or period you want your optin form to be triggered.
- Click Launch Trigger: When a pre-configured link is clicked in your website, you can trigger an optin form.
- Scroll Trigger: Decide to display your optin form only when a user has scrolled a fixed percentage of your content.
What if Something Goes Wrong?
If something goes wrong in your list building journey using MailOptin, there is a documentation area where you learn how stuff work.
Assuming the issue can’t be fixed via the documentation page, you can get support anytime by using the contact form on the site.
Pricing & License
Pricing starts from $69 for the Standard version which is limited to one site only. For three sites, the Standard license has a price tag of $99 per year. It includes access to unlimited optin campaigns, exit-intent, click launch trigger, one-year support and lots more.
The Pro plan is $199 and It includes everything on the standard plan as well as optin adblock detection, optin scheduling and more.
The Agency license which goes for $269 include EDD, WooCommerce and third-party app integrations as well as priority support.
You can use the lite version for free and decide later if you would love to upgrade to the paid version. Visit the plugin’s pricing page to get an in-depth overview of everything you can access per license.
We are giving a 25% discount coupon to OCEANWP users. Use the coupon OCEANWP25 on check out. Offer is valid for a limited time.
Wrapping Up
MailOptin delivers on functionality and simplicity. From start to finish, the plugin guides you into becoming a better email marketer.
If you really mean business about building an email list with the primary motive of maximizing conversion, MailOptin is just about what you need to get started.


Thanks for sharing this. I just set up mine using this
Thanks for the help. I was using OceanWP but wasn’t aware of this feature to offer a subscription box to visitors. I really like the toned design of newsletter form 🙂
Thanks, Collins for sharing the information. A lot of people recommended us to go for ConvertKit or Mailpoet but looks like there is another great option available. Definitely will give it a try. Keep Posting!