OceanWP. free WordPress Multi-purpose theme
The WordPress theme that gives you more
Elementor ready. WooCommerce ready. Gutenberg ready.
7,290,901 downloads | 5K+ reviews | 1m+ websites | world-class support
It's what we do best
OceanWP is an extremely versatile theme with excellent support systems in place.
Any user, beginner to pro, will have the tools to build and plenty of ways to get help as needed. I am a relative beginner at WordPress site-building and wasn’t looking for a ‘free’ option (though OceanWP has one). I wanted all the bells and whistles of a versatile theme along with reliable support so I can focus on learning while making my new endeavors in the www space successful.
In my opinion, this versatile theme + support is the best.
wiredlifemjh (@wiredlifemjh)
OceanWP user / WordPress.org review
What's new in OceanWP
Boost sales with stunning new eCommerce features!
The OceanWP Metabox Settings Makeover is here!
Hello Elementor or OceanWP & Elementor?
Modernized full website templates are coming!
providing you with ultimate WordPress solutions since 2016
WordPress brand you can trust
Trusted by hundreds of thousands of users, major WordPress developers, major hosting providers and online magazines and WordPress resource websites who wrote about OceanWP.


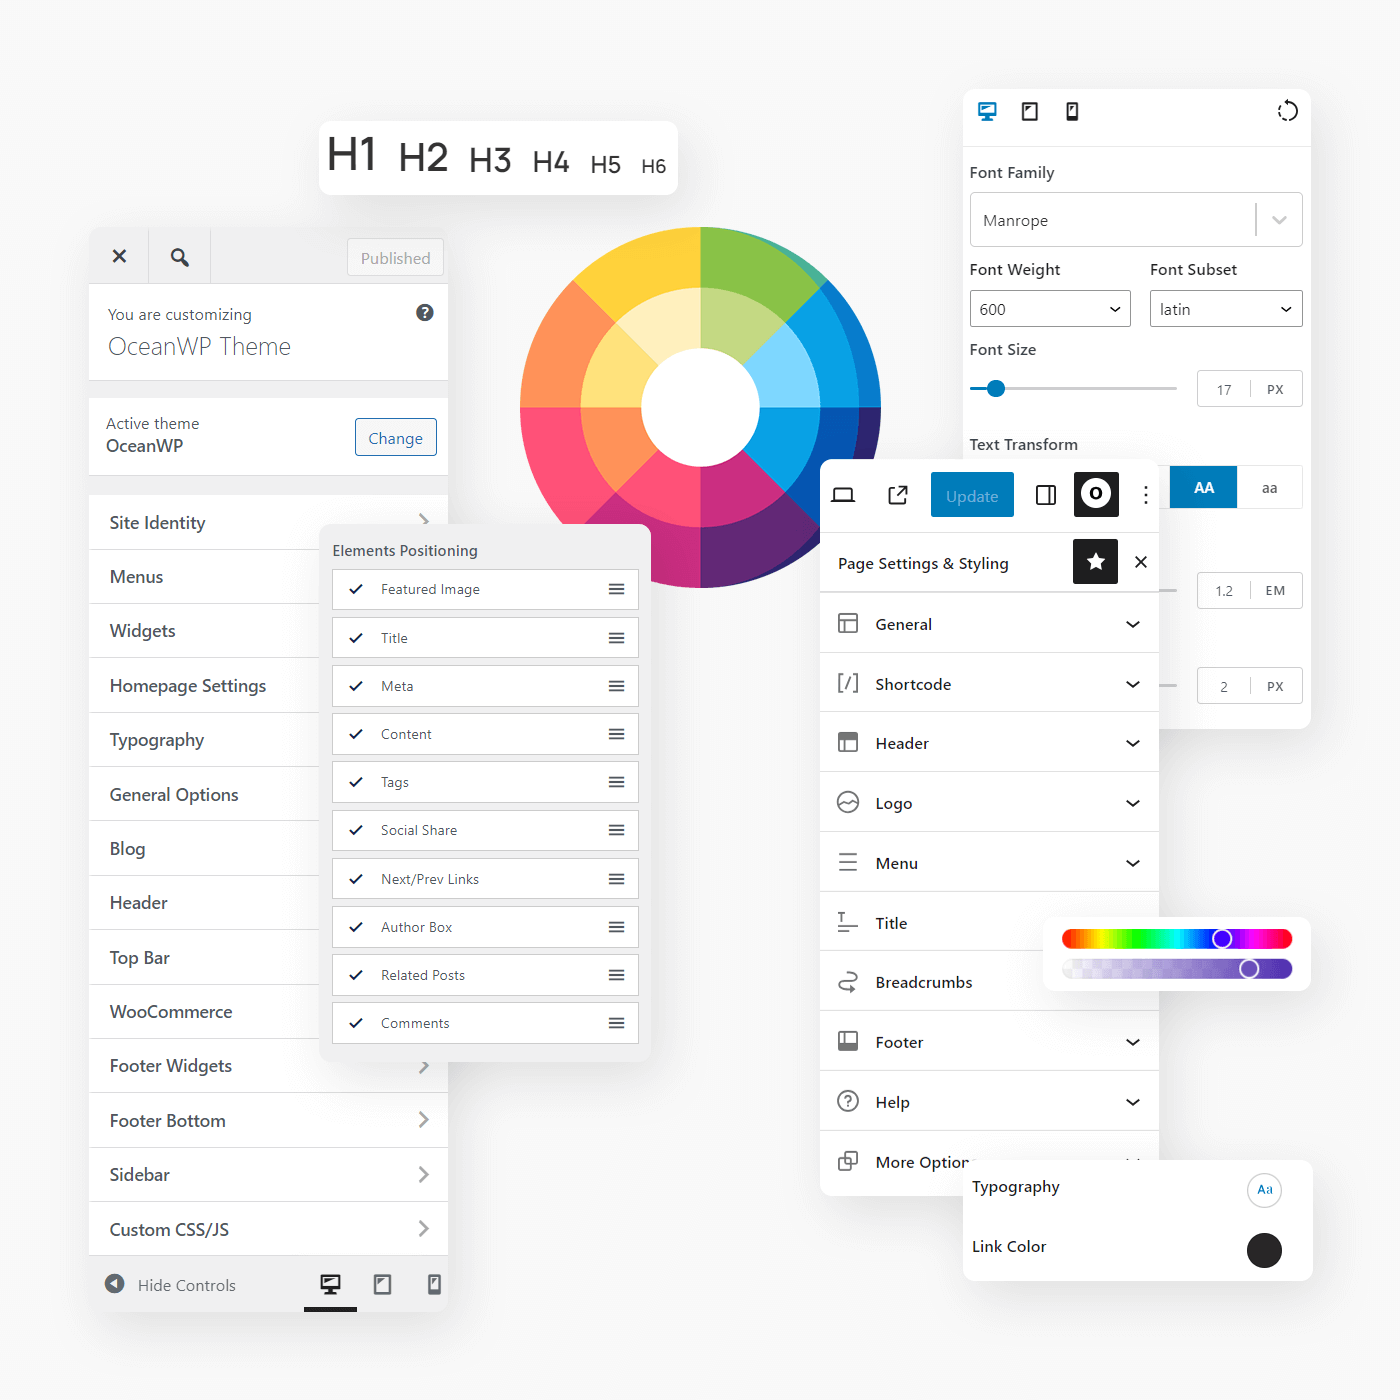
Experience WordPress full site editing the OceanWP way
Get started with OceanWP today
Say goodbye to half-baked features & incomplete options.
Our free WordPress theme and plugins are fully-equipped and packed with customization options that allow you to control, style and optimize every aspect of your website from top to bottom. Experience WordPress full site editing the OceanWP way.
Ensuring your websites are built upon strong and reliable foundations
What makes OceanWP special
It takes more than a beautiful design for a website to remain strong and be able to responds to the latest web and technology challenges at all times. It's our job to take care about everything that goes on behind the scenes so you don't have to.
Complete & flexible
OceanWP is the chameleon among WordPress themes. Complete and flexible functionalities empower you to build websites of any kind.
SEO
OceanWP employs the best SEO practices and user settings enabling you to get the perfect score at all times. Basic Schema markup included.
Full user control
OceanWP users have full control over all features they want to use on their websites, making your workspace clean, usable and bloat-free.
Fully customizable
With OceanWP you can customize your website on a global and individual page level. Complete controls to maximize the potential.
Accessibility
60% of what makes a website accessibility-friendly is code-related. We are regularly updating our code according to the latest WAI ARIA guides.
Documentation
OceanWP is well-documented, providing detailed guides at all times which in return helps you get the answers you need fast and hassle-free.
Fully responsive
OceanWP's inbuilt and customizable options will ensure your website looks and functions amazingly across all devices.
Code quality
Code quality ensures all the options you use work seamlessly and great together, ensuring smooth user experience and fast websites.
Support
We offer support to all our users, at all times, per our Support Policy. Extra support services available for premium clients.
Translation & RTL
OceanWP is completely translation and RTL-ready, ensuring the best user experience for you and your website visitors.
Updates
Adding new features is easy. Maintaining and improving software is the challenge. We are constantly making our products better for you.
Community
For us, you're more than a user or a client. We are always interacting with all members to ensure our products and services meet your needs.
Time to fall in love with your website
WordPress community loves OceanWP
Because your happiness and satisfaction matter to us.
I have tried countless themes especially the highly promoted ones. This one is the best free one ever.
Its customization capabilities are incredible and the learning curve for using the theme is so friendly.
I have no online business so do not have the paid version. However, I will get the paid version for business or not. As I say, it is truly the best theme.
nanega (@nanega)
OceanWP user / WordPress.org review
OceanWP Theme on WordPress.org is absolutely phenomenal! The design is clean and modern, offering flexibility and customization at every step. This theme has taken my first website to the next level.
Highly recommended to anyone looking for a professional and high-quality WordPress theme.
marmea65 (@marmea65)
OceanWP user / WordPress.org review
OceanWP is a fantastic WordPress theme that offers flexibility, performance, and ease of use.
If you’re looking for a theme that can help you create a stunning and functional website with minimal effort, then OceanWP is definitely worth considering.
makiwadesign (@makiwadesign)
OceanWP user / WordPress.org review
Always knew there was something special out there on the Great Big Ocean.
It’s called OceanWP !!!!!!!
Well done everyone! Excellent Theme!
Looking forward to the future with OceanWP!
Keep up the good work!
hamzaajab (@hamzaajab)
OceanWP user / WordPress.org review
Easy to use and does what it says on the tin!
Matt (@carboncleaninguk)
OceanWP user / WordPress.org review
OceanWP theme is top of the best themes have ever used. Flexible features, great contents, easy to use and user friendly, good job OceanWP team.
XoldierBwoy (@palpastis)
OceanWP user / WordPress.org review
Endless possibilities in an innovative UX. I’ve used it on two sites so far and feel I don’t need to look for anything else for my next WordPress gig.
kollalfa (@kollalfa)
OceanWP user / WordPress.org review
1,000,000+ websites running OceanWP
More is more
Hundreds of thousands WordPress users already know that we always keep meeting and exceeding their expectations since 2016.
Join the OceanWP community and get more styles, more functionality, more options, more features and most importantly, more support.
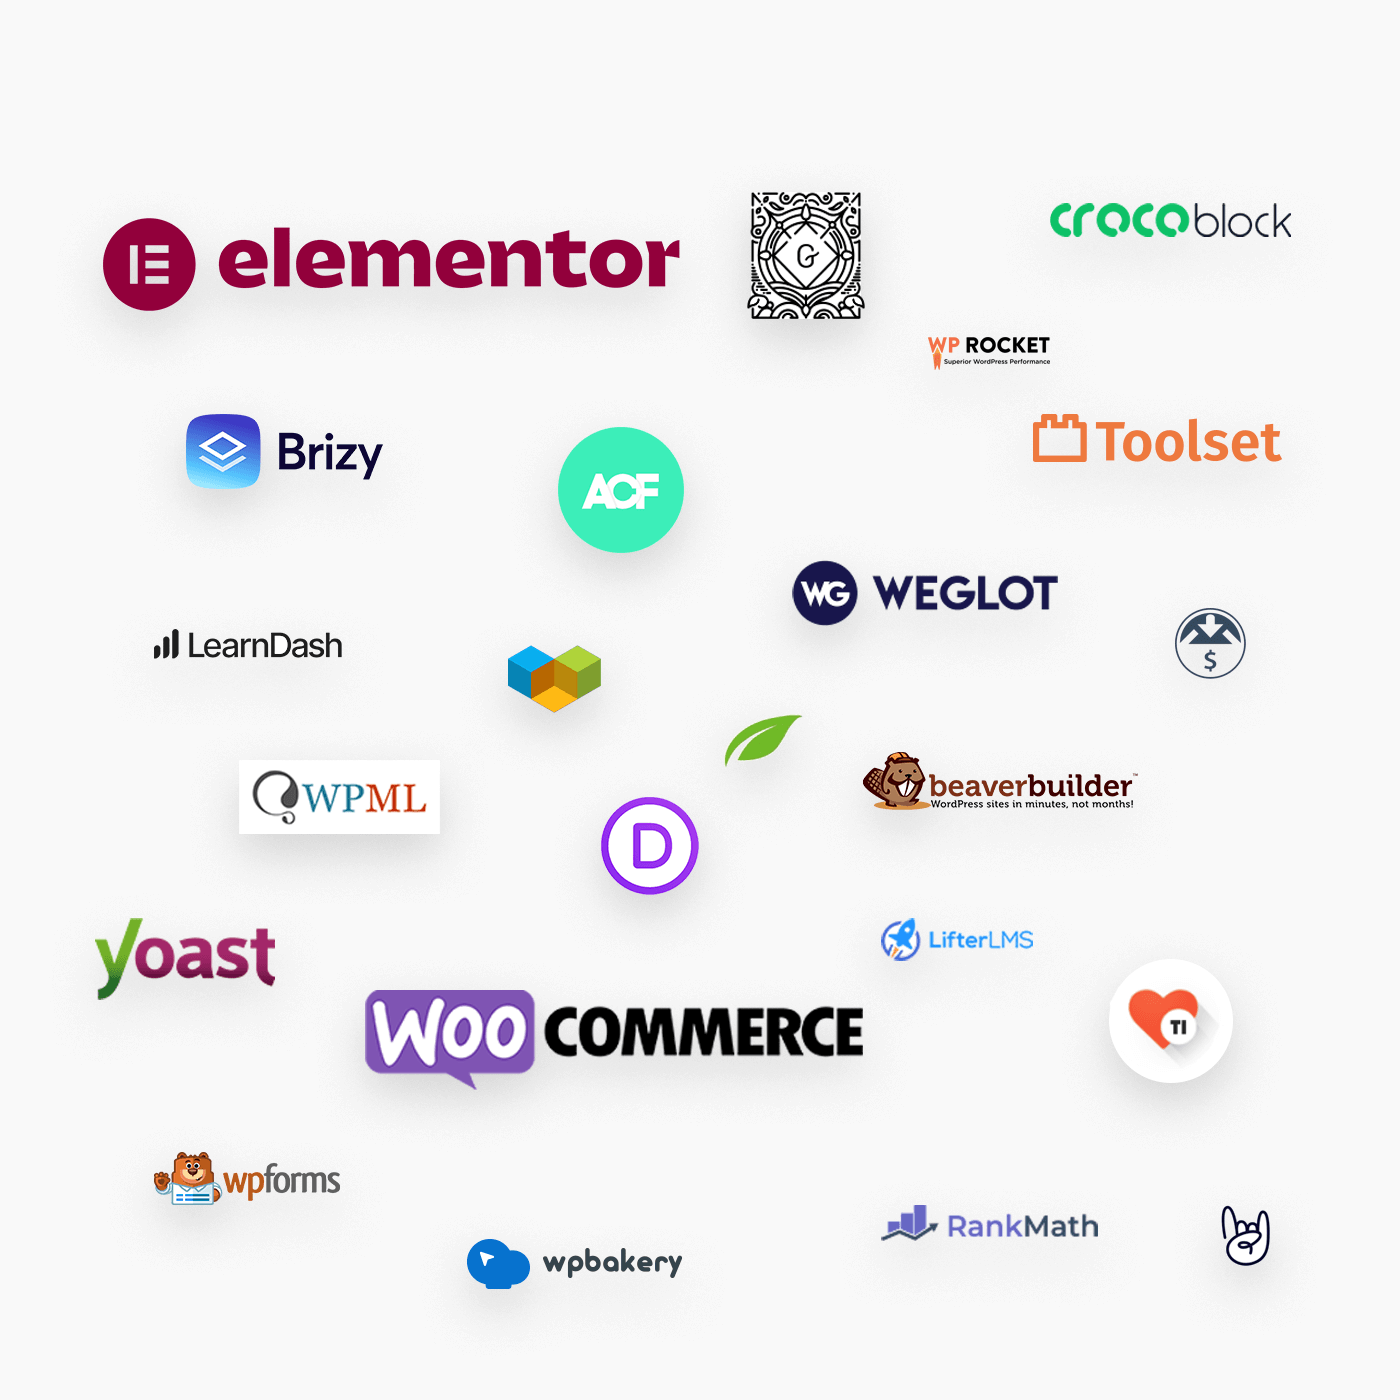
Now powered by
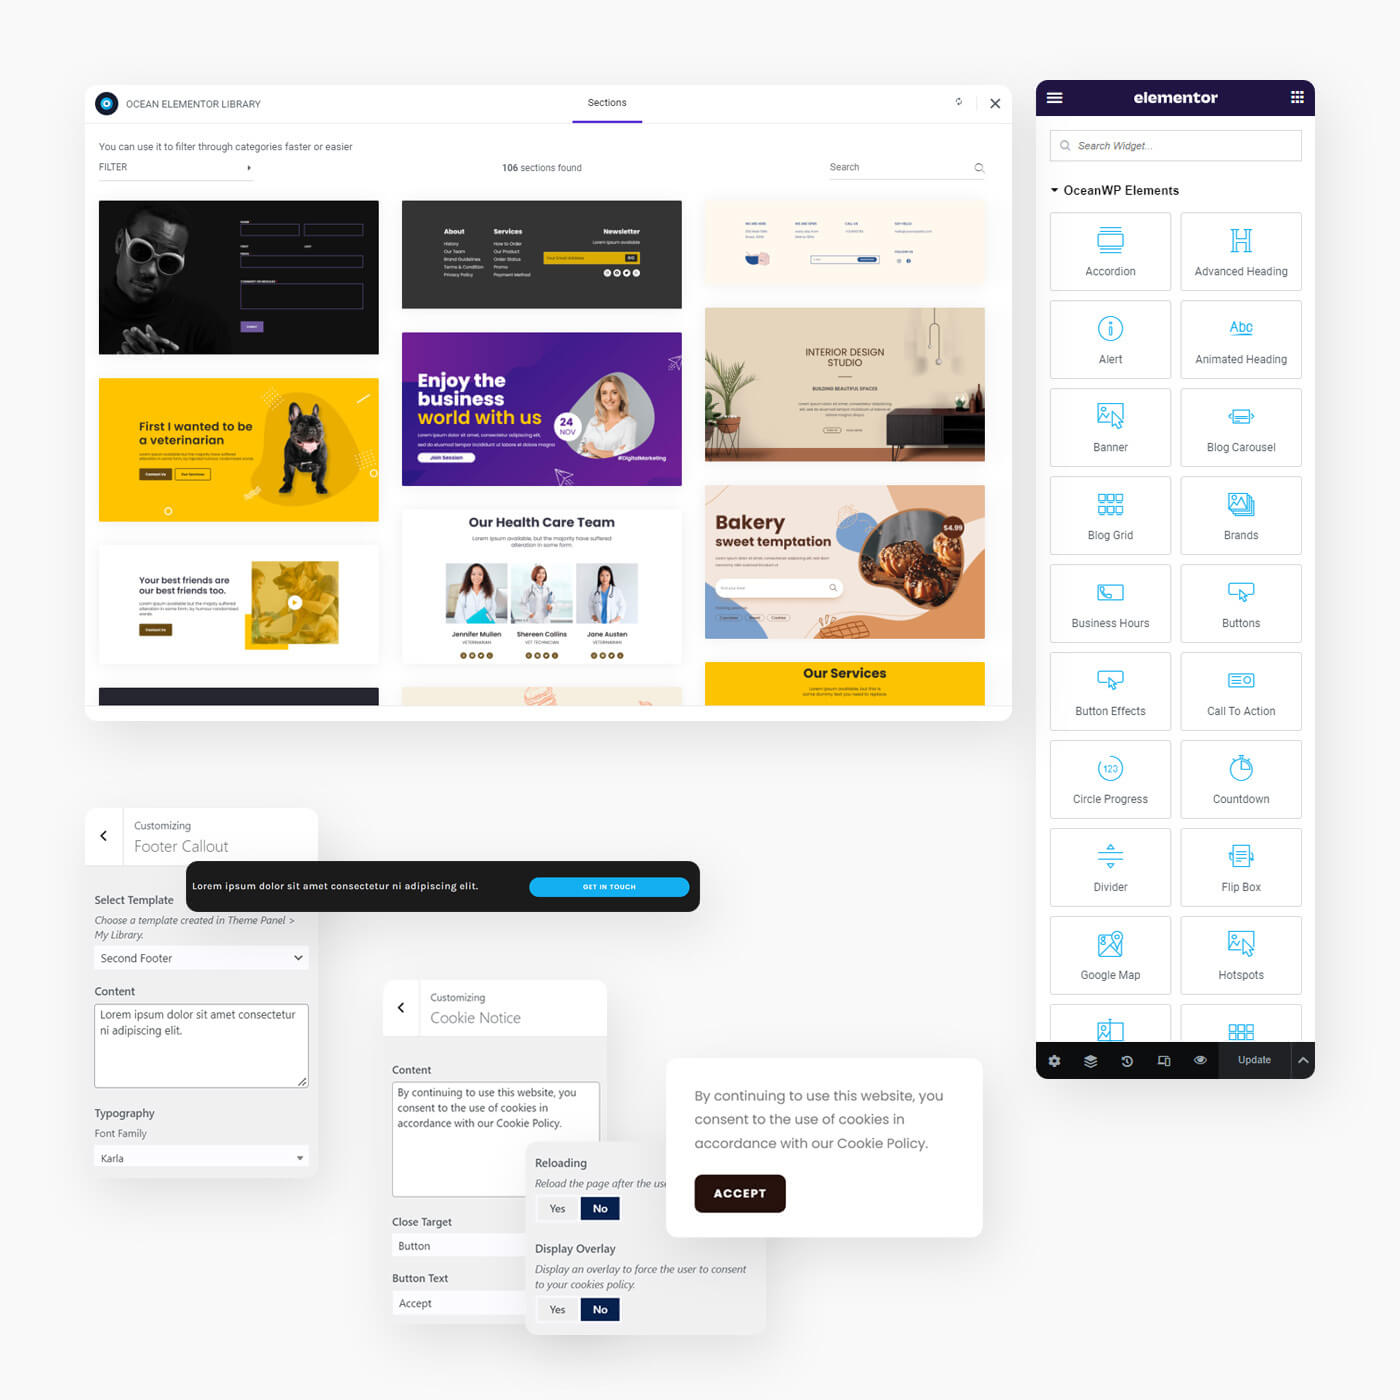
Get access to millions of photos, illustrations and icons.
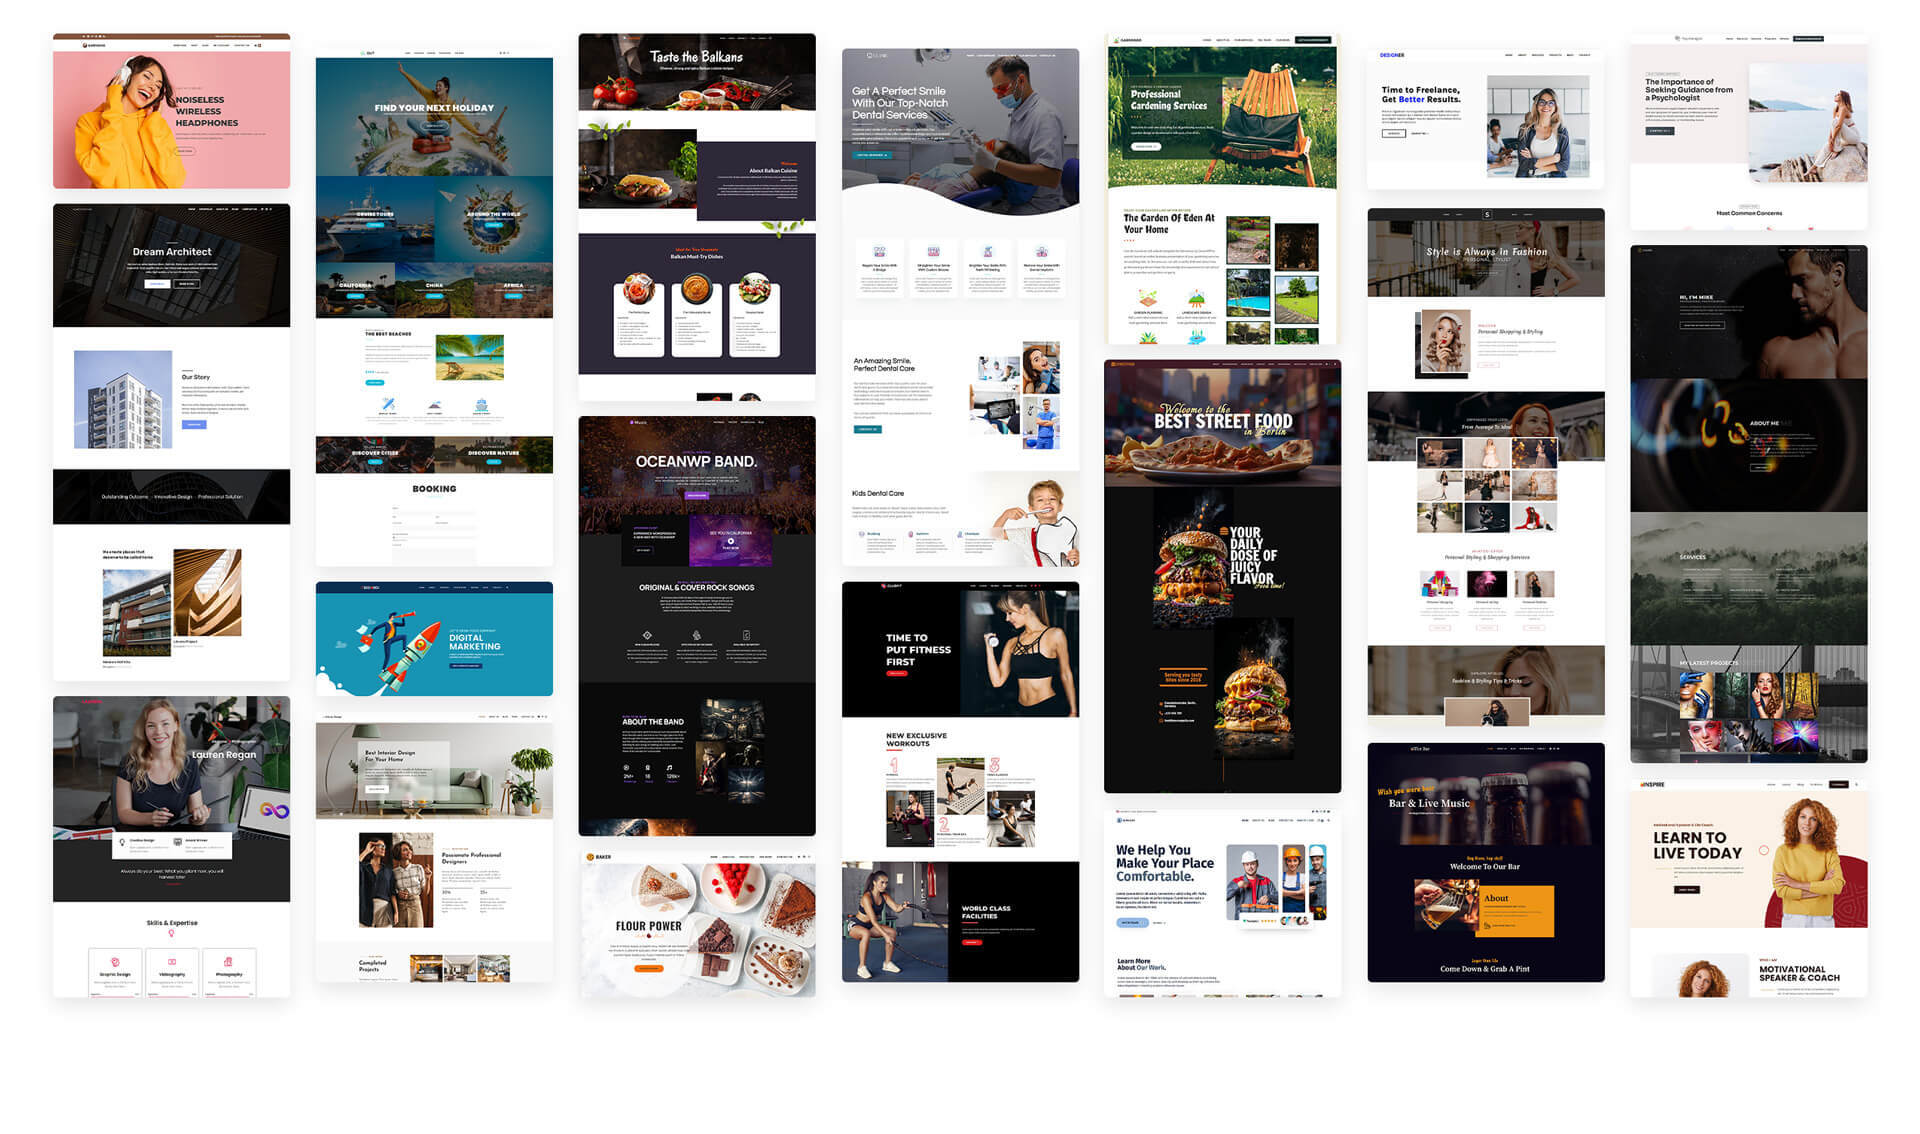
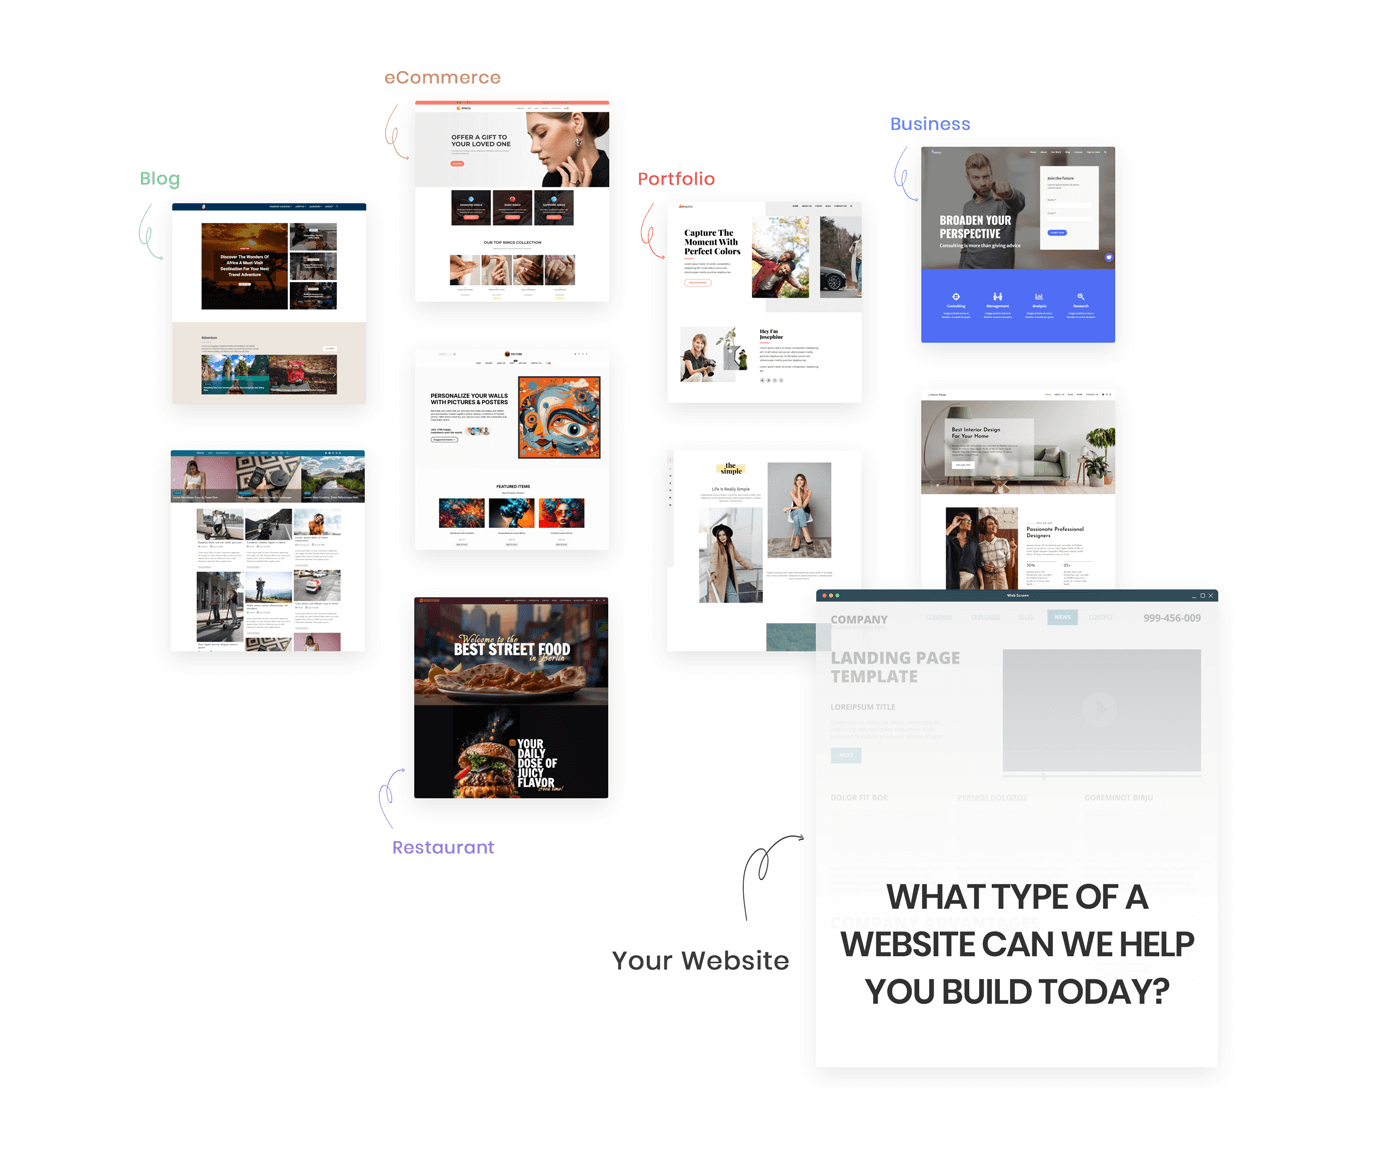
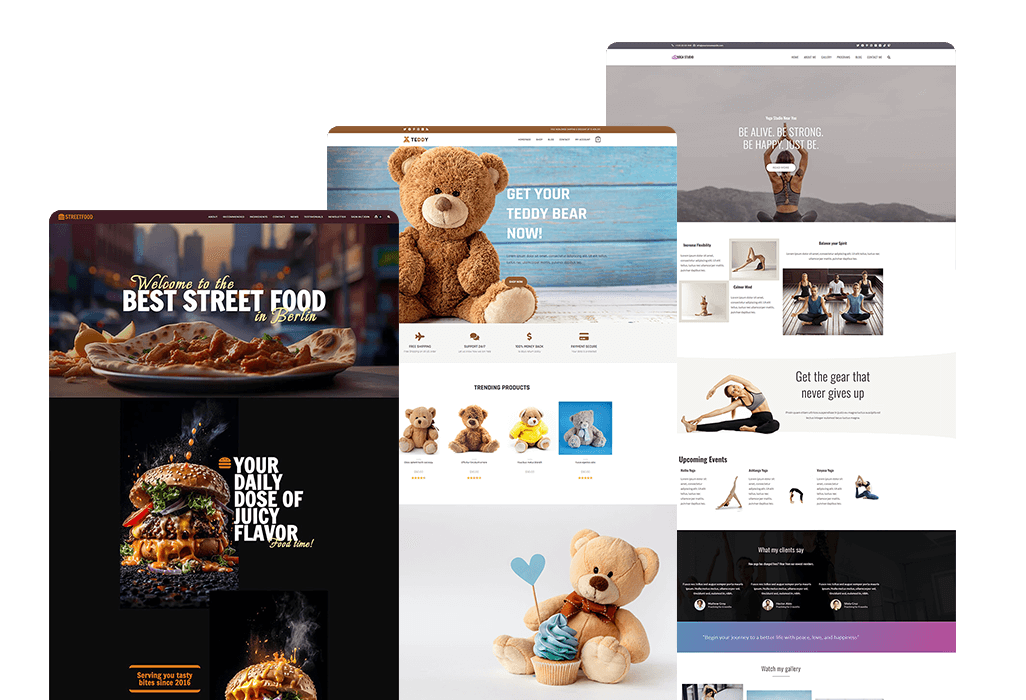
Ready-made designs to kickstart your website
Full website templates
Don't struggle.
OceanWP Pro Bundle offers fully editable and customizable full website templates for Elementor & Gutenberg, and a section templates library for Elementor.
1-click installation
Import your desired full website template with a single-click option.
Full site templates
Choose between 240+ templates for Elementor and Gutenberg.
Section templates library
Build Elementor pages step by step with our editable section templates.
Brand new OceanWP Pro Bundle features for everyone
Connect all WordPress dots with OceanWP premium
Popup Builder
Generate more leads with the Popup Builder. Build custom popups with Elementor or Gutenberg, or simply edit native popup templates.
Custom Post Types
Add versatility to your website content. Go above and beyond standard blog posts with Custom Post Types magic and its customized configuration.
Pixel Tracker
Turn your website into a data gathering mastermind. See how visitors interact with your website to increase social media ad targeting.
New Full Site Templates
Jump start your creative process with brand new full website templates for Elementor. Completely editable and customizable.
You can have it all
Unbeatable WordPress customization & styling options
Achieve more with less tools. Achieve more in less time.
- Effortless control over the entire website.
- Full user control over features and options.
- No coding skills or knowledge required.
- Custom codes library for advanced users available.
- Global website style & layouts.
- Individual styles & controls for pages, posts, products & more.
- Out-of-the-box desktop & mobile header styles.
- Content loop builders for blog, posts, shop, products & more.
- Custom templates support.
- 1-click Google fonts local hosting.
- Adobe fonts integration.
- + infinite more options.
The one and only
Truly free WordPress theme with pro features for everyone
With this theme I created everything that I wanted and learned to use it very fast because they made it very straightforward.
I highly recommend this theme. Cheers!
pitajme (@pitajme)
OceanWP user / WordPress.org review
Compatible with everything you care about
Always a team player
Thanks to OceanWP compatibility and dedicated integrations, you can build even the most demanding websites of any kind.
- Works great with all major page builders.
- Elementor-ready.
- Gutenberg-ready.
- SEO-friendly + SEO-ready: compatible with all SEO plugins.
- eCommerce-ready: dedicated integrations for WooCommerce and Easy Digital Downloads.
- Translation-ready: compatible with all translation plugins.
- LearnDash and LiterLMS ready.
- + many more options.
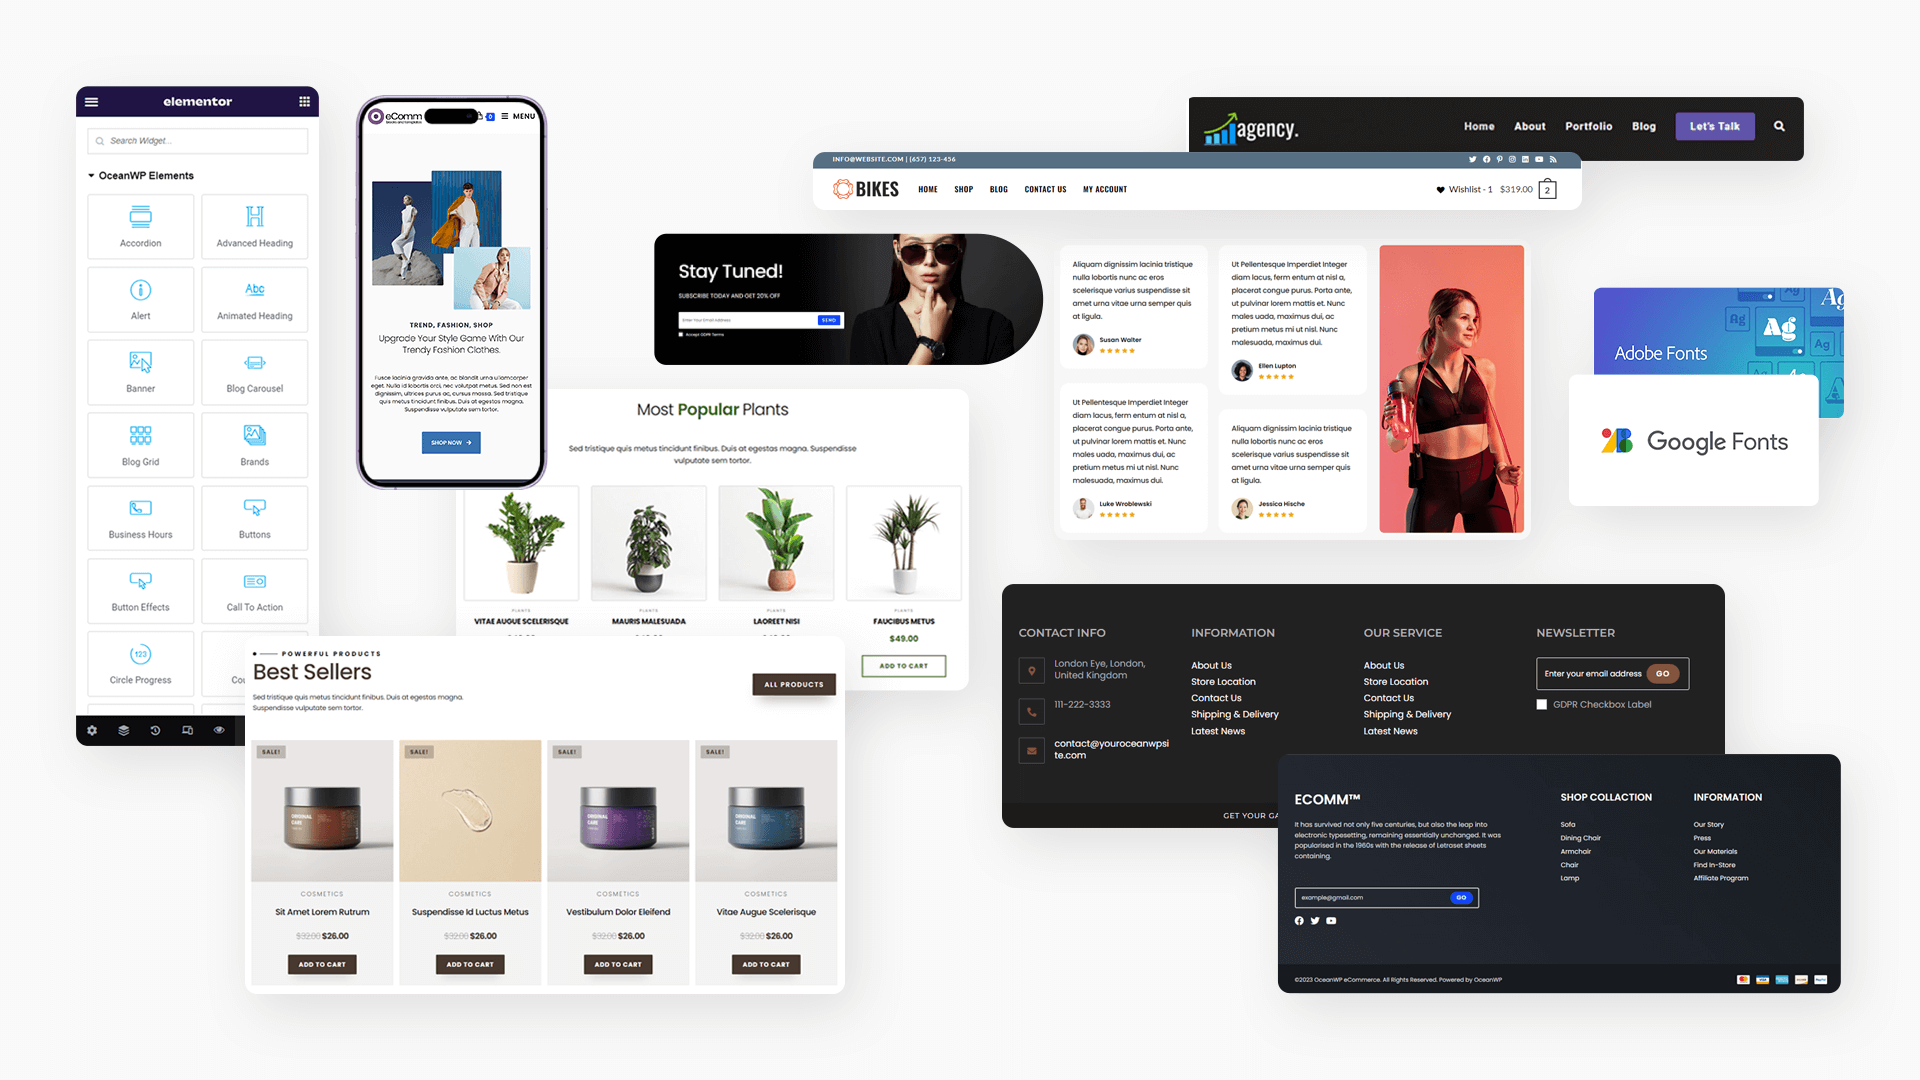
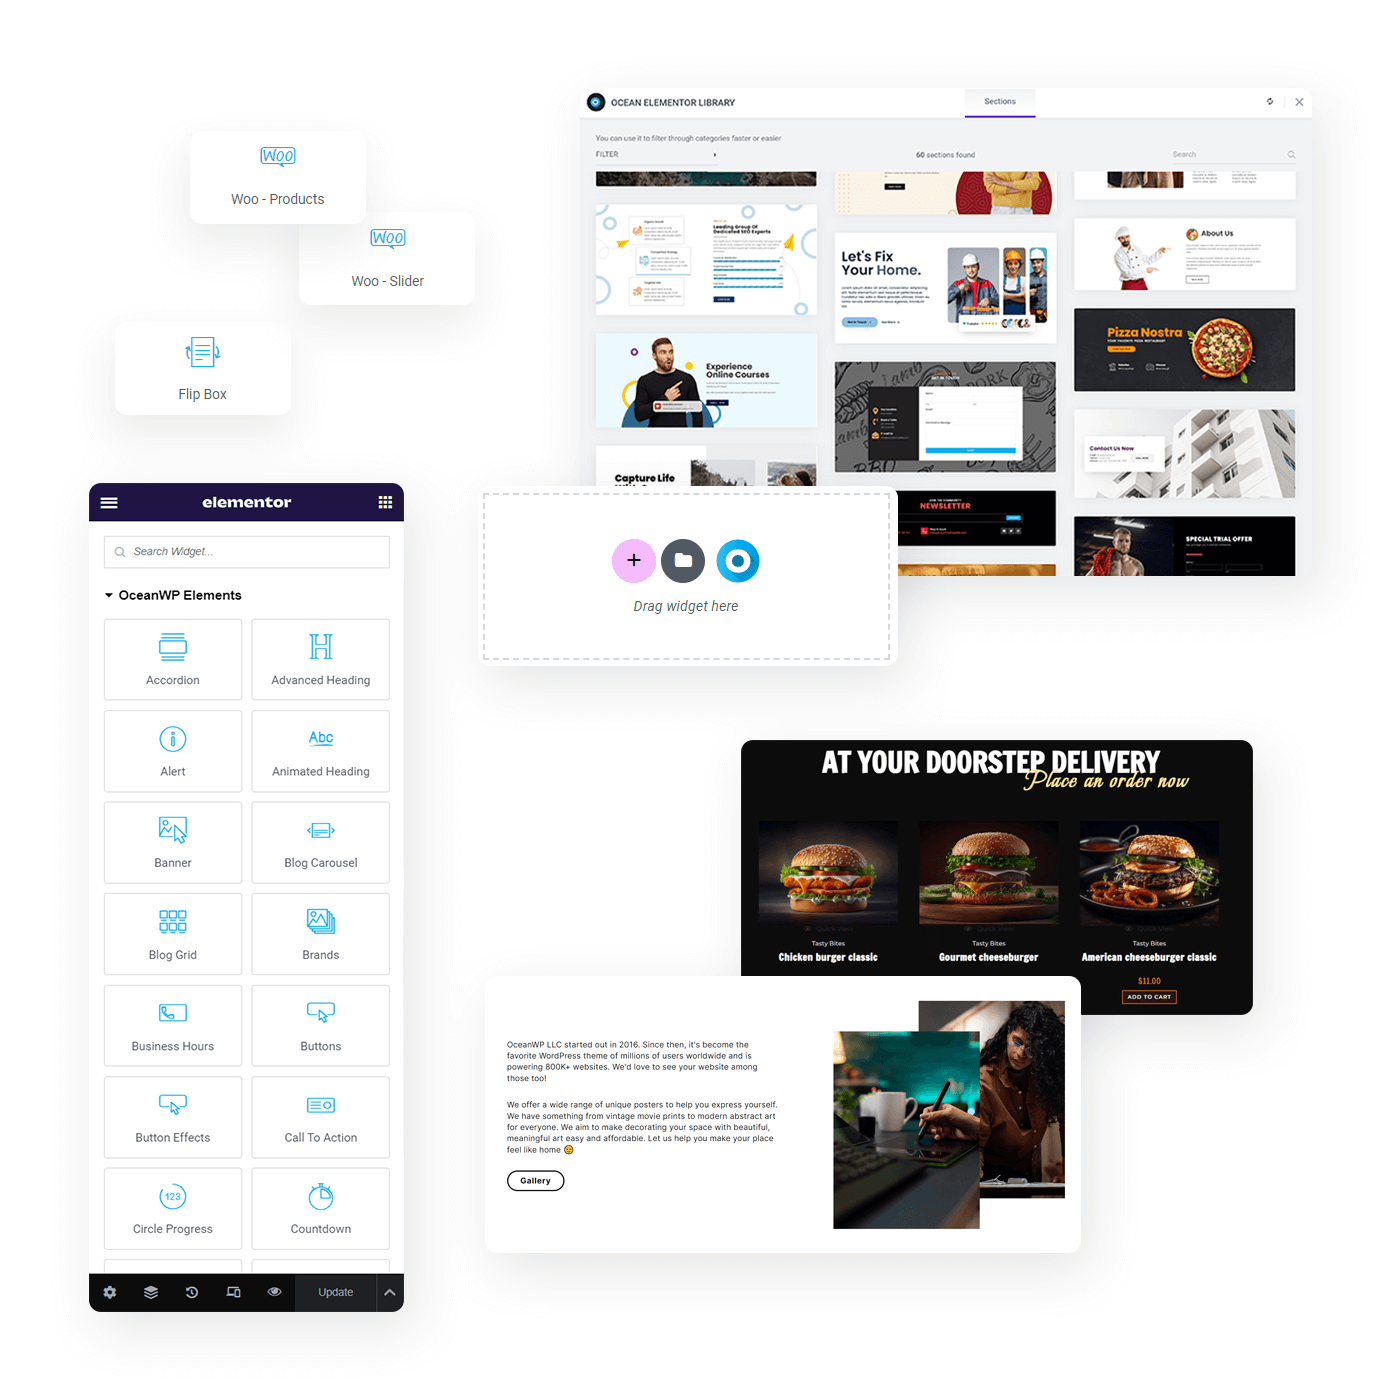
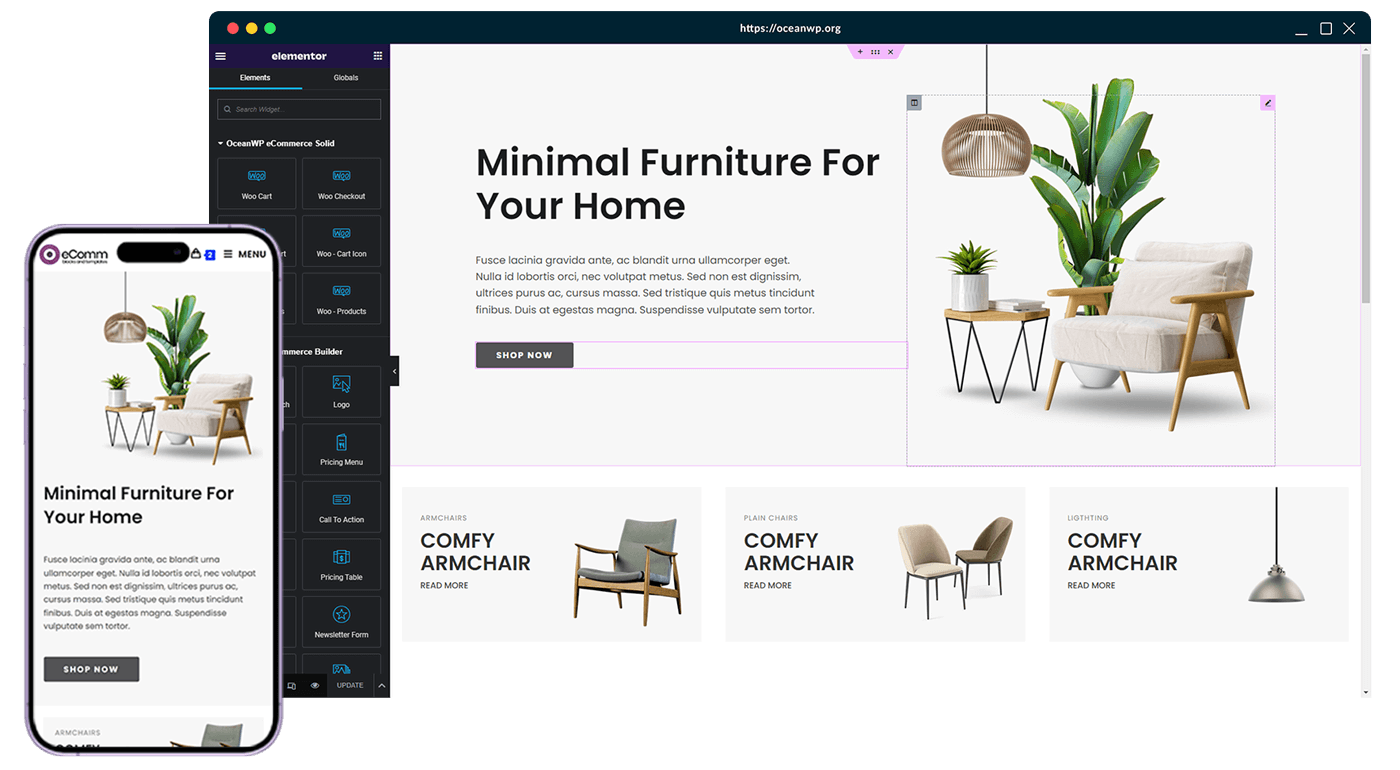
the theme that popularized Elementor
Best theme for Elementor
Combine OceanWP's stability and vast customization & styling options with Elementor's page builder capabilities for a maximum design impact.
Custom sections
Build and apply custom headers, footers and sections. Simple implementation on global site and individual pages level.
Custom pages layout
Control the layout of all pages, enable theme elements per need with a few simple clicks, and get the design right every time.
Elementor library
Speed up the building process with OceanWP Pro Bundle & a library of fully editable and customizable section templates.
Typography
Apply local Google fonts or Adobe TypeKit integration to your Elementor designs seamlessly and for free.
Elementor widgets
Spice up your content with OceanWP Pro Bundle & a full stack of dedicated widgets and features for Elementor.
Full site templates
200+ Elementor full website templates available with OceanWP Pro Bundle. Editable & customizable in full.
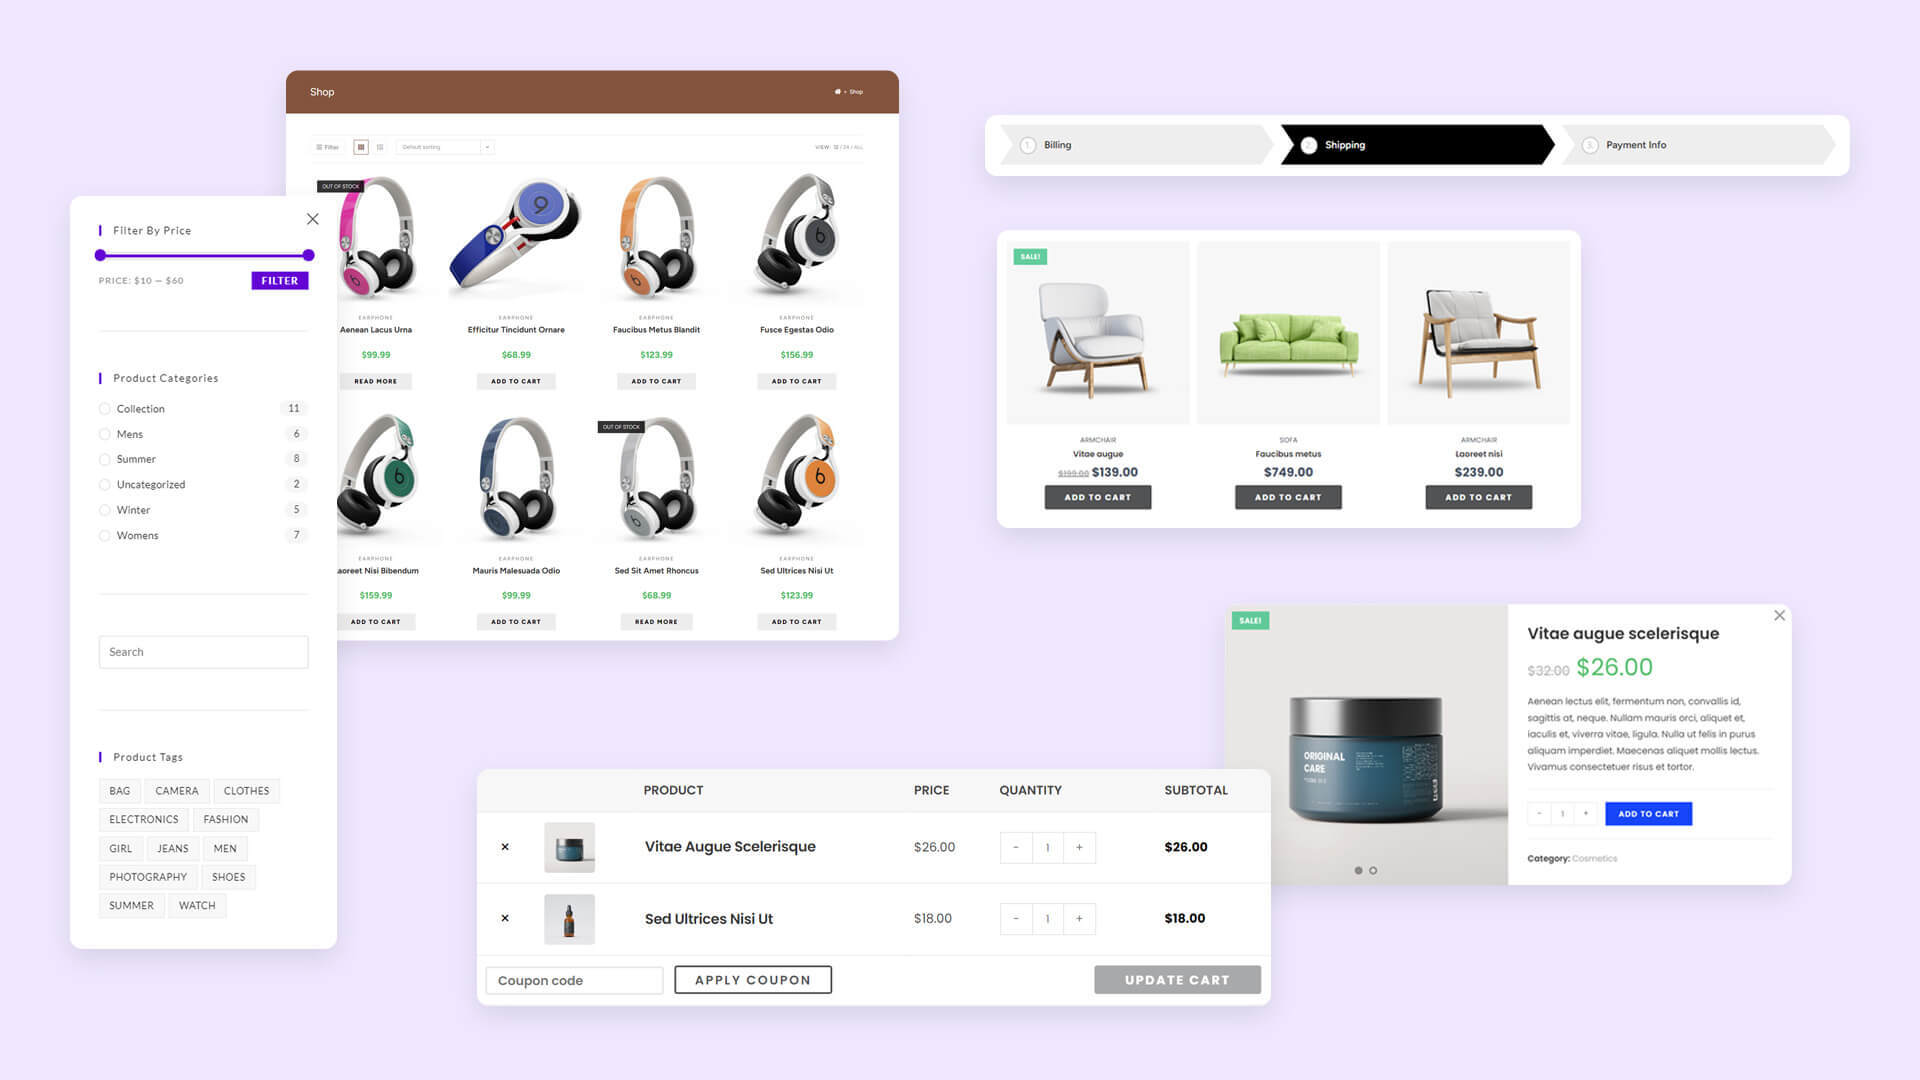
Build an online store to admire
The best theme for WooCommerce
OceanWP comes with a seamless WooCommerce integration, with an abundance of out of the box features, customization and style options that enable every person to build a fully functional eCommerce website and start selling immediately.
100+
WooCommerce templates
Over 100 full website templates available for stores of any type with the OceanWP Pro Bundle.
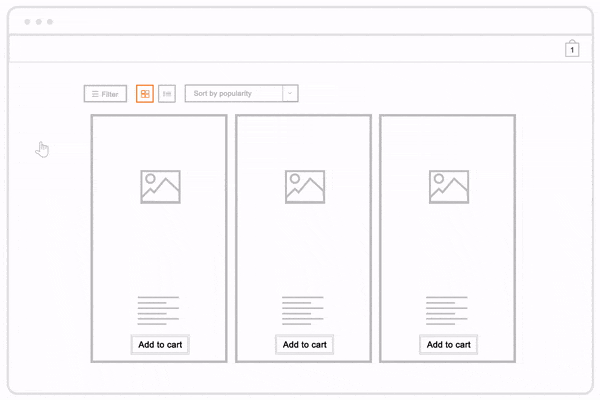
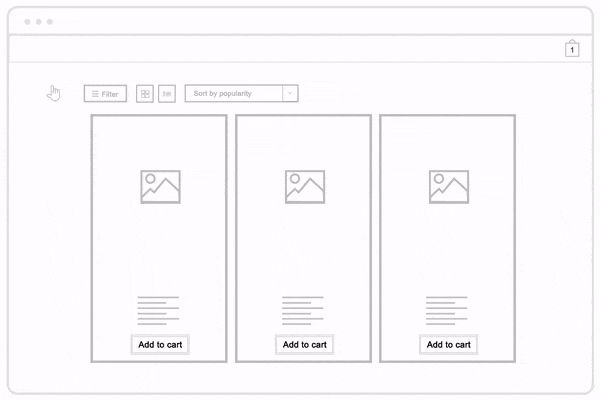
4+1
Shop & product
archive styles
Out of the box styles. Each style comes in a grid layout with an optional list style.
7
Shop & archive loop
builder elements
Design and customize the shop pages your way, directly through the Customizer.
6
Single product loop
builder elements
Design and style the perfect single product page with arrangeable elements.
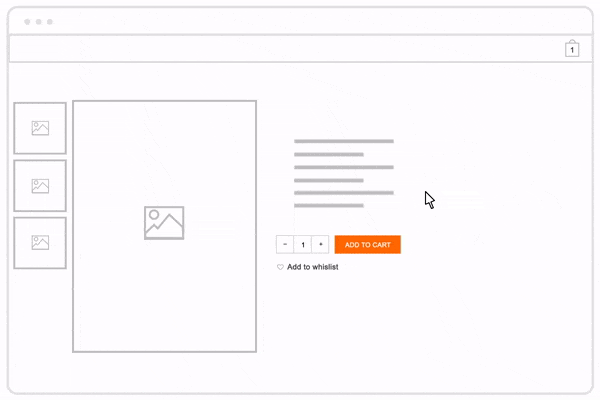
Sticky Add to Cart
Add a sticky Add to Cart feature to your single product pages with the Floating Bar to increase conversion.
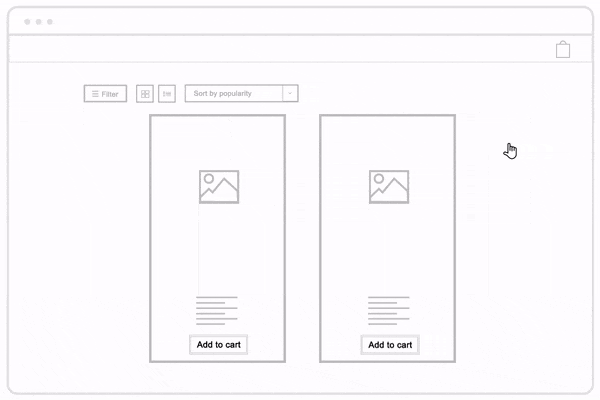
Off Canvas Filter
Keep your shop pages clean with the Off Canvas Filter - a sidebar that is always a click away.
Mini Cart
With OceanWP you can display the cart directly in the menu and select your perfect Mini Cart style.
Product Quick View
Help customers reach a decision fast by displaying product short description with the OceanWP Quick View.
Get even more out of WooCommerce
Build custom eCommerce
websites
Build custom online stores with WooCommerce and OceanWP with the Ocean eComm Treasure Box premium addon for WooCommerce.
Choose your Ocean eCommerce Pro plan and get access to a box loaded with treasures that enable you to turn your shop into a money-making machine.
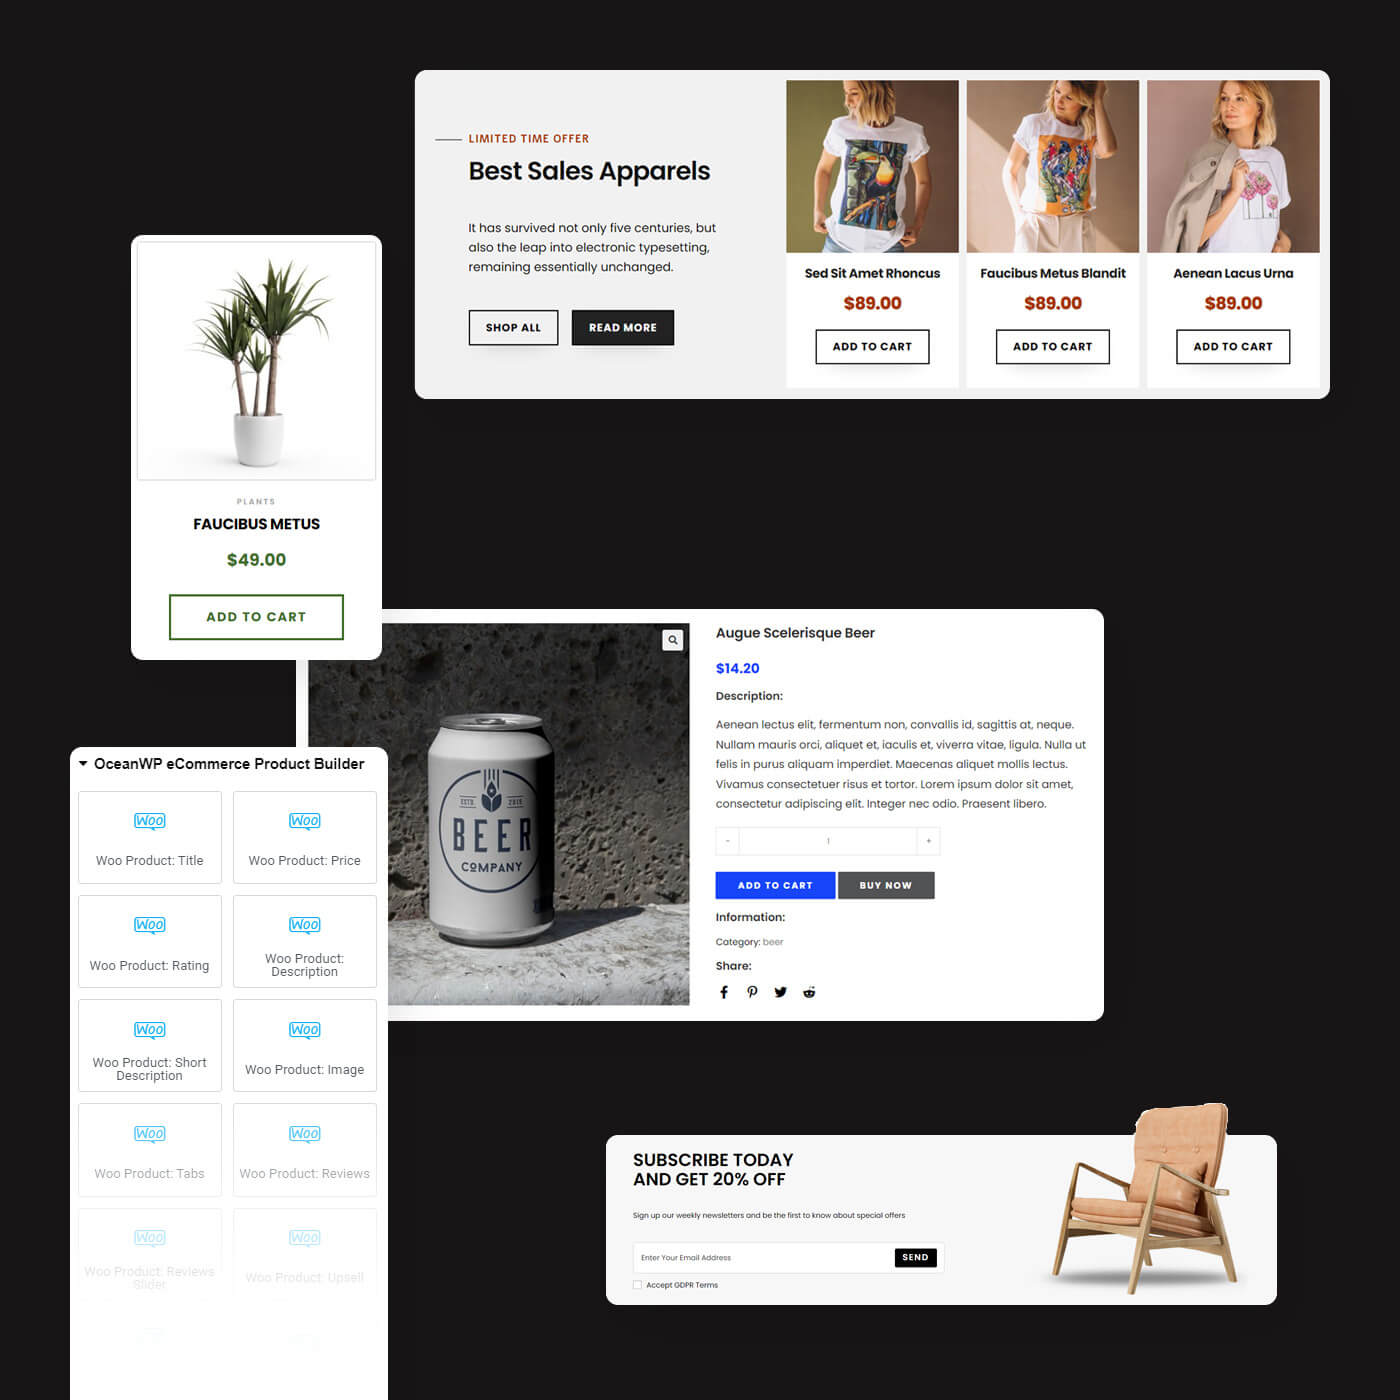
Add an extra kick with free Ocean extensions
Enhance your website
Free OceanWP extensions for WordPress bring extra functionality for everyone.
- Freemium full site templates.
- Additional WordPress widgets.
- Metabox Settings for full site control from top to bottom.
- Unlimited custom sidebars.
- The good kind of popups with modal window display.
- Blog post social sharing options.
- Single product social sharing options.
- MailChimp, Adobe Typkeit, local Google fonts.
- Seamless blog post sliders.
- + many more.
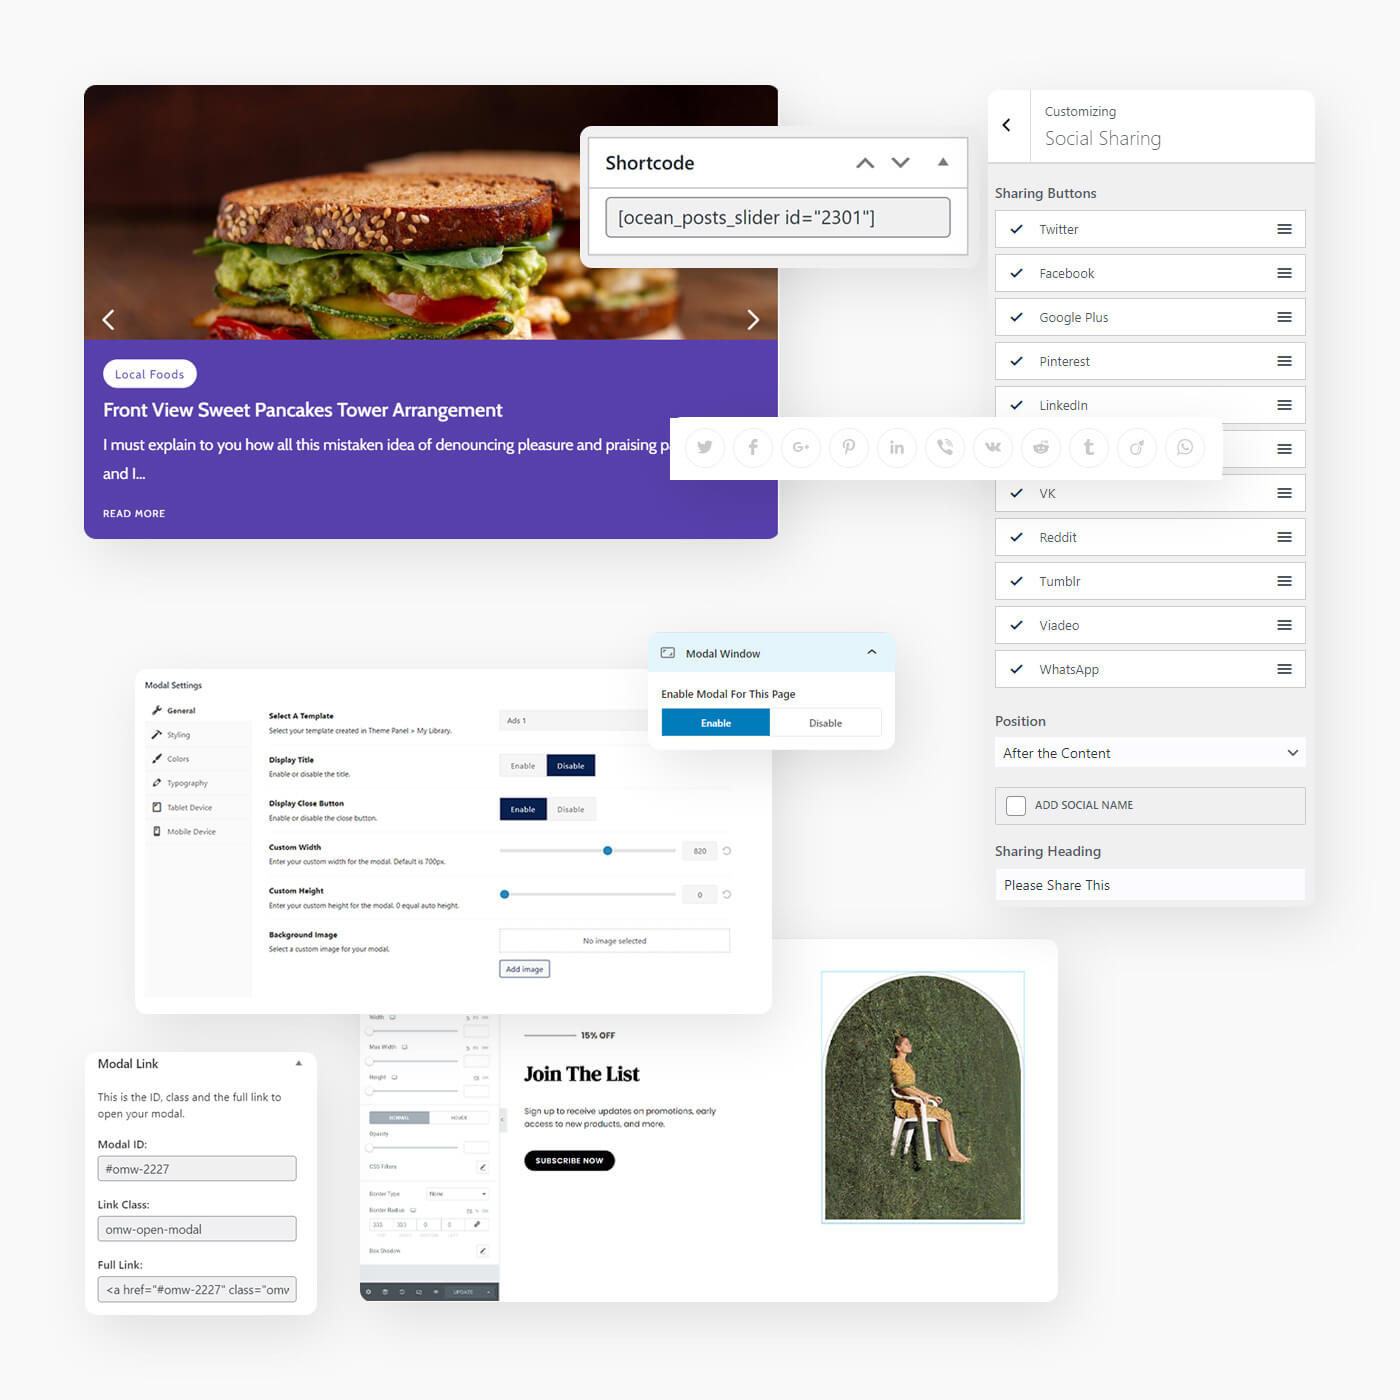
Do more with the OceanWP Pro Bundle
Amplify your excellence
OceanWP Pro Bundle extensions complement your website with powerful new features, helping you achieve perfection.
- Premium full website templates for Elementor and Gutenberg.
- Elementor section templates library.
- Sticky Header.
- Widgets pack for Elementor.
- Popup Login.
- Footer Callout.
- Hooks for custom codes and templates.
- A simple Cookie Notice.
- Sticky Footer
- + much more.
OceanWP is an exceptional theme, I’ve used it for several sites and it pairs seamlessly with Elementor to build websites that are as capable as they are beautiful.
The customization and widget options are second to none. I’m self taught when it comes to WordPress and building sites and have been able to create options with gorgeous store fronts, online scheduling, and class booking platform integrations with ease.
Stop searching through themes OceanWP is the only one you need!
insightfulequine (@insightfulequine)
OceanWP user / WordPress.org review
Get the best out of WordPress
Build your website on a strong foundation
100% risk-free
Use any OceanWP pro products worry-free. We have a 14-days No-Questions-Asked Refund Policy in place for all new purchases. We 100% adhere to it.
Continuous support
We provide continuous support for all OceanWP users, free and pro. Use our products carefree, knowing you can always count on us.
Continuous updates
We are working on improvements around the clock, to ensure your websites are always able to meet the latest demands.
Keeping it real
Your trust matters to us. No fake tests, no false claims, no games. Our users & clients' experience and feedback throughout the years speak volumes.