WooCommerce product variation swatch is an incredible technology introduced to boost site sales and conversion.
Thinking why swatches are incredible, right?
Product variation swatches replace default WooCommerce product variation select dropdown field and enable color, image, label, and radio swatches. Consequently, customers can easily select their desired product variation and add them into cart immediately.
In this tutorial, I am going to show you how you can enable radio, label, color, and photo variation swatches in WooCommerce variable product using OceanWP Theme.
I am assuming you have OceanWP theme installed. To enable swatches in your variable products, install WooCommerce Variation Swatches plugin first.
Live Demo | Download WooCommerce Variation Swatches Plugin
WooCommerce Variation Swatches Installation

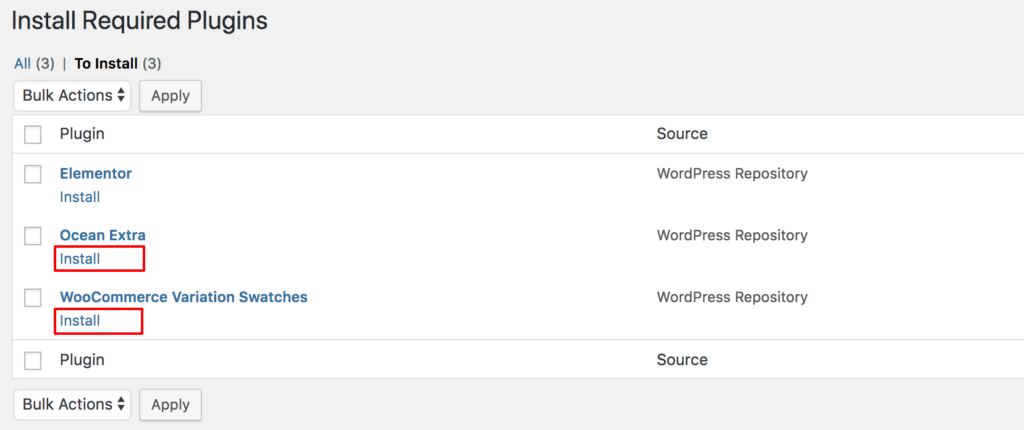
You can download WooCommerce Variation Swatches plugin from your site backend as well. Select Begin Installing Plugins from top admin notice.
Install and Activate WooCommerce Variation Swatches and Ocean Extra plugin.
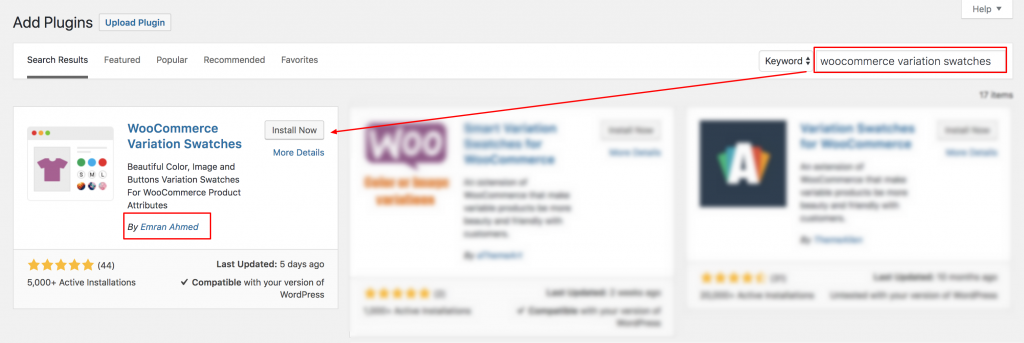
If you don’t get the top notice to install the swatches plugin, navigate to Plugins >> Add New. Search for WooCommerce Variation Swatches in the search field. Install and Activate WooCommerce Variation Swatches Plugin by Emran Ahmed.
After successfully plugin installation and activation, it’s time to create radio, label, color and image variation swatches in OceanWP theme. Let’s start the process.
WooCommerce Variation Swatches Setup
After installing Woocommerce Variation Swatches and Photos plugin in your OceanWP theme. It’s time to configure this plugin for your variable products. There are two ways to install this plugin.
- Enable variation swatches for existing variable products
- Setup variation swatches For new variable products
In this tutorial, I am going to describe both the ways.
Enable Variation Swatches For Existing Variable Products
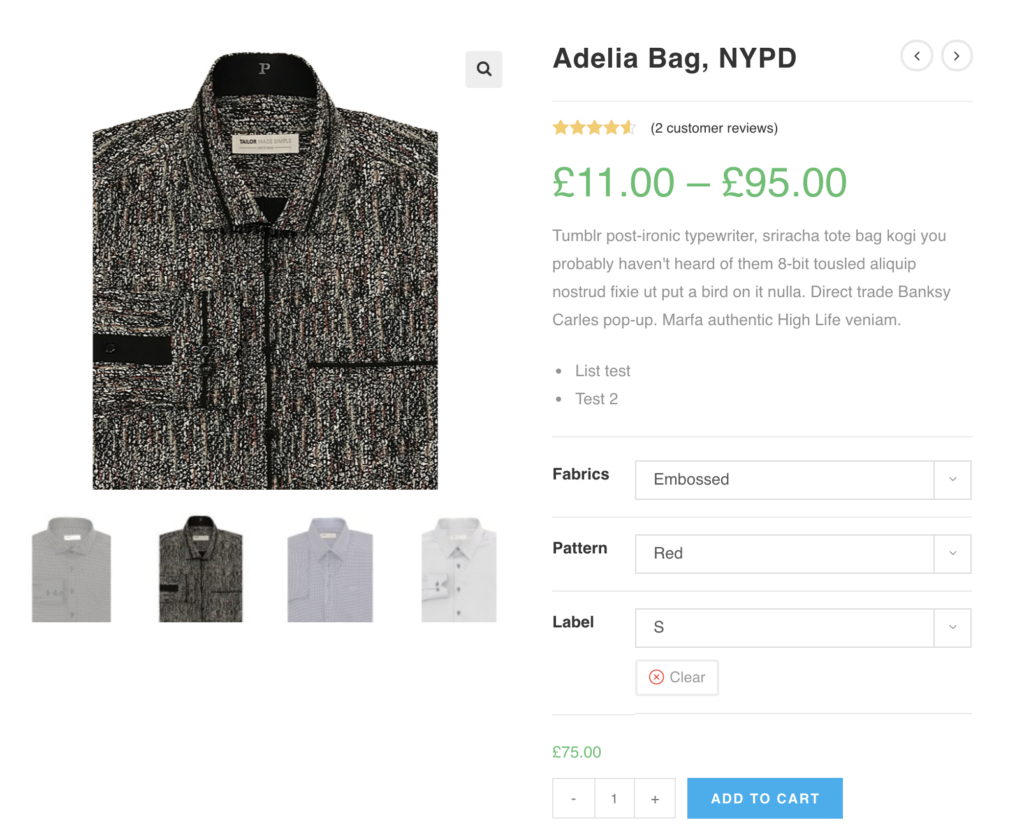
Many of you already have variable products created in your store. If you want to turn the product variation dropdown select into radio, label, color, and images swatches, you have followed this tutorial from here. Check the following screenshot. The default variation select dropdown currently looks like the following screenshot in your site. In the coming steps, I’ll show you how you turn the variation select field into beautiful swatches.
Before
After
Step 01: Editing Attribute
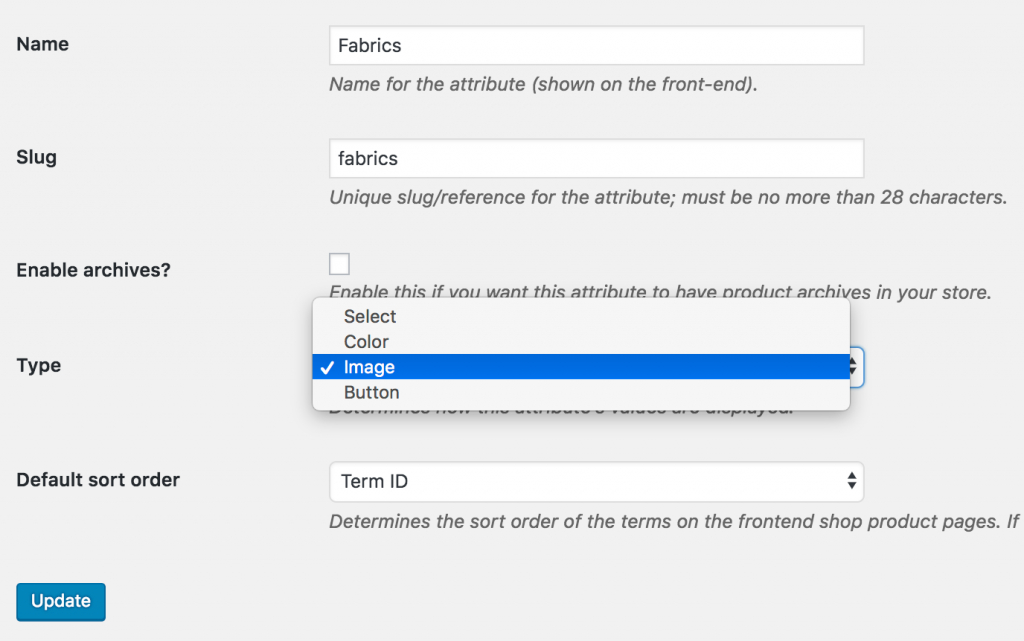
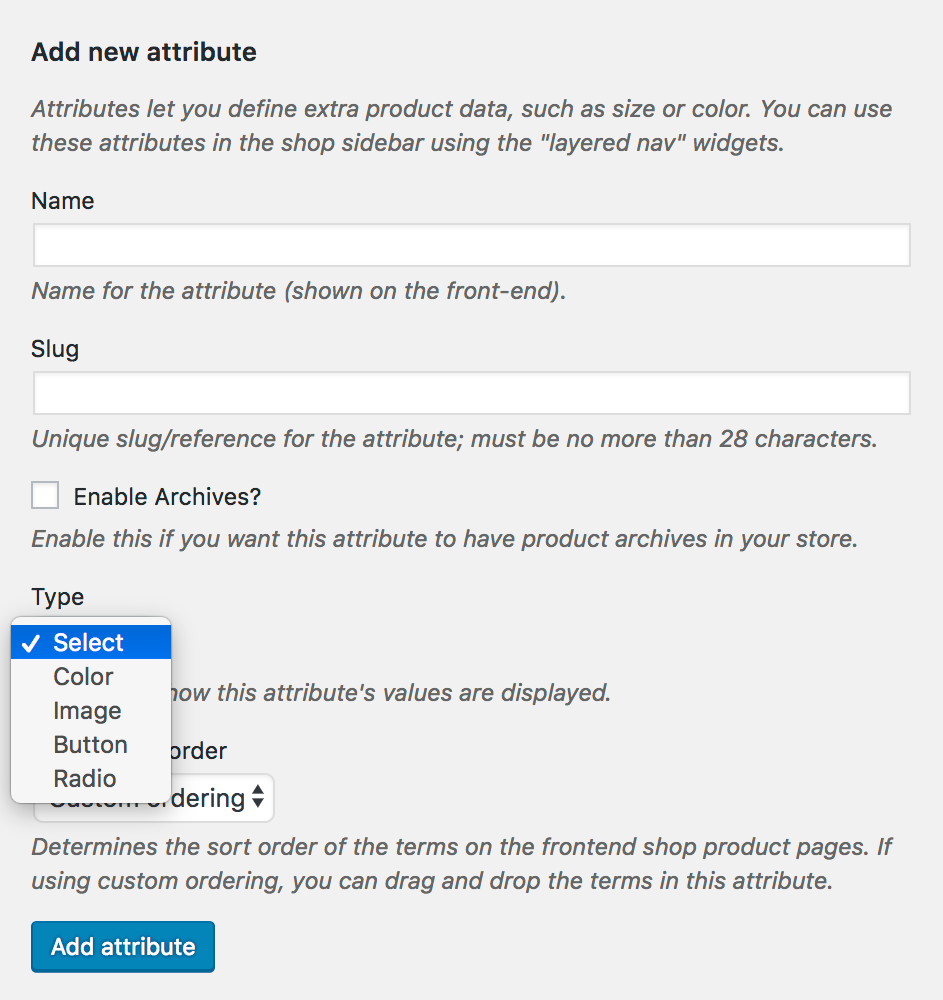
Head to the Products >> Attributes. All existing global attributes are listed in attribute section. After installing WooCommerce Variation Swatches plugin, it adds Type field. By default it would show select under Type title.
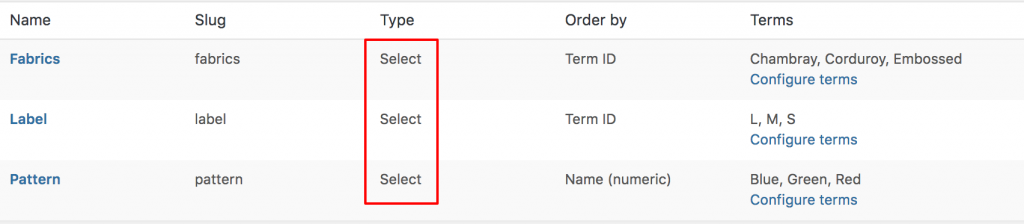
As WooCommerce Swatches Plugin comes with Three attribute types: Color, Image, Button. You can set any of attribute type for your desired attribute.
For demonstration purpose, Fabrics, Pattern and Label attribute has been created. Add Color attribute type for Pattern attribute, Image attribute type for Fabrics attribute and Button attribute type for Label Attribute.
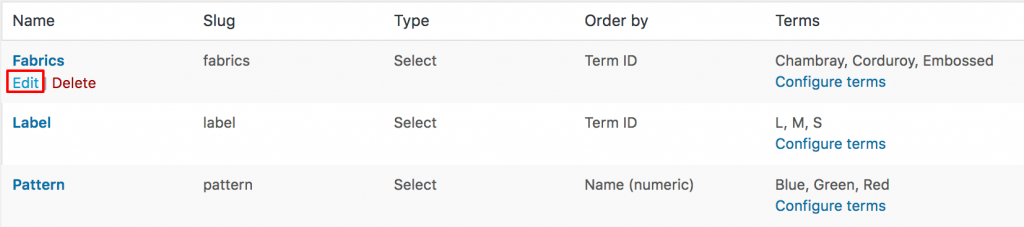
To set color attribute type to Pattern attribute, click on Edit.
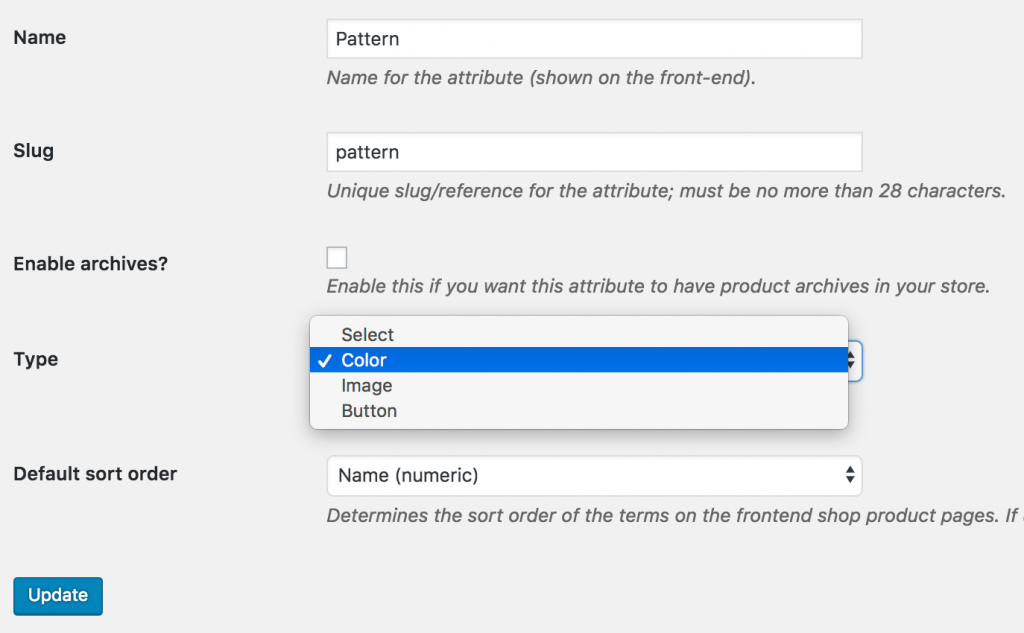
Select Color Type from the type dropdown.
Get back Products >> Attributes. Edit Fabrics attribute like Pattern attribute.
Get back Products >> Attributes again. Edit Label attribute like Fabrics and Pattern attribute.

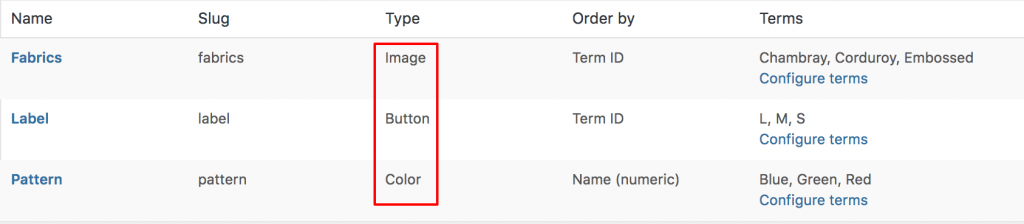
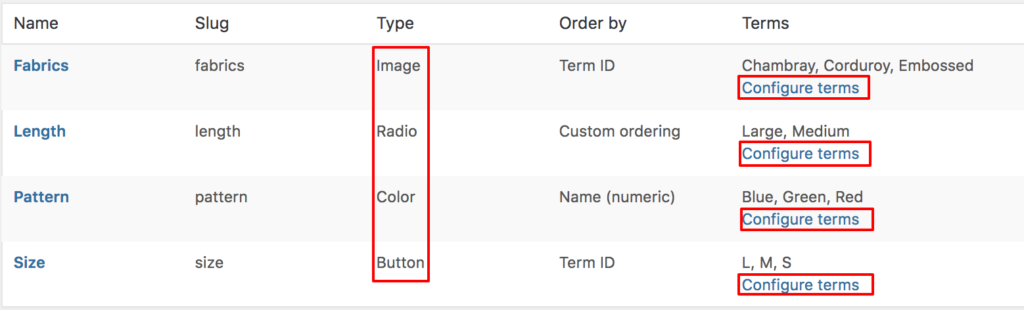
When attribute type selection is completed, get back to the attribute list page. The Attribute list would look like the following image.
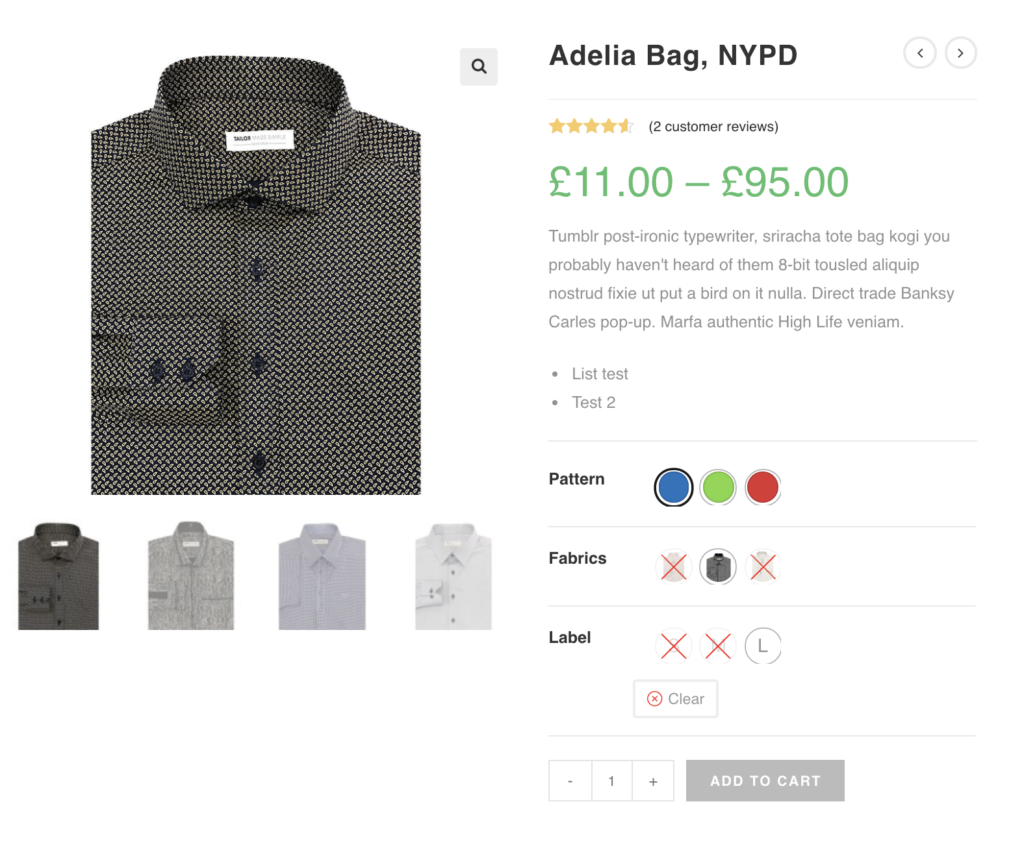
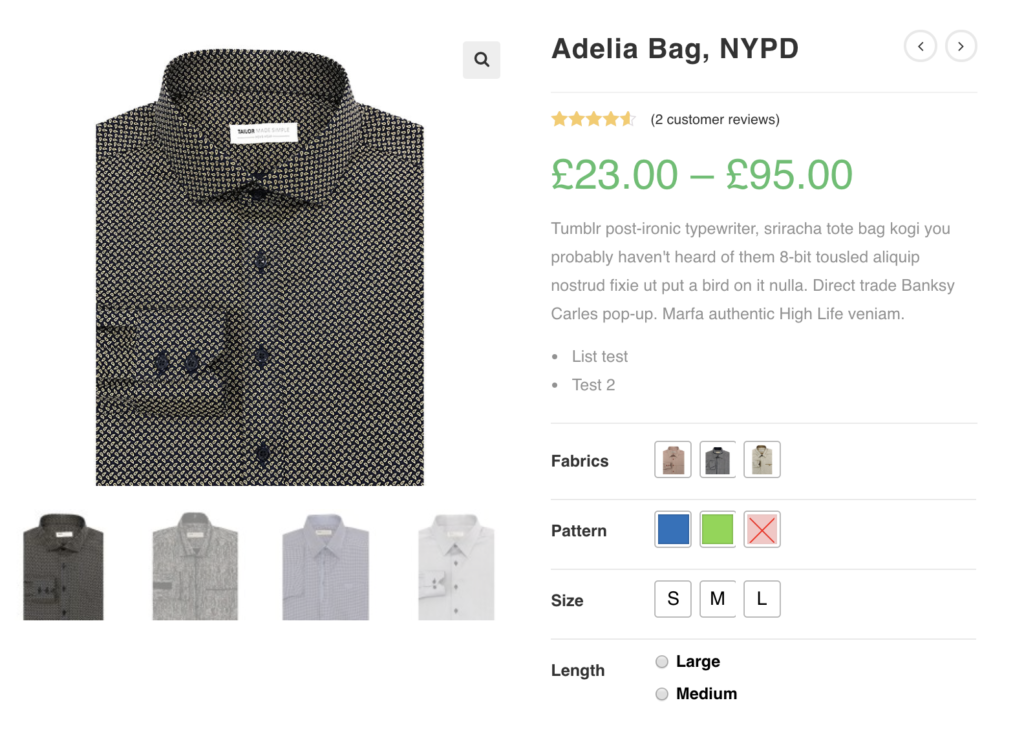
The frontend of the product would look like the following screenshot after selecting attribute types for product attributes.
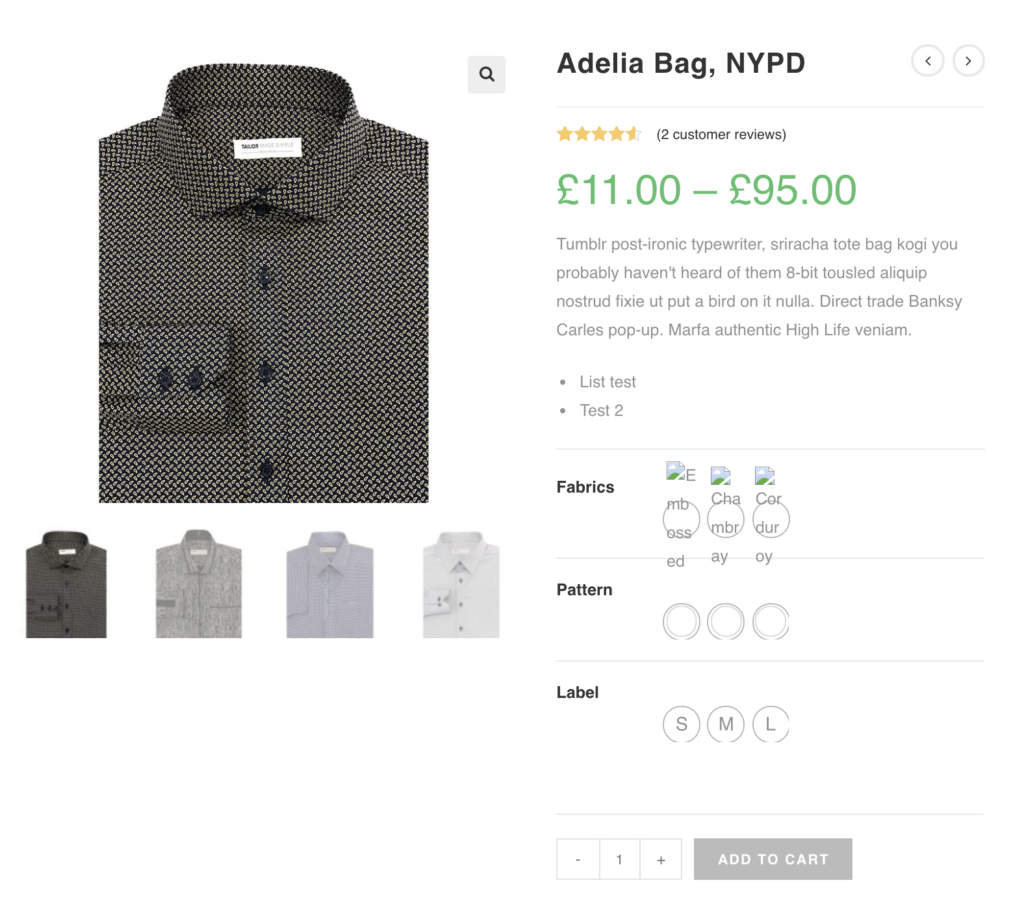
Variations for Label attribute looks fine, but variations for Pattern attribute needs to define colors and variations for Fabrics attribute needs to add images.
Step 02: Editing Variations
To define colors as variations inside the Pattern attribute. Head over to Products >> Attributes. Select Configure terms from Patterns attribute.

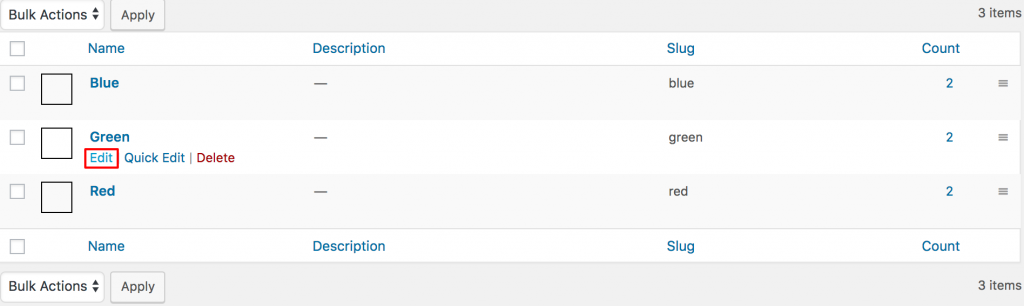
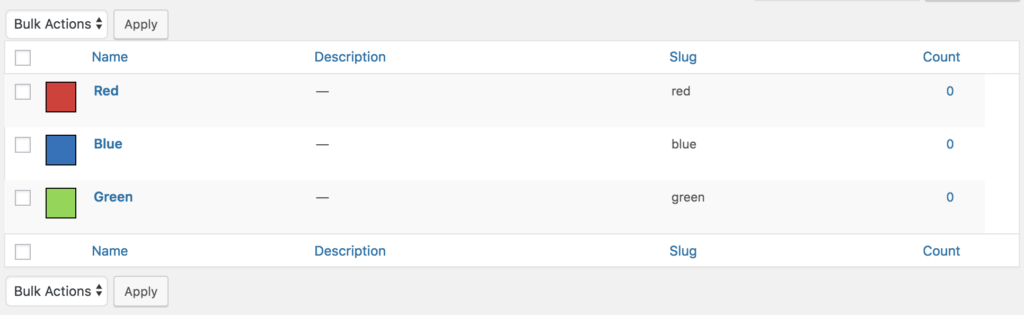
After selecting Configure terms, a list of attribute variations comes up. For Pattern, three variations: Blue, Green, and Red variations are listed here. Edit each variation one by one to add variation color.
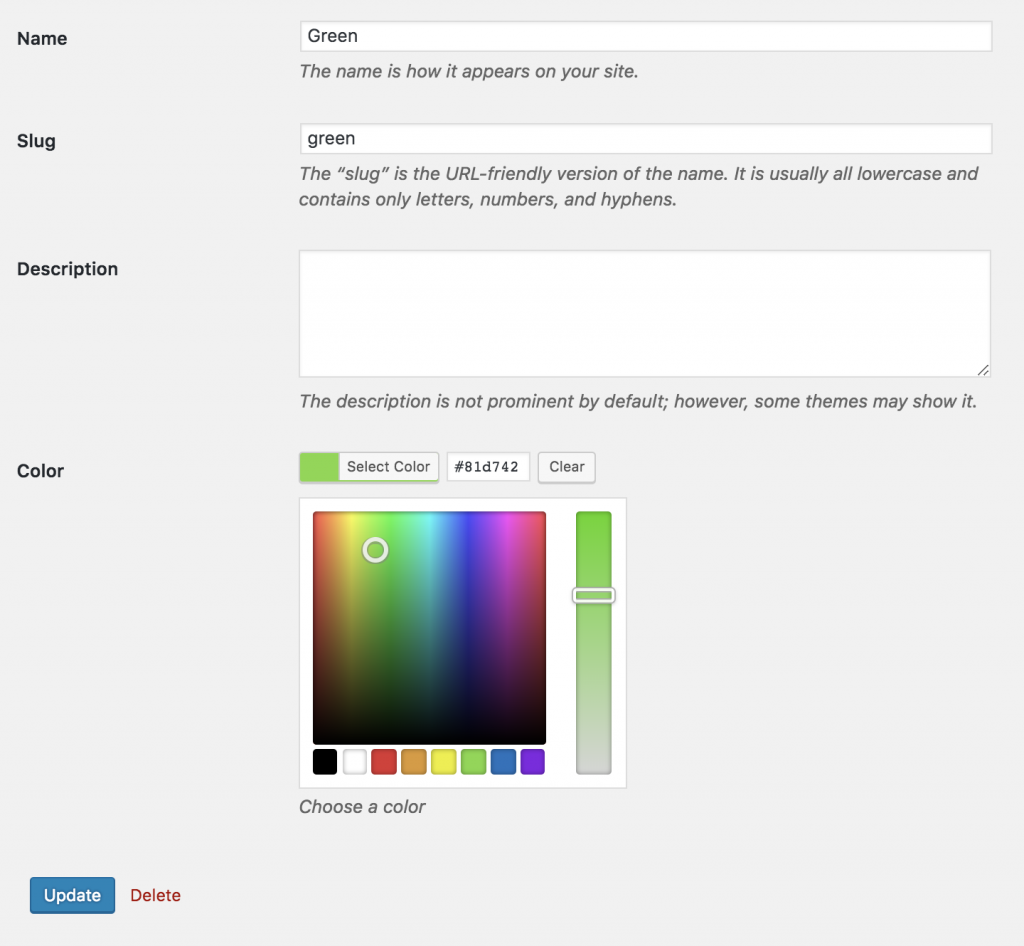
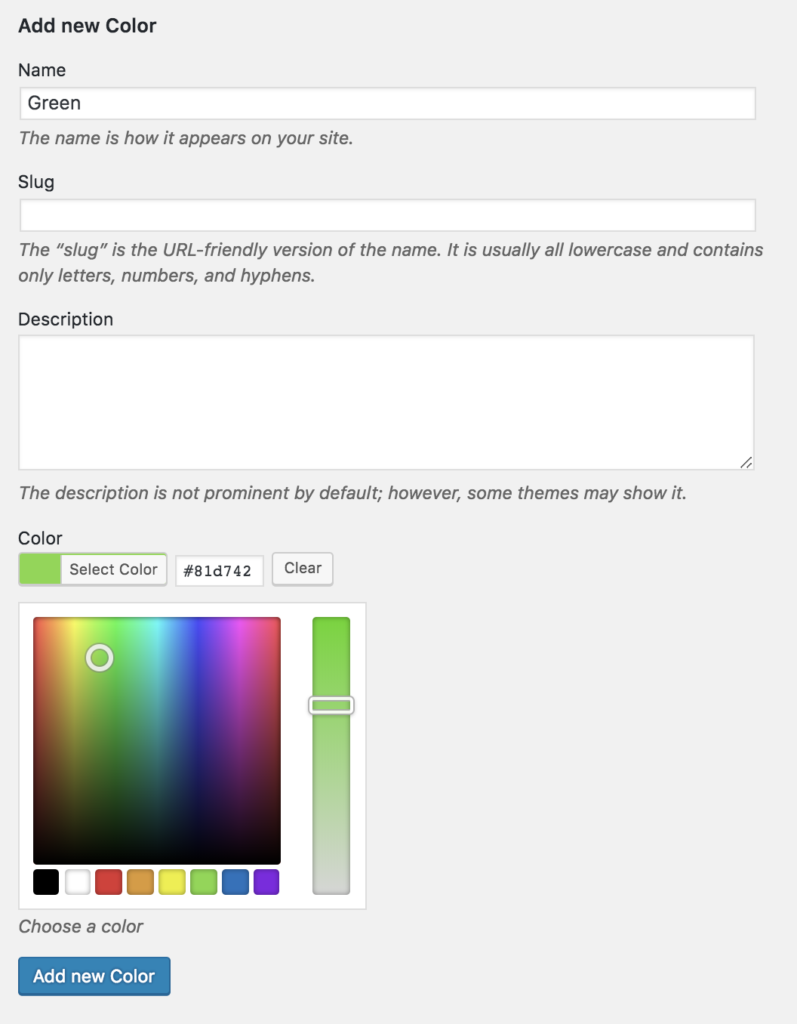
For demonstration, select Edit link for Green variation.
From variation edit panel. Select desired color from Colorpicker and the update the changes pressing the Update button.
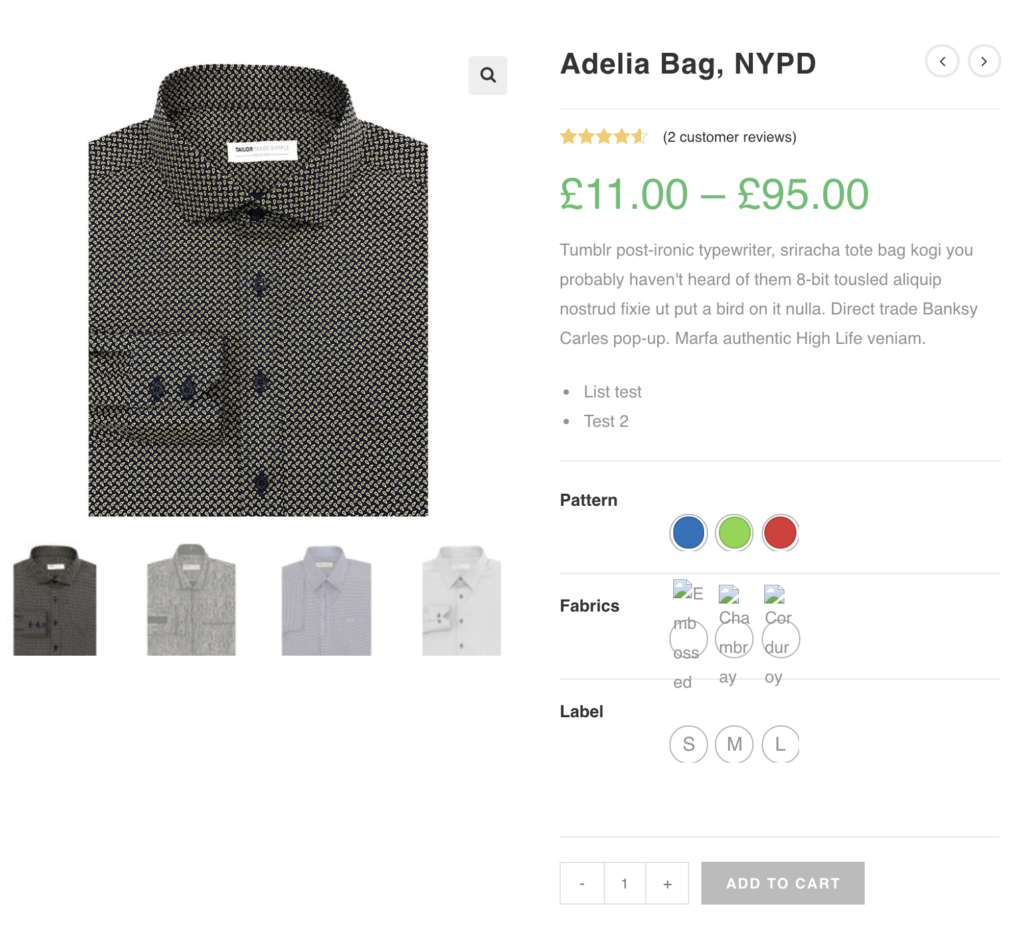
When all variations colors are updated successfully, the frontend look likes the following.
After updating pattern attribute variations, edit Fabrics attribute selecting Configure terms like pattern attribute.
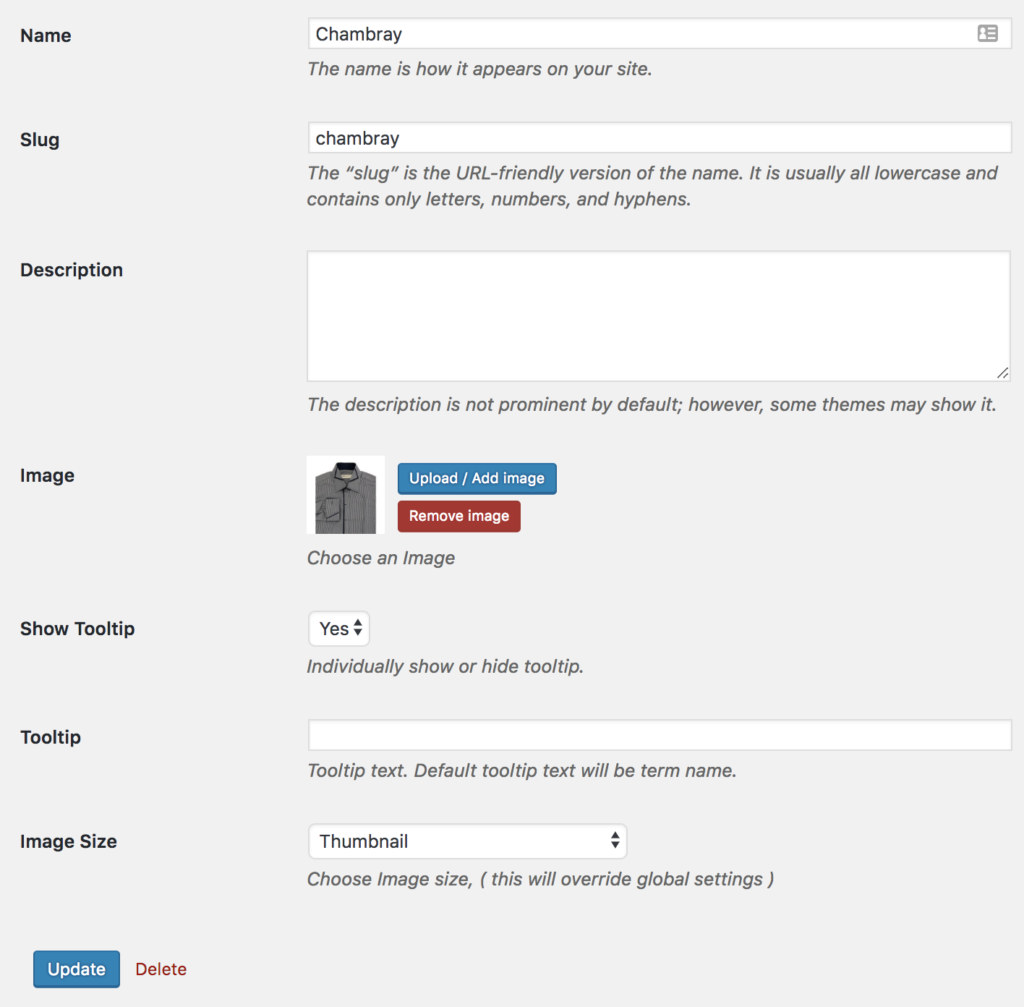
After pressing Configure terms a list of Fabrics term comes up like pattern. Edit each variation to insert variations image. For demonstration purpose, Edit link for Chambray attribute.
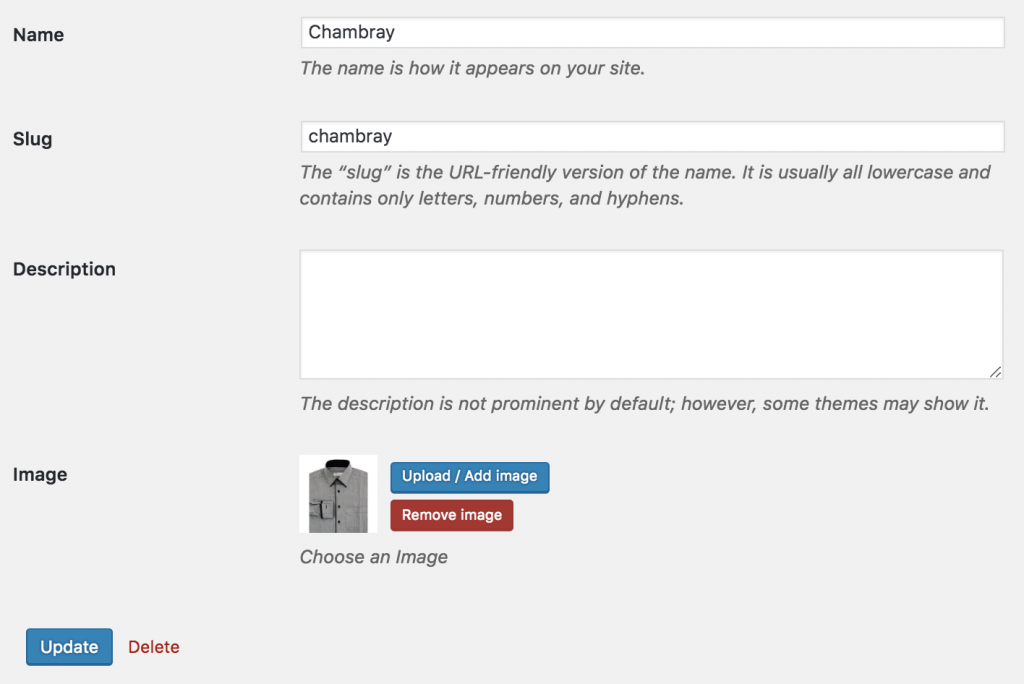
From variation edit panel. upload desired variation image from image and update the changes pressing Update button.
After updating images for all variations, the frontend would like this the following screenshot.
Setup Variation Swatches For New Variable Products
This is the step for those who don’t have any variable product created for their store. First, we will create variable products and enable swatches for them.
Step 01: Create Global Attributes and Variations
After successfully plugin installation and activation, create your desired attribute globally from Products >> Attributes. Create Pattern, Fabrics, Length and Size variation enter attribute title and corresponding attribute type from Type dropdown.
When color, image and label Pattern, Fabrics, Label and Size attribute is created successfully, it creates a list of attributes in left.
After creating global attributes, add attribute variations selecting Configure terms. To create variations for Pattern attributes, select Configure terms links. Fill Name field and select color codes. Create Green, Blue and Red variations for color attributes.
A list of attribute variations comes up in the left screen after adding variations for Pattern attributes.
Get to the Products >> Attributes again. Create variations for Fabrics attributes, select Configure terms links from Fabrics. Fill Name field and add variation image from media library or upload from computer.
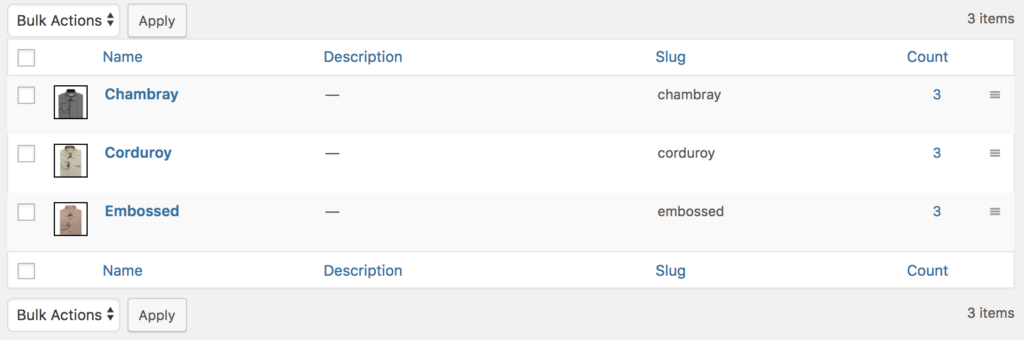
Create Chambray, Corduroy, and Embossed variations for image attributes and they will appear in left.
Create variations for Radio and Label attributes like the Image and Color variations.
Step 02: Display Swatches in Variable Product Page
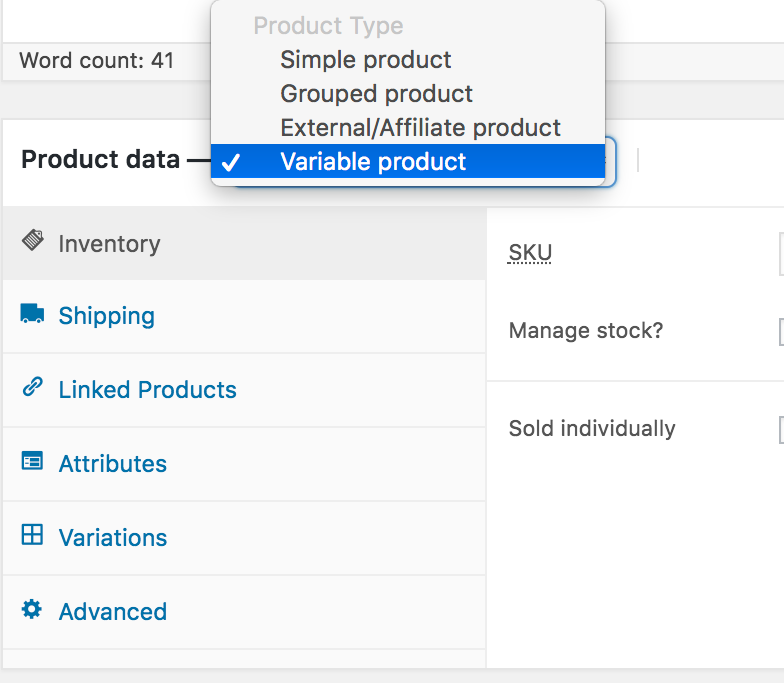
To enable swatches on the variable product page. Get into your desired product edit mode, select variable product from Product Data.
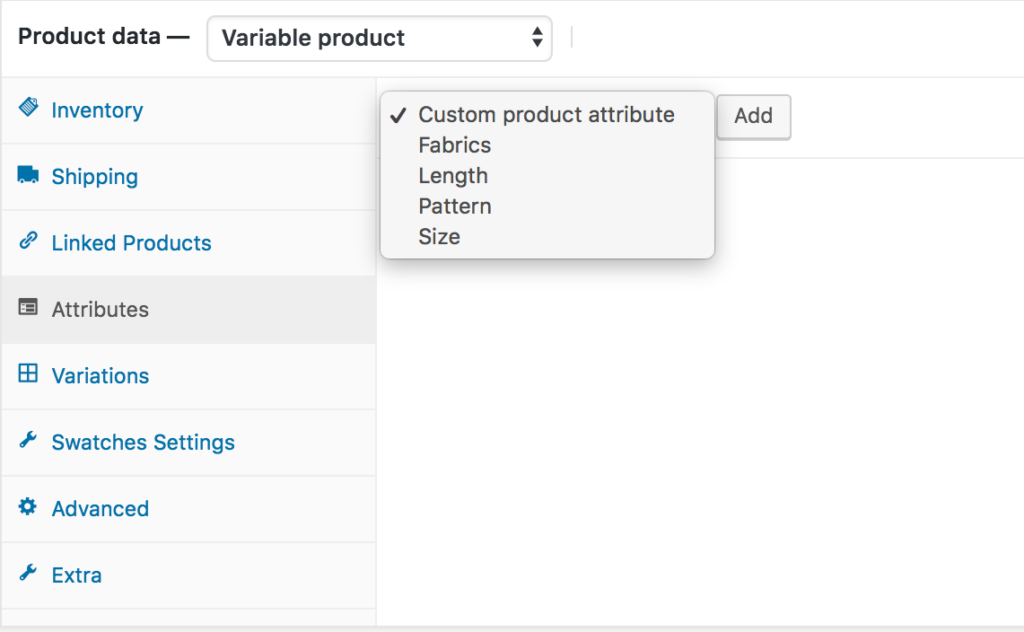
Head to the Attributes Tab. Click on Custom product attribute dropdown. Here all globally created attributes get appeared. Add all attributes one by one.
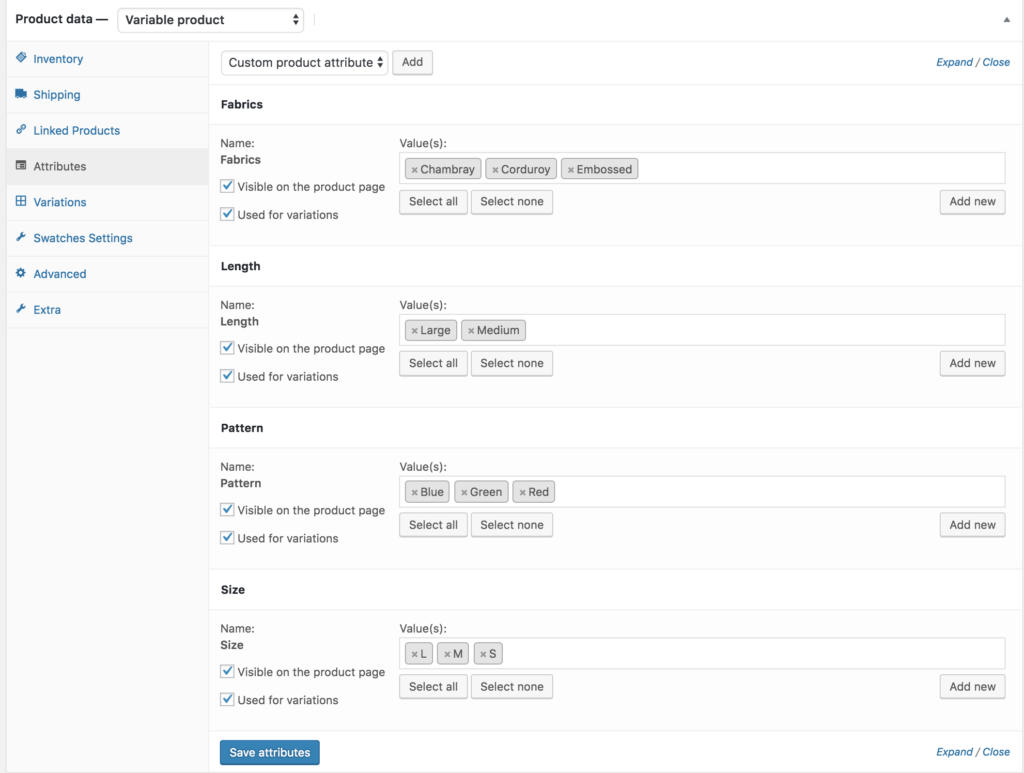
After adding all attributes, press Select All button from each attribute setting to add all its available variations at once. After adding product attribute variations, save settings selecting Save Attributes Buttons.
Now get into Variations tab. Click on Add Variation dropdown. Here two options comes up. First one is Add Variation and the second one is Create variations from all attributes.
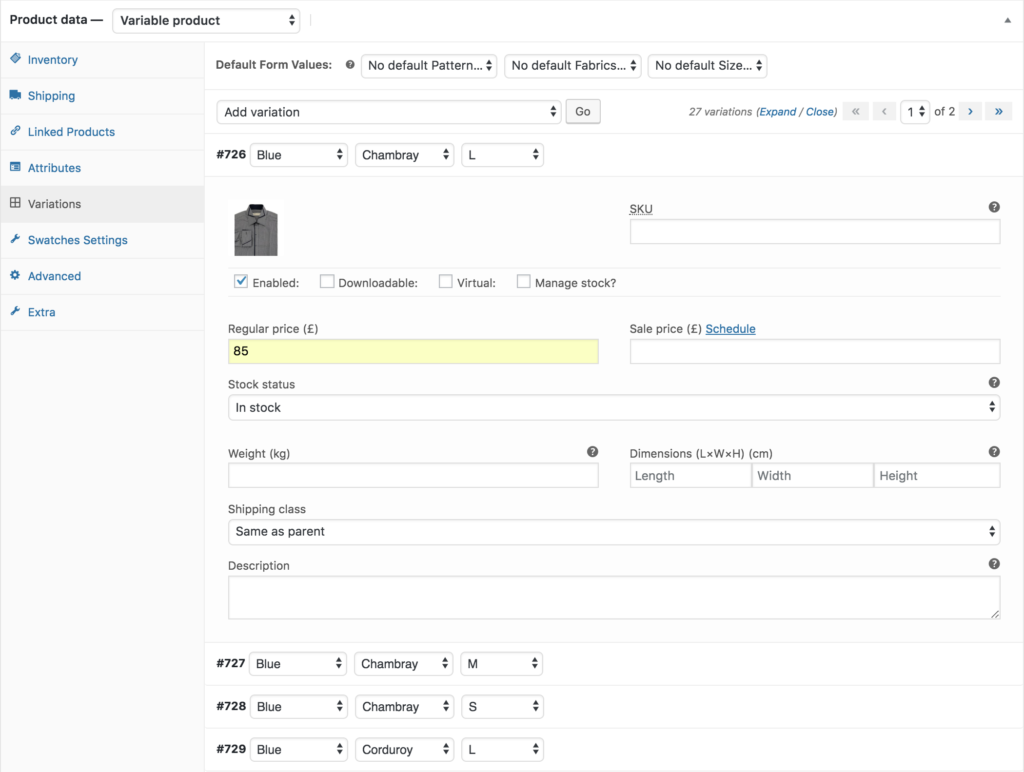
Select Create variations from all attributes and Press Go. It’ll add all available variations combination created for attributes. Add price and variation image for individual variation and save the settings.
Conclusion
I’ve tried to cover each and every step to install WooCommerce Variation Swatches Plugin in OceanWP theme. Let me know in the comment box if you need any more help.


Hi,
There are some style errors while displaying in the Product page, it has a margin-top of 20px, and also Now the Radio button is not seen.
Hi, what about if we have somethign like 170 variation?
It’s possible to see that in a popup?