Adding a slider to your website can be a good choice because that makes the first impression for your visitors. But after you’ve decided that you want to add sliders to your WordPress page, how do you know which one you should choose? Can you use it freely? Is it simple to manage? Can you put it into your site easily?
The answer for all your questions is yes, it’s possible, Smart Slider 3 can do all of these: it is completely free, user friendly and it works well with your OceanWP Theme as well.
In this tutorial, I am going to show you how you can import a demo Slider, make your own Smart Slider, and how you can create a Dynamic Post slider using the OceanWP Theme.
Installing Smart Slider 3
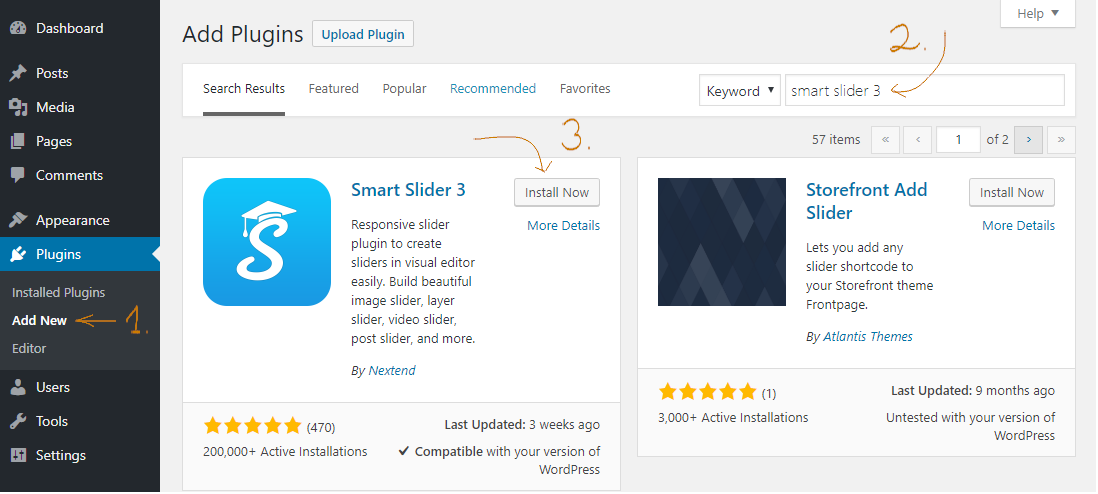
You can easily install Smart Slider 3 when you go to Plugins → Add new. Search for Smart Slider 3 and after that you can install it.
Other option is that you can directly download it from the Smart Slider 3 website and then you can upload it.
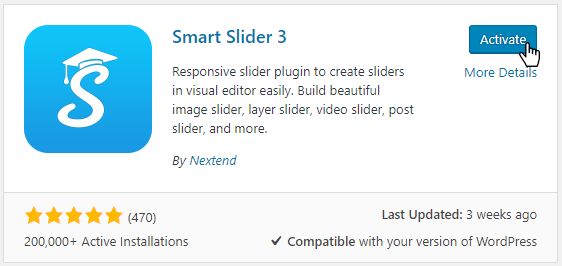
After that you can activate Smart Slider 3:
How can I Create my first Slide?
Importing a demo slider is great, but I would like to show you how you can make your own slider. I will show you how I build the first slide of a Full Width example slider.
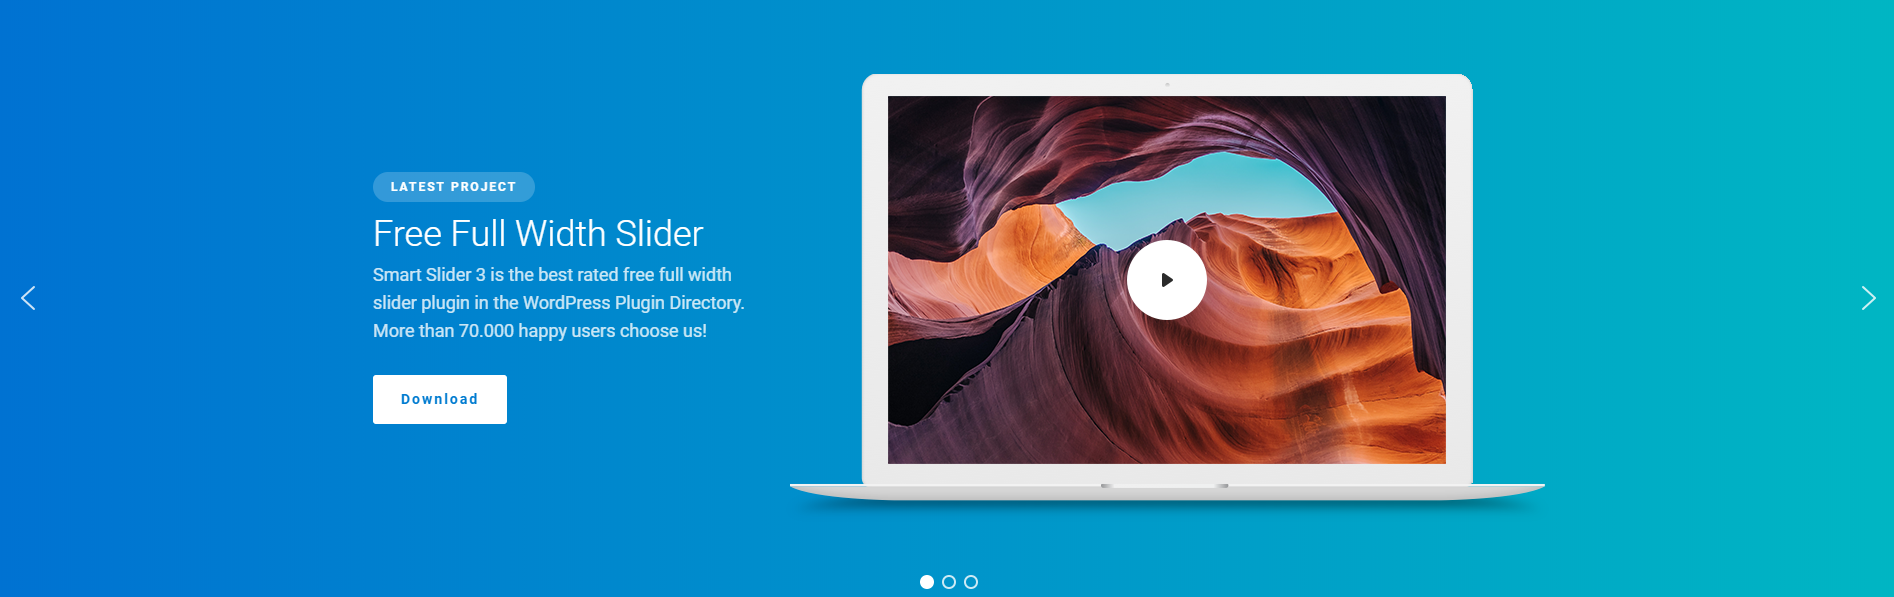
First I choose the New Slider option on the dashboard and after that I choose the full width mode in a pop-up window.
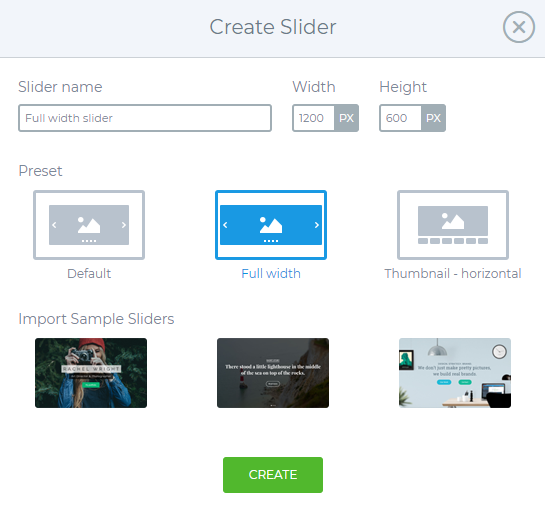
I set the slider size to 1200x600px and then I create my slider.
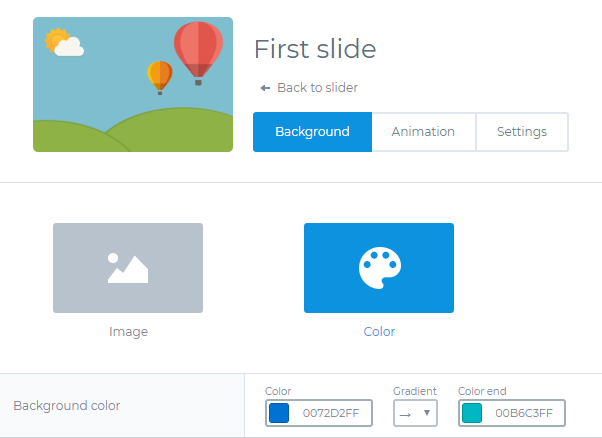
After that I add an empty slide, which has a linear gradient background color, so I set it in the Slide settings → background tab.
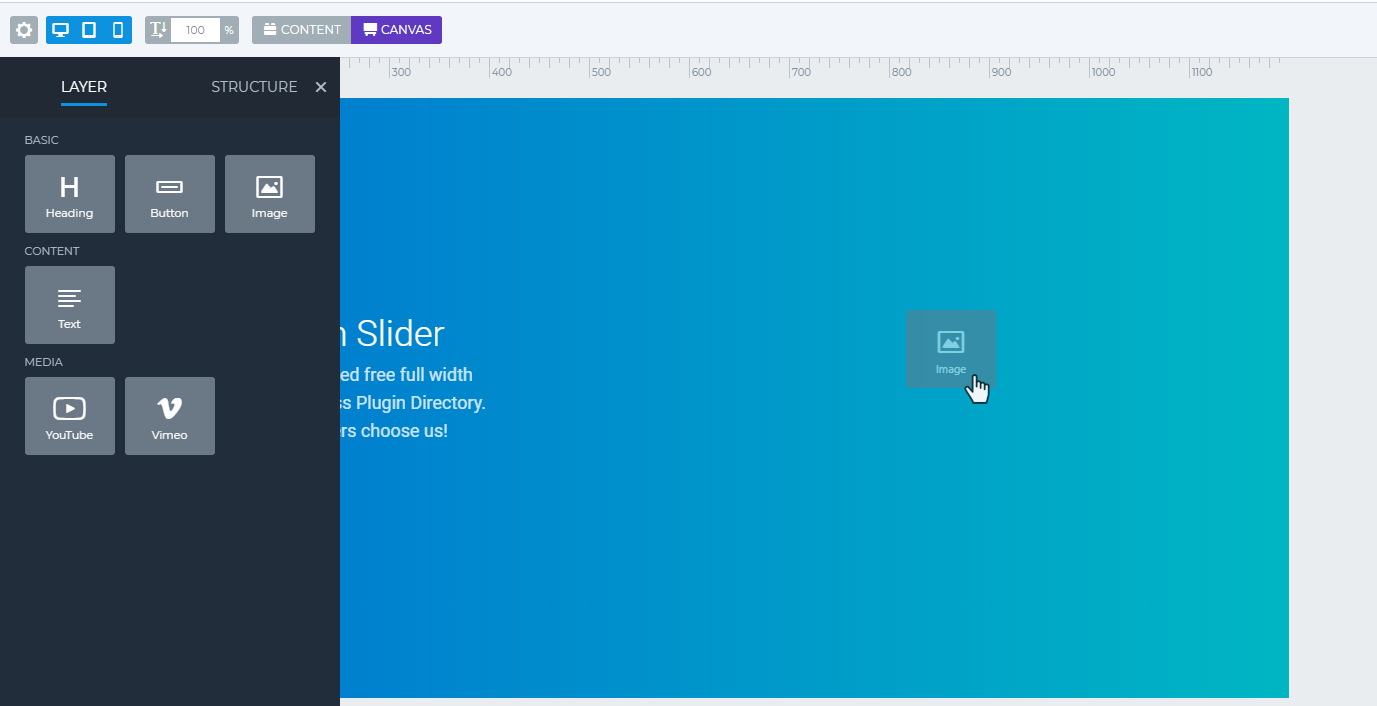
For building the slide I will use 2 different editing modes. One of them is the Content mode which works like a page builder, and you can build your slides quickly, and it has a great responsive behaviour. The other editing mode is the Canvas mode, where you can drag your layers anywhere but you should take care of the positioning and the responsivity.
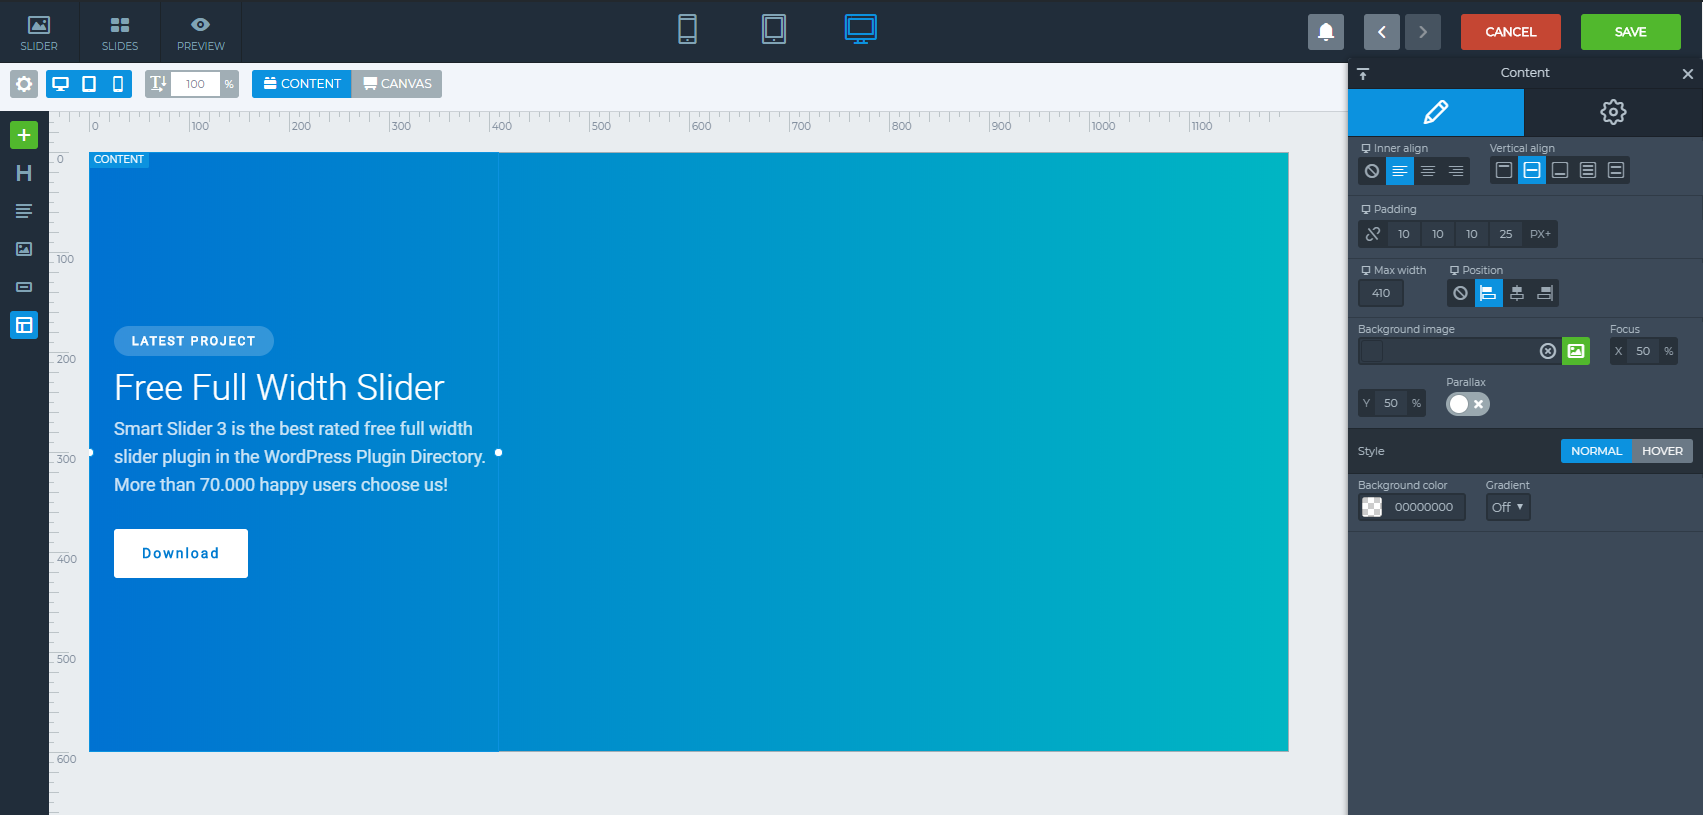
On the original slider you can see that the content is on the left: the heading, the text and 2 buttons, and in the right side there is a laptop picture and on this picture there is a YouTube video layer. This image and video will be set in the canvas mode because in this mode you can put a layer above or below another layer.
I set a max-width to the content because I don’t want a full width text in a line without break, and I don’t need the content in the right side – the video will be there. So I’ll position it to the left. And then I drop the Header, text layer, and the the buttons into the content. I set a little more left padding as on the other sides and between the layers I put little margin.
After that I go to the Design tab on the layer settings and set the color of the font and the font-family as well. To the Download button I give a download link, and set a hover effect.
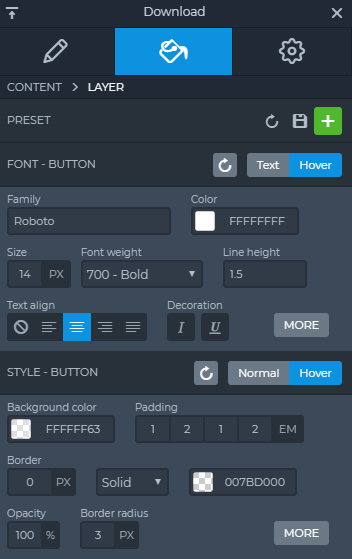
There is as lot of options to design your own layer and you can make it responsive as well, for example you can set padding with an “em” value, so on mobile devices these settings will be good as well.
Now the content is ready.
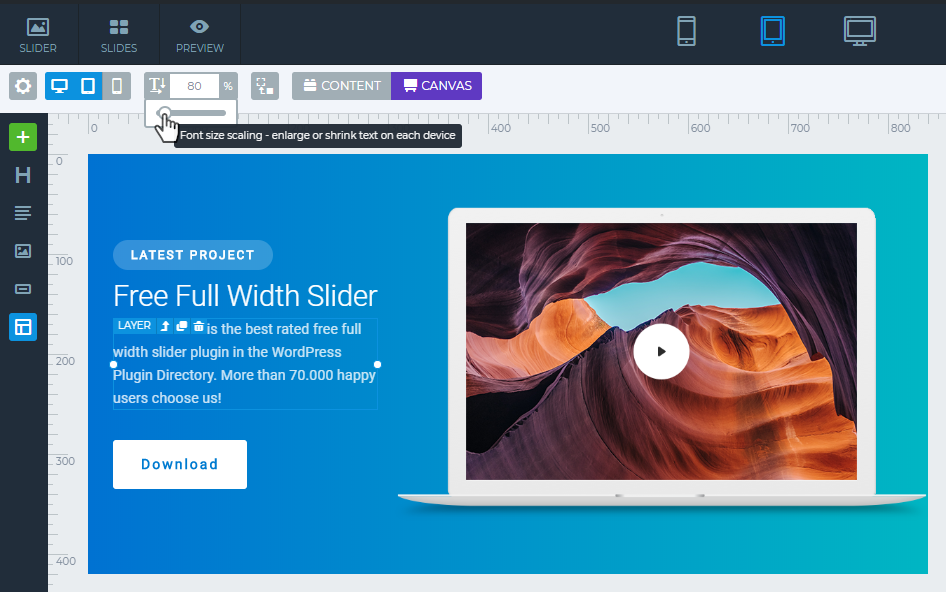
I have just 2 steps to finish: I put the Laptop image and the YouTube video layer in Canvas mode into the slide. I simply drag it into the right side and adjust them.
I think this laptop + video combination is not so important for appearing in the mobile devices, so I switch off the mobile view.
Now I check it in the responsive views and I can see that the Heading and the text layer are bigger than what I want, so I set a lower value to this with the font size scaler.
Now I’m ready with the first slide. If I would like to use more slides for my slider, it’s enough if I duplicate this slider and change the video or the picture and replace the text, because the structure is already done, so I don’t have to begin it from the first step.
How can I make a live post slider to my homepage?
If you would like to highlight your post it’s a good idea to make a slider from your post, which contains the most important information: for example the title, the post date and a picture which you can draw the attention of your visitors and make them read it.
With Smart Slider 3 you can make a dynamic-change slider from a post, so your website can live, because if you share a new post, the slider changes automatically.
I’ll show you an example how you can set it.
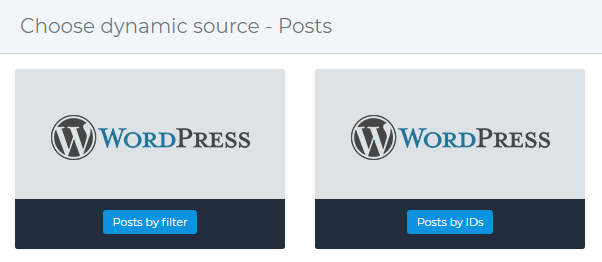
After I’ve imported the full width WordPress Post Slider template, I’ll add a new dynamic slide, where I’ll choose Post by filter option.
I choose a category and I order it by Post date. I set 3 slides, so the last 3 Post will appear in my slider in the chosen category.
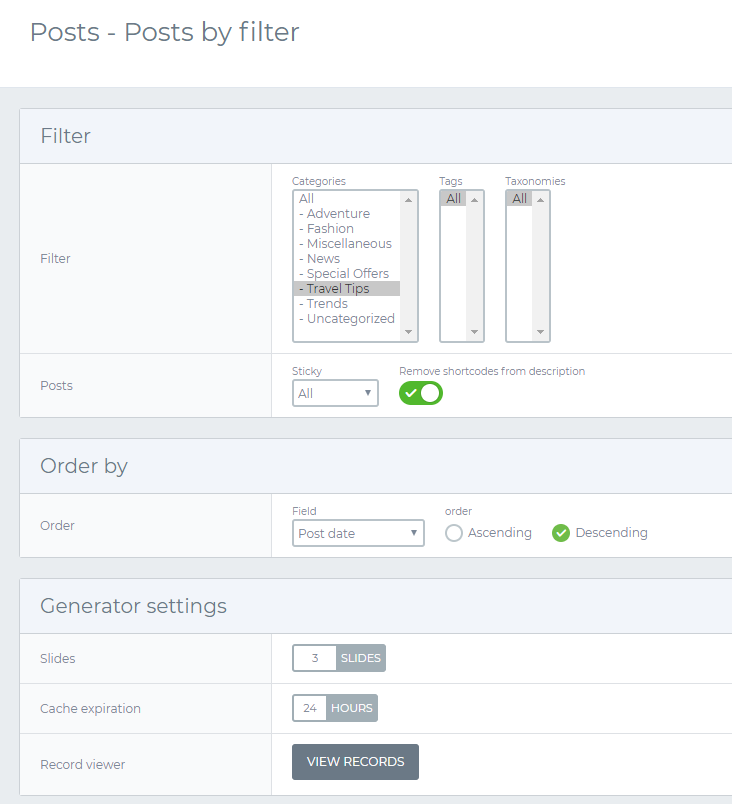
Then I save it and I can customize my post slider.
By default only the Title with the featured image appears. But this isn’t what I need, I would like to use the sample template what I’ve imported. You can make it in 3 steps:
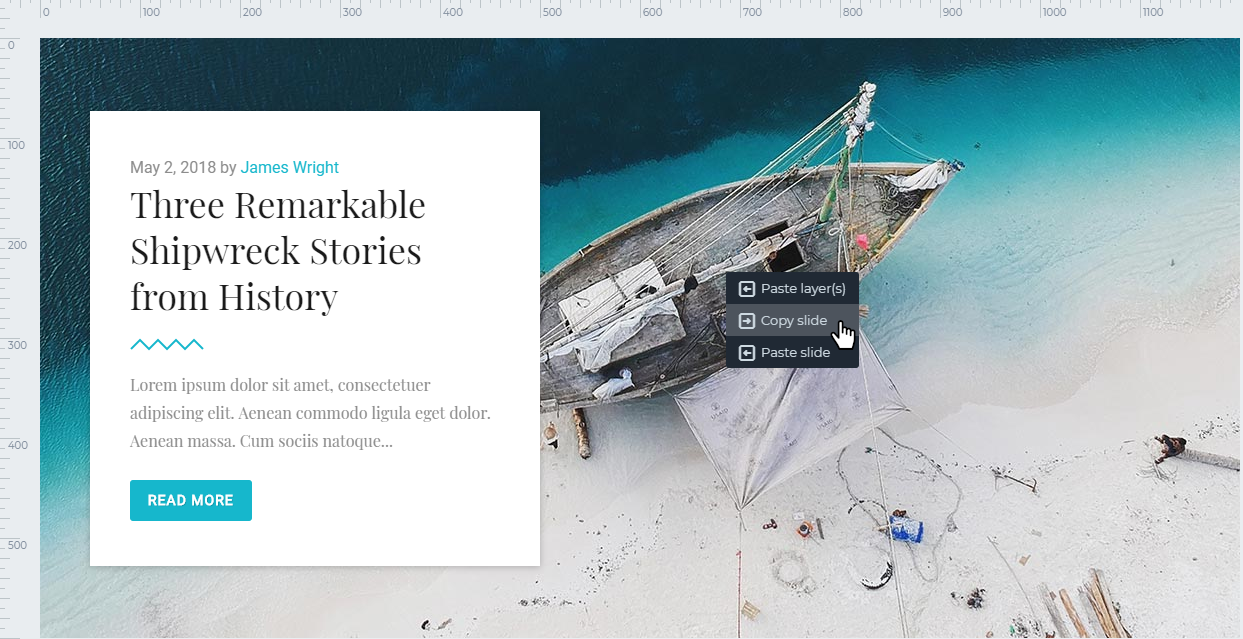
Step 1: Copy the sample slide
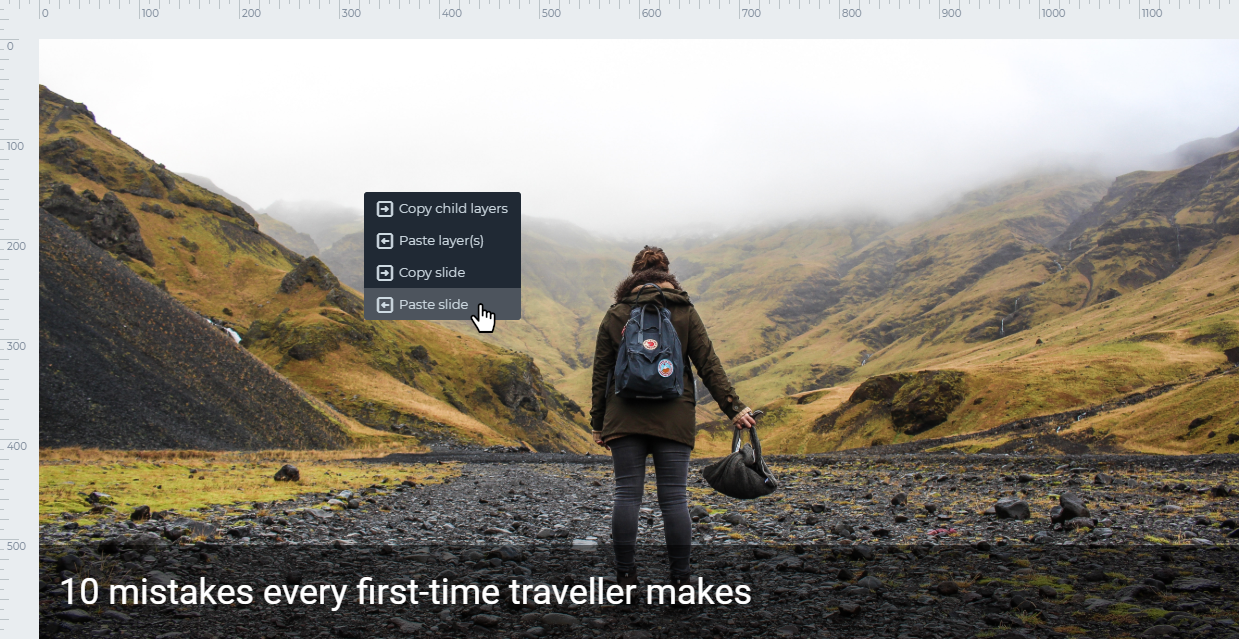
Step 2: Paste it into the dynamic slide
Step 3: Change the background image to the featured image, and it will change dynamically.

And you get the theme and the background for your dynamics slide:

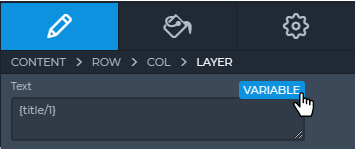
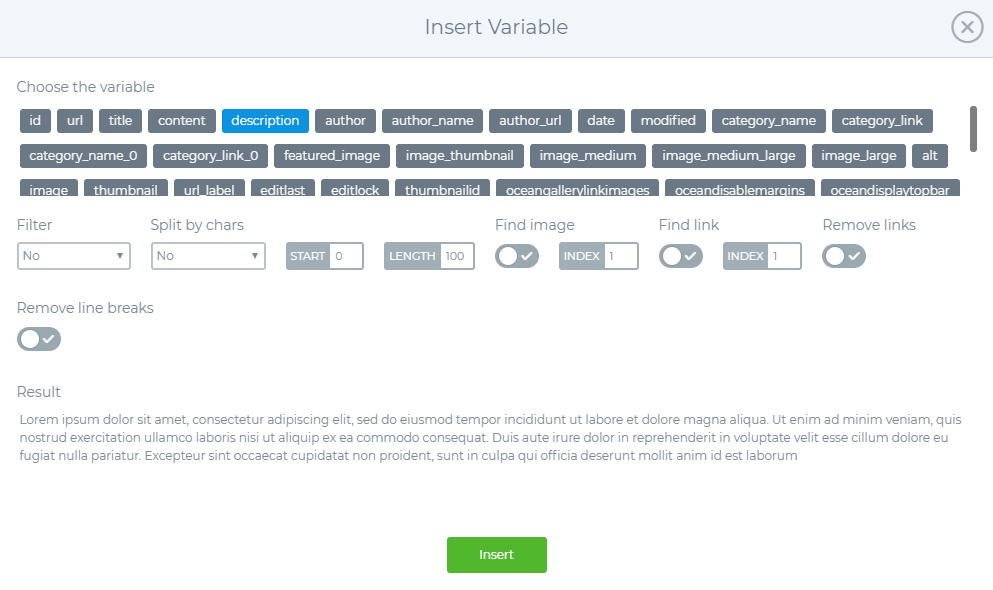
Similarly, you can set a dynamic variable for the layers in the layer settings. So you can insert a lot of variables such as title, date, the content, or you can link to the post as well.
You can setup these variables, for example I have set that the dynamic text layer shows only 100 character of my content.
After you’ve made your dynamic post slider, you need to insert it into your OceanWP theme.

How can I import a ready-to-use Slider?
After you’ve activated Smart Slider 3, you can go to the Smart Slider 3 menu, and there you will see the dashboard. You can add a New Slider or you can choose a template from the Template Library here. If you would like to create a slider fast, the easiest way is importing a demo Slider.
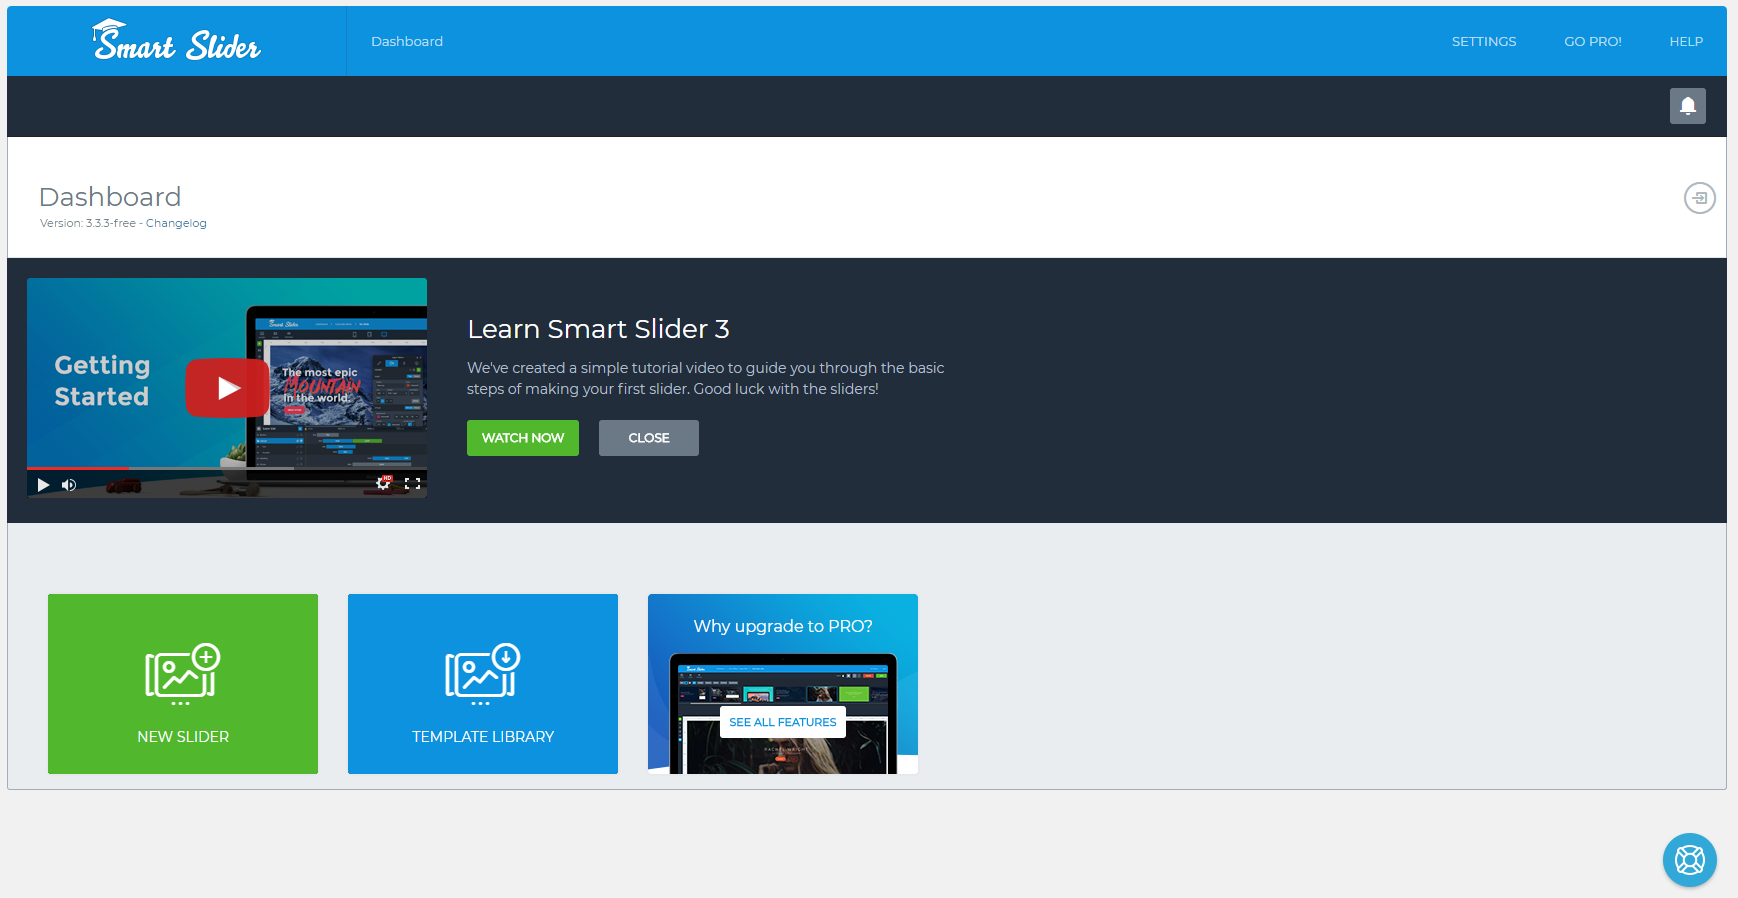
Smart Slider 3 has free demo sliders what you can easily add to your page.
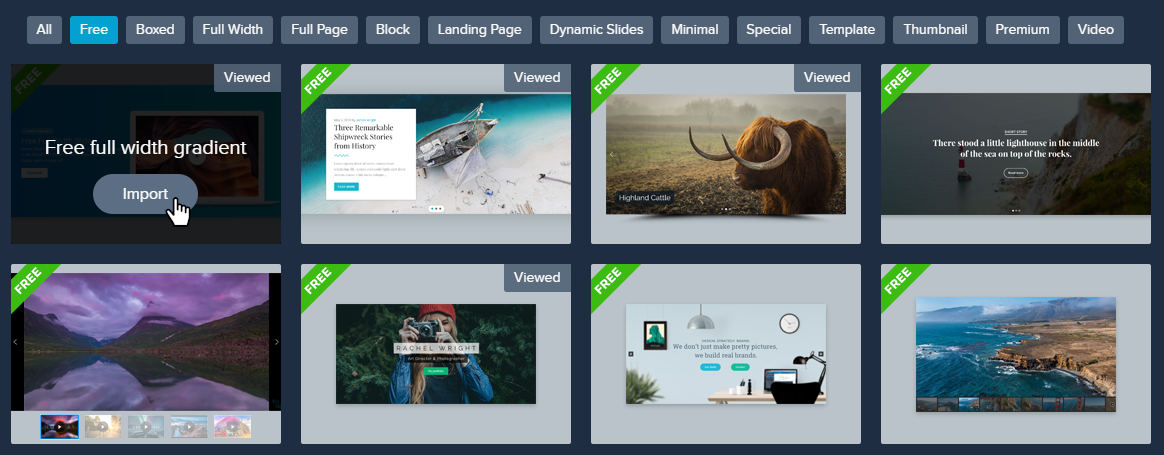
In the Template library you can choose the slider what you would like to use, just click on the Import button, and the theme will be downloaded to your dashboard and you can customize it.
Using demo slides
After you’ve added a new slider or imported one from the templates, you can add more slides to your slider. Just click to Add Slide button.
There are a lot of options to make an image, video or empty slider and you can add Post and Dynamic sliders as well, or you can choose Static Overlay, which means that it will be always over your slider and slides, and it won’t switch away. For example it is a good way to make a navigation.

You are able to use demo slides on your slider as well, there are a lot of prepared templates which you can customize. Click on the Library option and choose the template which you are going to use.
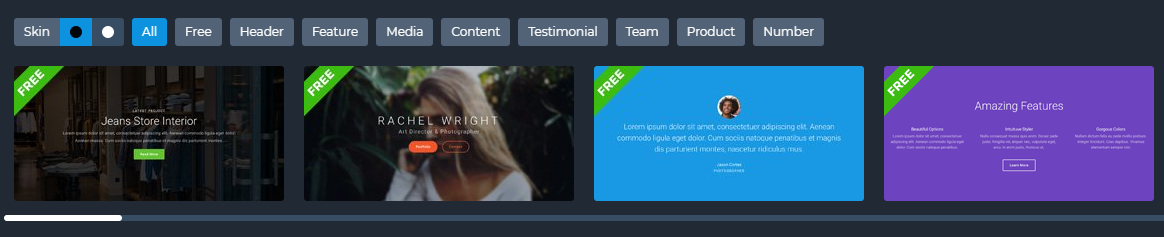
You can switch between dark or light Skin and select from the categories as well. And after you can customize your slide, you can change everything, the heading, text, layer and the background as well.
How can I insert my Slider to my OceanWP Theme?
Inserting Smart Slider 3 in your OceanWP Theme is very simple:
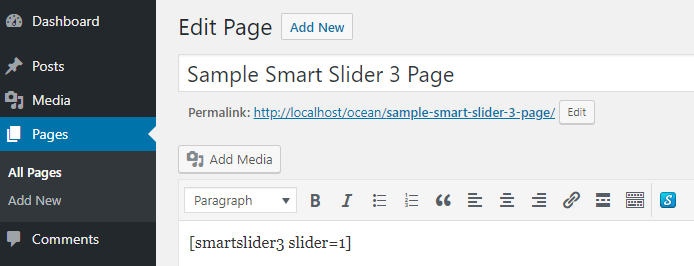
You can use the shortcode of the slider, and easily copy and paste it into a post or page.
Or with OceanWP Extra plugin in OceanWP Settings you can put your slider before/after the top bar, header, title or footer.
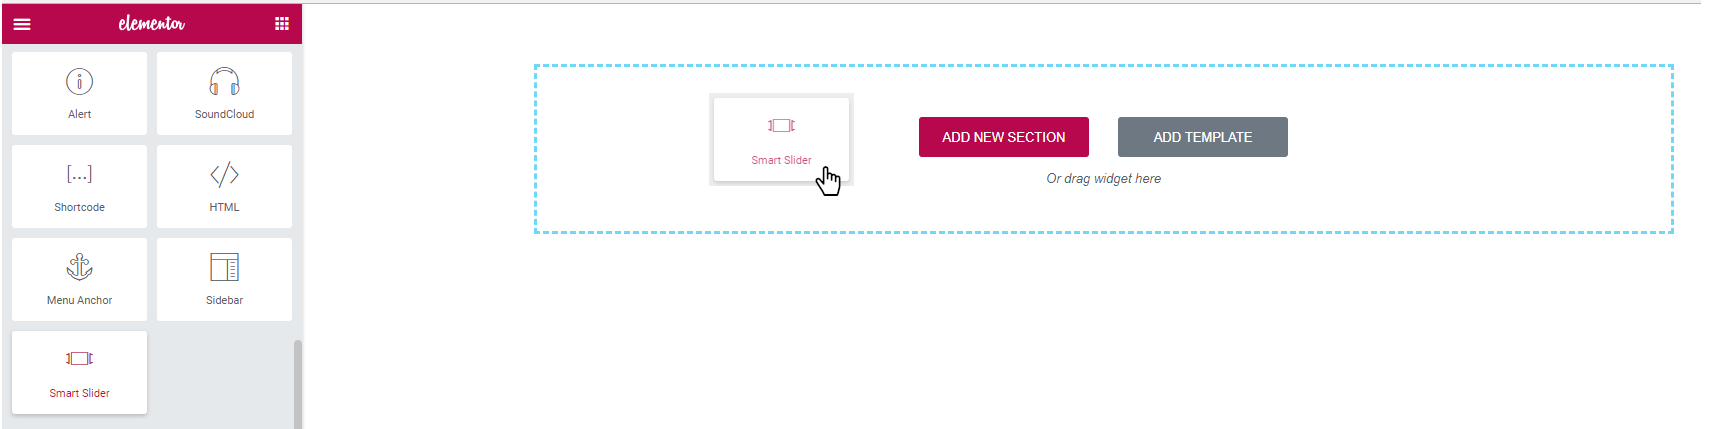
And there is another option, you can customize it with Elementor or other page builders by using the Smart Slider 3 widget.
How to make a custom header with Smart Slider 3?
By making a custom header you can use a page builder, which I think is the easiest way.
Just navigate to the Theme Panel → My library tab, then click Add New. (To the Theme Panel you need the Ocean Extra plugin, so you should add and activate this recommended plugin.) If you use Elementor page builder, choose Elementor Canvas template in Post Attributes, and after that you can add your slider into your theme.
When you are ready with the settings, navigate to the Appearance → Customize menu → Header → General, and choose your Custom Header. And now you have an own custom header.
Without page builder you can make a Template in the Theme Panel as well by using shortcode.
Exclusive Offer
Installing Smart Slider 3 on a WordPress website with OceanWP theme gives you access to a suite of powerful tools for creating custom content for your website. Now you can get 30% off when you purchase Smart Slider 3 Pro if you use the coupon SMARTSLIDEROCEANWP30 during the checkout.
The offer is exclusive and the coupon code is available for a limited time only. It starts on July 10, 2018 and ends on July 17, 2018 so grab your Smart Slider 3 Pro copy quickly!
Final Thoughts
Sliders can be used in a number of ways, you should decide what you would like to get. And there are a lot of functions, what I didn’t write about. In Pro version, making a slider is more exciting because of the animations, the new layers, the parallax effects, shape divider effects and a lot of dynamic generators such as Facebook or Instagram, by which you can make your website live.


I was searching for the plugin like this.
Thanks for letting me know about the one.
Nice Information…
I do not understand Post bu Filter and IDs. Please help out
Hi Yahya,
You can select the categories/tags/IDs from where you want the posts. So for example if you post in a category, you can create a dynamic slider which you can link to these post or appear the featured image and a short description.